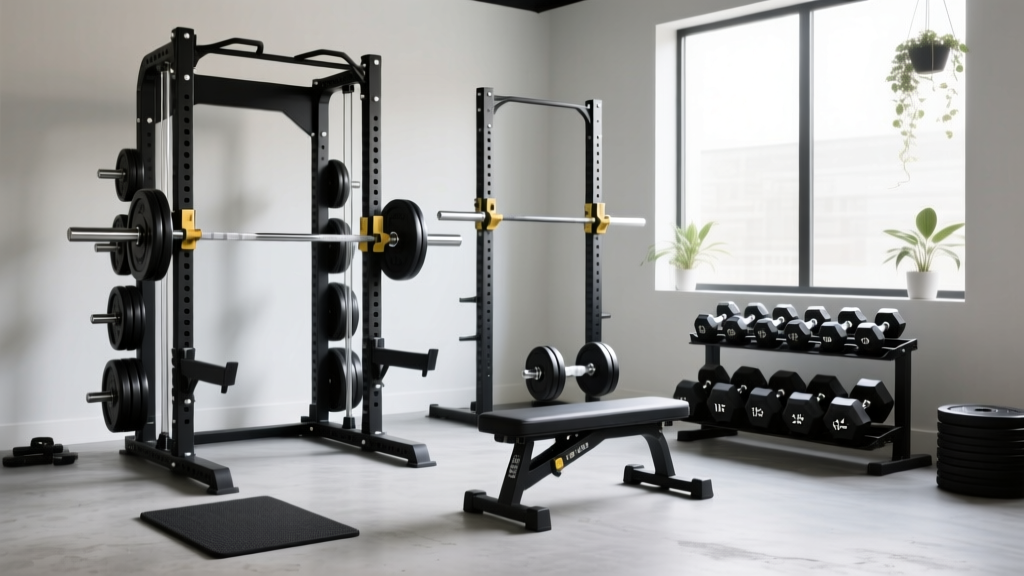
Power Rack vs Squat Rack vs Squat Stand: Optimizing Your Workout for Arms and Chest with Dumbbells
Avoid critical setup mistakes. We compare power rack vs squat rack vs squat stand to optimize your workout for arms and chest with dumbbells safely.

The Spatial Dilemma: Upright Width vs. Dumbbell Flye ROM
When outfitting a home gym, most lifters prioritize barbell squats and heavy bench presses. But what happens when your primary hypertrophy focus is a high-volume workout for arms and chest with dumbbells? The choice between a power rack, a half squat rack, and a standalone squat stand dictates your safety, range of motion (ROM), and ability to progress. Making the wrong equipment choice or failing to troubleshoot common spatial errors can severely limit your muscle activation and increase injury risk. According to biomechanical guidelines from ExRx, unrestricted horizontal adduction is critical for pectoral activation during dumbbell pressing and flyes. If your rack's uprights block this lateral path, your gains will stall and your joints will take the brunt of the load.
Dimensional Mistakes: Power Rack vs Squat Rack vs Squat Stand
The most frequent mistake lifters make in 2026 is confusing overall footprint with internal working width. When executing a dumbbell chest flye or an isolation tricep extension while lying on a bench, you need ample lateral clearance. Hitting a steel upright at the bottom of a heavy flye is a surefire way to tear a rotator cuff.
| Equipment Type | Model Example (2026) | Internal Width | Dumbbell Suitability |
|---|---|---|---|
| Power Rack | REP PR-4000 (4-Post) | 48 inches | Excellent: Full ROM for flyes and wide presses. |
| Power Rack | Rogue R-3 (Flat Foot) | 43 inches | Good, but tall lifters may clip uprights on wide flyes. |
| Half Rack | Rogue HR-3500 | 49 inches | Excellent: Open front allows unrestricted bench placement. |
| Squat Stand | Titan T-2 Series 2 | 42.5 inches | Poor: Narrow width restricts lateral dumbbell movement. |
Troubleshooting Tip: If you already own a narrow squat stand like the Titan T-2, shift your bench diagonally or opt for neutral-grip dumbbell presses to avoid striking the uprights at the bottom of the movement.
The Heavy Kick-Up Failure: Stability on Squat Stands
Getting heavy dumbbells (e.g., 80 to 120 lbs each) into position for a chest press requires a vigorous knee kick-up. A common and dangerous mistake is performing this maneuver inside an unbolted, lightweight squat stand. The backward force of your legs kicking the weights up can easily tip a 150 lb squat stand backward, especially if it lacks weight storage horns on the rear base.
⚠️ Safety Warning: The National Strength and Conditioning Association (NSCA) emphasizes that equipment stability must account for dynamic load shifts. If you are using standalone squat stands for heavy dumbbell chest work, you must load the rear base pegs with 45 lb bumper plates to anchor the center of gravity before attempting heavy kick-ups.Adjustable Bench Compatibility and Incline Restrictions
Another frequently overlooked troubleshooting area involves the physical intersection of your adjustable bench and the rack's cross-members. When performing an incline workout for arms and chest with dumbbells, the bench's rear support leg often extends backward. In compact squat stands or shallow half-racks, this rear leg collides with the rack's base stabilizers, forcing you to position the bench too far forward. This misalignment means your head and shoulders are not properly supported under the safety arms.
The 2026 Bench Clearance Matrix:
- Rep AB-4100 Bench: Requires 32 inches of rear clearance at a 45-degree incline. Fits perfectly inside a 48-inch deep power rack but will clash with the rear uprights of a 24-inch deep squat stand.
- Rogue Thompson Utility Bench: Features a folding rear leg specifically designed to bypass this issue, making it the ultimate troubleshooting tool for shallow squat stands.
By auditing your bench's footprint against your rack's internal depth, you can avoid the dangerous compromise of lifting heavy incline dumbbells outside the protective zone of your safety straps.
Safety Mechanism Troubleshooting for Dumbbell Pressing
When barbell benching, standard pin-pipe safety catches are perfectly adequate. However, applying this same logic to a workout for arms and chest with dumbbells is a critical error. If you fail a rep with dumbbells, the weights drop independently. Hitting a hard steel pin-pipe with a dumbbell can cause a violent bounce, leading to wrist sprains or shoulder impingement.
The Solution: UHMW Sandwich Safeties or Strap Safeties
- Strap Safeties: Made from heavy-duty nylon and dyneema, these absorb the shock of dropped dumbbells without bouncing. They are ideal for power racks like the REP PR-4000.
- Sandwich Safeties (UHMW Plastic): These feature a steel core wrapped in ultra-high-molecular-weight polyethylene. They protect your dumbbell knurling and dampen impact.
Pro-Tip: Set your safety straps exactly one inch below your lowest comfortable stretch point. As ACE Fitness notes, excessive shoulder extension under heavy load compromises the anterior capsule. Let the straps catch your elbows, not the dumbbells themselves.
Expanding the Arm Workout: The Cable Attachment Advantage
If your arm workouts rely heavily on cable tricep pushdowns, bicep curls, and crossovers, a squat stand will severely limit your programming. Power racks and half racks offer integrated lat pulldown and cable crossover attachments.
For example, outfitting a Rogue Monster Lite rack with a cable crossover system ($895 in 2026) transforms your rack into a dual-pulley functional trainer. This allows you to seamlessly transition from heavy dumbbell chest presses to high-tension cable flyes and isolation arm work without needing a standalone $2,000 cable machine. Squat stands simply lack the 3x3 inch upright tubing and structural cross-members required to handle the lateral tension of loaded cable stacks.
Step-by-Step: Configuring Your Rack for Dumbbell Day
- Clear the Interior: Remove any barbell spotter arms or J-cups that protrude inward and could obstruct your elbows during deep dumbbell presses.
- Position the Bench: Center the bench laterally. If using a 43-inch internal rack, angle the bench 15 degrees off-center to give your dominant arm extra clearance for unilateral tricep extensions.
- Deploy the Safeties: Install UHMW sandwich safeties or nylon straps. Set them to catch the wrist/forearm, not the dumbbell head.
- Anchor the Base (Stands Only):strong> Load weight plates onto the rear storage horns to prevent backward tipping during the initial kick-up.
- Manage the Floor: Place 3/4-inch horse stall mats under the rack to prevent dumbbells from rolling or bouncing unpredictably if dropped.
Final Verdict: Matching the Rack to Your Routine
If your programming is 80% barbell-focused with occasional dumbbell accessories, a standard squat stand or compact power rack (like the Rogue R-3) is sufficient. However, if your primary hypertrophy driver is a dedicated workout for arms and chest with dumbbells, you must prioritize internal width, shock-absorbing safeties, and base stability. Investing in a 4-post power rack with a minimum 48-inch internal clearance, such as the REP PR-4000 or Titan X-2, will eliminate spatial restrictions, safeguard your joints, and allow your upper-body programming to scale indefinitely.
More gear to consider
All reviews
Loadable Biceps Dumbbell Setups: 2026 Budget & Value Analysis

Bumper vs Iron Plates: Gym Layouts and Front Raises With Dumbbells
Barbell Collar Types & Rotating Dumbbell Press Safety

Space-Saving Racks for Your First Beginner Dumbbell Weight Set

Rubber Hex vs Urethane: Dumbbell Workouts Without a Bench
