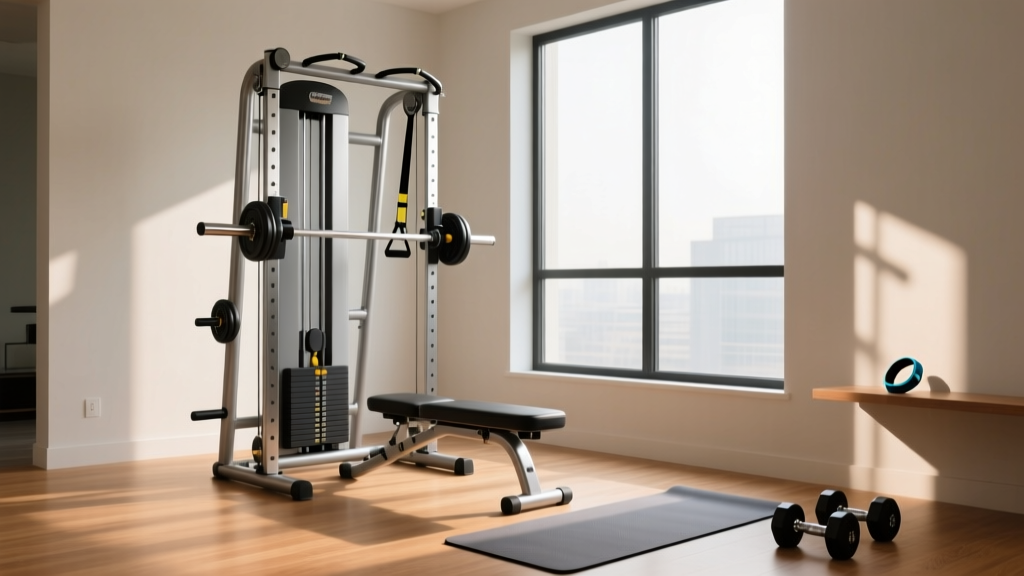
Weatherproof Guide to Creating a Home Gym Outdoors
Master the elements with our complete walkthrough for creating a home gym outdoors. Learn weatherproofing, galvanized gear picks, and drainage tips.

The Reality of Outdoor Fitness: Why Weather Dictates Your Build
There is an undeniable appeal to training in the fresh air. According to the Centers for Disease Control and Prevention (CDC), outdoor physical activity can significantly reduce stress and improve mental well-being compared to indoor routines. However, when creating a home gym in an outdoor environment, you are no longer just fighting gravity; you are fighting UV radiation, moisture, temperature fluctuations, and wind shear. Standard indoor fitness equipment will oxidize, chalk, and structurally degrade within 14 months if exposed to the elements without proper intervention. This complete setup and installation walkthrough will guide you through engineering a weatherproof outdoor training facility that survives the harshest conditions in 2026 and beyond.
Phase 1: Site Prep and the 'Floating' Foundation
The most common failure point in outdoor gyms is the foundation. Pouring a standard concrete slab directly on dirt traps moisture, leading to concrete spalling and rusting equipment bases. You need a 'floating' slab with aggressive drainage.
- Excavation: Dig a 6-inch deep footprint, extending 2 feet beyond your planned equipment layout to prevent soil erosion under the slab.
- Base Layer: Fill with 4 inches of 3/4-inch crushed angular gravel. Compact this using a plate compactor until it is rock solid.
- Vapor Barrier: Lay down a 6-mil polyethylene vapor barrier. This is non-negotiable to stop ground moisture from wicking up into your concrete.
- The Pour: Pour a 4-inch reinforced concrete slab. Critical Step: Trowel the surface with a strict 1/4-inch per foot slope away from your primary lifting zone to ensure rapid water runoff.
Phase 2: Selecting UV and Rust-Resistant Equipment
When curating gear for an outdoor setup, standard black powder-coated steel and cheap rubber are your enemies. Powder coating chalks and flakes under direct UV exposure, while standard crumb rubber bumper plates degrade into a toxic black dust. You must spec materials built for marine or industrial outdoor use.
The Rack and Barbell Dilemma
For your primary rig, you need hot-dipped galvanized steel. The American Galvanizers Association notes that hot-dip galvanizing provides a metallurgical bond that offers cathodic protection, meaning the zinc coating will sacrifice itself to protect the underlying steel even if scratched. The Titan Fitness Galvanized T-3 Power Rack (retailing around $749 in 2026) is a premier choice, featuring a true zinc-dipped finish that laughs at rain. For barbells, bare steel or black oxide will rust overnight in high humidity. Invest in a stainless steel shaft and sleeve, such as the Rogue Ohio Bar - Stainless ($425), or a high-grade Cerakote finish which provides exceptional corrosion resistance.
| Material Type | Outdoor Lifespan | Failure Mode | Recommended Alternative |
|---|---|---|---|
| Standard Powder Coat | 12-18 Months | UV chalking, micro-fractures, rust | Hot-Dipped Galvanized |
| Crumb Rubber Plates | 2-3 Years | UV dry-rot, crumbling, dust | Virgin Rubber (UV-Stabilized) |
| Black Oxide Barbell | 3-6 Months | Surface oxidation, pitting | Stainless Steel or Cerakote |
| Nylon Pulley Cables | 1-2 Years | UV brittleness, snapping | Aircraft-grade Steel Cable |
Phase 3: Overhead Coverage and Wind Load Engineering
While training under the open sky is great, direct midday sun and driving rain require overhead mitigation. However, fully enclosing an outdoor gym creates a wind tunnel effect. During severe weather, a solid roof acts as a sail, generating massive uplift forces that can rip your structure from its footings.
'When engineering an outdoor pergola for fitness equipment, always calculate for both dead load (the weight of the roof) and lateral wind load. Use Simpson Strong-Tie post bases anchored into concrete footings that extend below your local frost line to prevent winter heave from destabilizing the rig.'
The Solution: Build a heavy-timber pergola and utilize partial coverage. Install Tuftex PolyCarb translucent polycarbonate roof panels over the lifting platform and rack area only, leaving the perimeter open. Polycarbonate blocks 99% of harmful UV rays without creating the 'greenhouse effect' of metal roofing, keeping the training area up to 15 degrees cooler in peak summer. Secure the panels with neoprene-washed roofing screws to allow for thermal expansion and contraction.
Phase 4: Flooring That Breathes
Laying standard 3/4-inch horse stall mats directly on outdoor concrete is a recipe for disaster. The mats create an impermeable seal, trapping condensation and rain runoff underneath. This leads to black mold growth and accelerates the degradation of your concrete slab. As highlighted in comprehensive equipment reviews by the New York Times Wirecutter, proper flooring is critical for both safety and equipment longevity.
Installation Protocol:
- Option A (The Gravel Bed):strong> Lay a 2-inch bed of pea gravel directly on your sloped concrete slab, then place your heavy rubber mats on top. The gravel creates a capillary break and allows water to flow freely underneath.
- Option B (Perforated PVC): For a premium, low-maintenance setup, use StayLock Perforated PVC Tiles ($7.50 per sq ft). These interlocking tiles feature a raised 1.5-inch base that elevates your footing above standing water, providing exceptional drainage and grip even when wet.
Phase 5: The 15-Minute Weekly Maintenance Protocol
Even the most robust outdoor gym requires a disciplined maintenance routine to combat environmental wear. Implement this 15-minute weekly protocol to extend the life of your investment by decades.
- Barbell Care: Wipe down stainless steel or Cerakote barbell shafts with a microfiber cloth and a light application of 3-IN-ONE Silicone Spray. Never use WD-40, as it attracts abrasive dust and dirt into the knurling.
- Pulley Lubrication: Apply a dry PTFE (Teflon) lubricant to all cable guide rods and linear bearings. Wet lubricants will turn into a grinding paste when mixed with outdoor pollen and dust.
- Hardware Torque Check: Temperature swings cause metal expansion and contraction, which loosens structural bolts. Use a torque wrench to check all rack upright and crossmember bolts every 30 days, tightening to the manufacturer's exact foot-pound specifications.
Frequently Asked Questions (FAQ)
Can I leave adjustable dumbbells outside?
No. Adjustable dumbbells (like Nuobell or PowerBlock) contain intricate internal mechanisms, small springs, and plastic selectors that will warp in high heat and seize up in high humidity. Keep adjustable dumbbells in a sealed, climate-controlled indoor space and only bring them out for your workout.
How do I protect my gym from winter snow loads?
If you live in a region with heavy snowfall, you must either remove polycarbonate roof panels before the first freeze or install a steep-pitch roof (minimum 6/12 pitch) to encourage snow shedding. Additionally, cover your power rack with a heavy-duty, UV-rated canvas tarp (like those from Covercraft) to prevent ice from freezing inside the J-cup plastic liners, which can crack them when you try to remove the bar.
More gear to consider
All reviews
Home Gym Academy: Mirror Placement and Lighting Budget Guide

Compact Beginner Home Gym Equipment: Space Layout Guide
Floor Plan Guide: Snode All-in-One Home Gym Smith Machine Power Rack
Inspire M4 Home Gym: Best Mirrors & Lighting Compared

Weatherproof 10x10 Home Gym Layout: Outdoor Guide