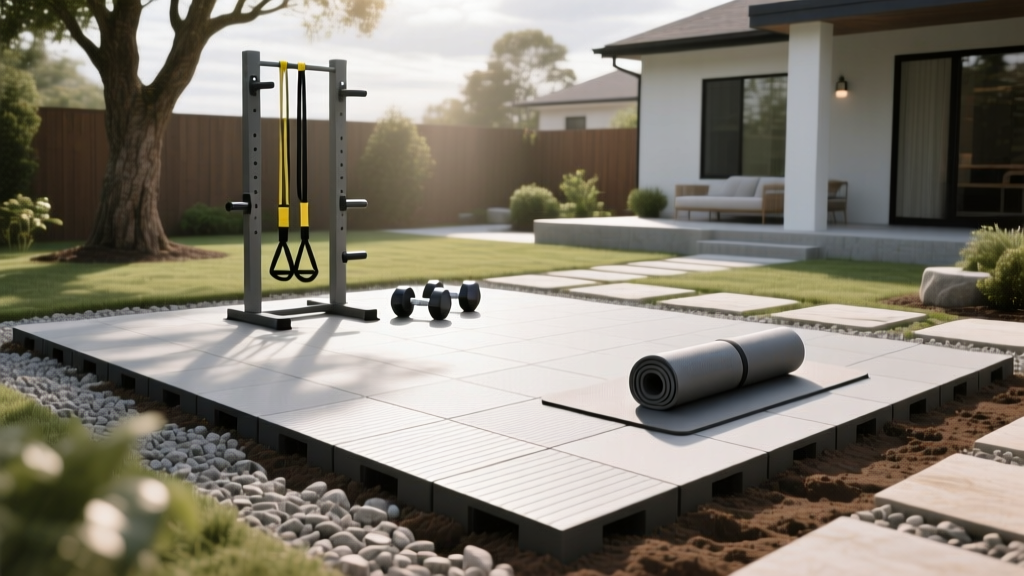
Weatherproof Outdoor Home Gym Flooring Installation Guide
Master your outdoor home gym flooring installation with our weather-resistant guide. Learn sub-base prep, UV-proof materials, and drainage tactics.

The Reality of Outdoor Fitness: Why Weather Dictates Your Build
Taking your training outside offers incredible mental and physical benefits, but the elements are unforgiving on poorly planned infrastructure. When tackling an outdoor home gym flooring installation, the stakes are exponentially higher than indoor builds. You are not just creating a flat surface for your power rack; you are engineering a micro-foundation that must withstand hydrostatic pressure, UV degradation, thermal expansion, and frost heave. As of 2026, material science has given us incredibly resilient options, but even the most advanced vulcanized rubber will fail if the sub-base and drainage metrics are ignored.
This comprehensive walkthrough bridges the gap between landscaping engineering and fitness equipment setup, ensuring your outdoor sanctuary survives the harshest weather considerations.
Material Selection Matrix: What Survives the Elements?
Standard indoor EVA foam tiles or basic horse-stall mats will disintegrate, warp, or trap moisture when exposed to direct sunlight and rain. For an outdoor setup, you need materials engineered for environmental stress. Below is a comparison of the top weather-resistant flooring options available on the market today.
| Material Type | UV & Heat Resistance | Drainage Capability | Avg. Cost (per sq. ft.) | Best Climate Application |
|---|---|---|---|---|
| Vulcanized Rubber Pavers (2-inch) | Excellent (with UV inhibitors) | Moderate (surface runoff) | $5.50 - $9.00 | Temperate to Hot |
| Poured Polyurethane Base | Good (requires topcoat) | Low (impermeable) | $11.00 - $16.00 | Dry / Arid |
| Composite Decking (Raised) | Excellent | Excellent (underneath flow) | $8.00 - $14.00 | High Rainfall / Flood Zones |
| Interlocking Rigid PVC Tiles | Good | High (perforated options) | $3.50 - $6.00 | Mild / Covered Patios |
Note: For heavy free-weight dropping and power rack anchoring, 2-inch vulcanized rubber pavers (40-durometer to 60-durometer hardness) remain the gold standard for outdoor home gym flooring installation.
The Hidden Enemy: UV Degradation and Thermal Expansion
According to the U.S. Environmental Protection Agency (EPA), dark-colored exterior surfaces can reach temperatures up to 50°F hotter than the ambient air on sunny days. Black rubber flooring absorbs this thermal energy, leading to significant expansion. If your flooring is installed flush against a rigid boundary (like a concrete foundation or wooden fence) without an expansion gap, the center of the floor will buckle upward during peak summer heat. Always specify pavers infused with carbon black and advanced UV-inhibitor compounds to prevent the polymer chains from breaking down and chalking over time.
Step-by-Step Outdoor Home Gym Flooring Installation
You cannot lay outdoor gym flooring directly on soil or grass. Organic matter decomposes, soil shifts with moisture content, and clay retains water. A proper installation requires a stabilized, free-draining aggregate base.
Step 1: Excavation and Sub-Base Preparation
- Mark and Excavate: Outline your gym footprint and add a 2-foot perimeter buffer. Excavate to a depth of 6 inches. Ensure the native soil at the bottom of the trench is compacted.
- Establish the Slope: Grade the native soil to a minimum slope of 1/8 inch per foot away from any structures to encourage natural subsurface drainage.
- Lay Geotextile Fabric: Roll out a heavy-duty, non-woven geotextile landscape fabric (minimum 4 oz per square yard). This prevents the gravel base from sinking into the native soil over time while allowing water to pass through.
Step 2: The Aggregate Base and Compaction
Fill the excavated area with 4 inches of 3/4-inch minus crushed angular limestone or granite. Do not use pea gravel or river rock; round stones roll and never lock together. The angular edges of crushed stone interlock when compacted, creating a semi-rigid concrete-like slab. Rent a vibratory plate compactor (typically $85-$100 per day) and make at least three overlapping passes. The goal is to achieve 95% Proctor density. The final compacted base should sit exactly 2 inches below your desired finished floor height.
Step 3: Laying and Securing the Surface
Begin laying your vulcanized rubber pavers from the center outward. Because outdoor environments experience high wind uplift and thermal shifting, use a specialized outdoor polyurethane seam adhesive on the interlocking edges. Leave a strict 1/4-inch expansion gap between the outermost pavers and any hardscape borders. Fill this perimeter gap with a flexible, UV-resistant exterior silicone caulk or loose decorative gravel to allow for lateral movement.
⚠️ Critical Warning: Frost Heave in Cold Climates
If you live in a region with deep winter freezes, moisture trapped in the soil will freeze and expand upward—a phenomenon known as frost heave. This can lift your gravel base and rubber pavers by several inches, ruining the leveling of your squat rack. In freeze-thaw zones, you must excavate below the local frost line (often 36 to 48 inches deep) and backfill with crushed stone, or install a layer of rigid extruded polystyrene (XPS) insulation board over the geotextile fabric before adding your gravel base to insulate the soil from freezing temperatures.
Anchoring Equipment to an Outdoor Floor System
One of the most complex weather considerations for an outdoor home gym setup is securing heavy equipment without compromising your moisture barrier. You cannot simply drive concrete wedge anchors through rubber pavers and gravel.
- The Helical Pile Method: For existing gravel bases, drive galvanized steel helical piles through the flooring directly into the native soil. Bolt your power rack's base plates to the exposed pile caps. This bypasses the shifting gravel entirely.
- The Concrete Pier Method (Pre-Installation): If you are planning your build from scratch, pour isolated 12x12x24-inch concrete footings at the exact coordinates of your rack's uprights before laying the geotextile and gravel. Cut the rubber pavers to fit snugly around the concrete piers.
'The integrity of an outdoor gym is entirely dependent on what happens below the surface. According to the Consumer Product Safety Commission (CPSC) guidelines on outdoor impact surfacing, proper drainage and free-flowing aggregate bases are non-negotiable to prevent water pooling, which leads to both equipment rust and biological growth on the flooring itself.'
Weatherproofing Maintenance Schedule
Even the best outdoor home gym flooring installation requires seasonal maintenance to combat environmental wear and tear.
- Spring: Inspect perimeter expansion gaps. Clear out winter debris (pine needles, dirt) that may have washed into the drainage channels. Power wash the rubber with a mild, non-acidic detergent to remove mold spores.
- Summer: Check for thermal buckling. If the floor feels overly soft or spongy, it may be retaining heat and moisture; ensure surrounding landscaping hasn't grown over the drainage slopes.
- Autumn: Apply a fresh coat of exterior-grade polyurethane UV sealant to high-traffic areas if your specific paver manufacturer recommends annual resealing.
- Winter: Never use metal snow shovels or chemical ice melts (like calcium chloride) on rubber flooring, as these will strip the UV inhibitors and cause micro-tears. Use a plastic push-shovel and sand for traction.
Final Thoughts on Environmental Resilience
Building an outdoor fitness space requires you to think like a landscape architect first and a lifter second. By investing heavily in the sub-base preparation, selecting UV-stabilized vulcanized materials, and respecting the thermal and hydrological realities of your local climate, your outdoor home gym flooring installation will provide a safe, level, and durable platform for years of uninterrupted training, regardless of what the sky decides to do.
More gear to consider
All reviews
Belt Squat Home Gym Setup: Flooring & Ventilation Mistakes

Must Haves for Home Gyms: Renovation Budget Analysis

Inspire M3 Home Gym Weight Guide: How Much Resistance Do You Need?

How To Repair Gear: A Practical, Step-by-Step Home Gym Maintenance Handbook

Smart Home Gym Layouts: A Beginner's Step-by-Step Floor Plan Guide
