
Power Rack vs Squat Rack vs Stand: Setup for Dumbbell Deadlifts
Compare power racks, squat racks, and stands for your home gym. Get our complete installation walkthrough for barbell and dumbbell deadlift setups.

The Foundation: Choosing the Right Rig for Your Floor Space
Building a home gym in 2026 requires a meticulous balance of footprint, budget, and structural integrity. When your programming includes heavy barbell pulls and high-volume dumbbell deadlifts, the choice between a full power rack, a half squat rack, and a minimalist squat stand dictates not just your safety, but your spatial efficiency. While a power rack offers ultimate safety for solo benching, it can severely restrict the lateral floor space required for wide-stance sumo pulls or sprawling floor work.
Spatial Dynamics & Floor Flow: When planning your layout for dead lifts, dumbbells and barbells demand distinct spatial considerations. A standard 48x48-inch power rack can encroach on the lateral space needed for wide-stance dead lifts or sprawling dumbbell movements. Conversely, squat stands offer an open-floor footprint, allowing you to step back and perform dumbbell deadlifts without your knuckles clipping the uprights or weight horns.According to extensive testing by Garage Gym Labs, the trend in modern garage gyms is shifting toward modular 3x3-inch 11-gauge steel systems that allow users to bolt uprights directly to the floor or a dedicated platform, maximizing usable square footage. Below, we break down the exact specifications and provide a complete, step-by-step installation walkthrough to ensure your rig is anchored, safe, and optimized for both barbell and dumbbell work.
Rig Comparison Matrix: 2026 Market Leaders
Before unboxing hardware, you must select the rig that matches your ceiling height, floor type, and lifting style. The table below compares three dominant archetypes currently defining the home gym market.
| Model Archetype | Type | Steel & Hardware | Footprint | Est. Price (2026) |
|---|---|---|---|---|
| Rogue R-3 Series | Power Rack | 11-Gauge (3x3 in), 1 in holes | 49 x 49 in | $1,150 - $1,400 |
| Titan T-2 Short | Squat Rack | 14-Gauge (2x2 in), 5/8 in holes | 48 x 24 in | $400 - $480 |
| Rep Fitness SR-4000 | Squat Stand | 11-Gauge (3x3 in), 1 in holes | 49 x 47 in | $350 - $420 |
Clearance and Ceiling Constraints
If your garage ceiling is exactly 8 feet (96 inches), a standard 90-inch power rack leaves only 6 inches of clearance, which is insufficient for overhead presses or pull-ups. In this scenario, an 82-inch short squat rack or a standalone squat stand is mandatory. Furthermore, squat stands like the SR-4000 can be unbolted and moved aside entirely when you need the center of the room for high-rep dumbbell deadlifts or kettlebell flows.
Complete Installation Walkthrough: Step-by-Step
Proper installation is the difference between a lifetime rig and a catastrophic failure during a heavy lift. Follow this sequence to ensure structural integrity.
- Phase 1: Subfloor Preparation and Platform Integration
Never install a rack directly over uneven or cracked concrete without a barrier. If you are using a dedicated 8x8-foot deadlift platform, position the rack so the rear uprights sit flush on the platform's wooden subfloor, while the front uprights rest on the rubber matting. Use a 4-foot machinist level to check for variance. Concrete slabs can slope up to 1/2 inch over 10 feet for drainage; you must use high-density rubber shims under the base plates to achieve a true plumb frame. - Phase 2: Frame Assembly and Torque Sequencing
Assemble the base crossmembers first, leaving all bolts finger-tight. Next, stand the uprights and attach the top crossmembers. According to engineering guidelines from Rogue Fitness, you must use a calibrated torque wrench to tighten all structural bolts to manufacturer specifications (typically 70-85 ft-lbs for 1-inch Grade 8 hardware). Tightening one side completely before the other will rack the frame, causing the laser-cut holes to misalign and making J-cup insertion impossible. - Phase 3: Anchoring to Concrete
For power racks and squat racks, anchoring is non-negotiable. Use 1/2-inch x 3-3/4-inch wedge anchors for standard 4000 PSI concrete. As detailed in the structural specifications by Simpson Strong-Tie, you must drill a 1/2-inch hole exactly 4 inches deep, vacuum out the concrete dust (a critical step often skipped by home gym owners), and torque the nut until the washer is flush and tight. Note: Squat stands with front weight storage horns must be anchored to prevent forward tipping when loading heavy plates.
Configuring Your Rig for Deadlifts and Floor Work
Once the frame is secured, the accessory setup begins. How you configure your J-cups, spotter arms, and storage dictates the flow of your workout.
Spotter Arm Placement for Floor Presses and Dumbbell Work
If you are utilizing a power rack for floor presses or heavy dumbbell floor work, position the safety spotter arms at the lowest possible setting (usually hole 12 or 14, depending on the manufacturer). This ensures that if you fail a rep with 100-pound dumbbells, the handles will rest safely on the UHMW plastic-lined spotter arms without crushing your chest or ribs.
'Always leave at least 2 inches of clearance between your resting chest height and the safety spotter arms. This allows you to roll the dumbbells or barbell off your body safely in the event of a missed lift.'
Weight Storage and Tipping Hazards
A major failure mode in home gyms involves squat stands tipping forward. When using a squat stand with front-facing weight storage horns, the center of gravity shifts dangerously when loaded with multiple 45-pound bumper plates. Rule of thumb: If your squat stand is not bolted to the concrete with wedge anchors, never store more than two 45-pound plates per side on the front horns. For heavy storage requirements, invest in a dedicated freestanding weight tree to keep the rig's center of gravity neutral.
Edge Cases and Troubleshooting
- Barbell Knurl Scraping: If your barbell's center knurl is scraping the paint off your uprights during squats, your J-cups are likely spaced too narrow. Upgrade to sandwich-style J-cups with 1-inch UHMW plastic padding to protect both the bar and the rack.
- Hardware Rust in Humid Climates: In 2026, many manufacturers offer cerakote or zinc-nickel finishes. If you bought a raw or standard powder-coated rack in a non-climate-controlled garage, wipe down the uprights monthly with a silicone-based protectant to prevent oxidation on the 11-gauge steel.
- Band Peg Integration: For accommodating resistance on deadlifts, ensure your rack features 1-inch band peg holes at the base. If using a squat stand without built-in band pegs, you must use heavy-duty floor band posts anchored independently to the concrete.
Final Verdict: Which Rig Wins?
The choice ultimately hinges on your spatial constraints and safety requirements. If you lift alone, frequently bench press heavy, and have a 10-foot ceiling, the Power Rack is the undisputed king of safety. If you are operating in a tight single-car garage with an 8-foot ceiling and your programming heavily features open-floor dead lifts and dumbbells, a heavy-duty Squat Stand (properly anchored) provides the best balance of utility, open space, and budget. Regardless of your choice, meticulous installation and concrete anchoring remain the true foundation of a lifelong home gym.
More gear to consider
All reviews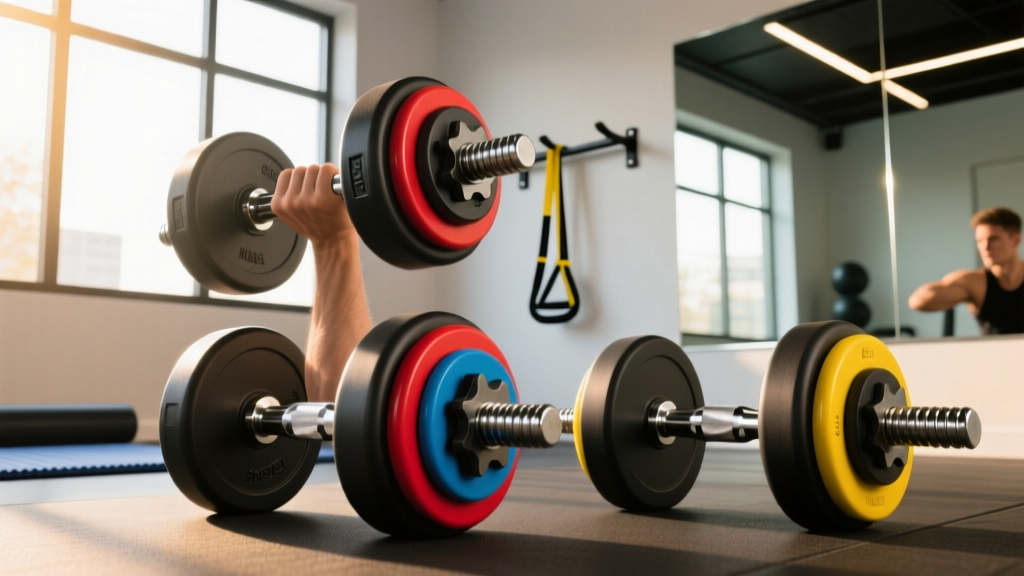
Best Loadable Dumbbells for a Core Workout With Dumbbells

Barbell Knurling & Front Lateral Raises with Dumbbells Fixes

Bumper vs Iron Plates: Single Arm Overhead Dumbbell Extensions Space

Cast Iron vs Competition Kettlebells & MX55 Dumbbells Guide
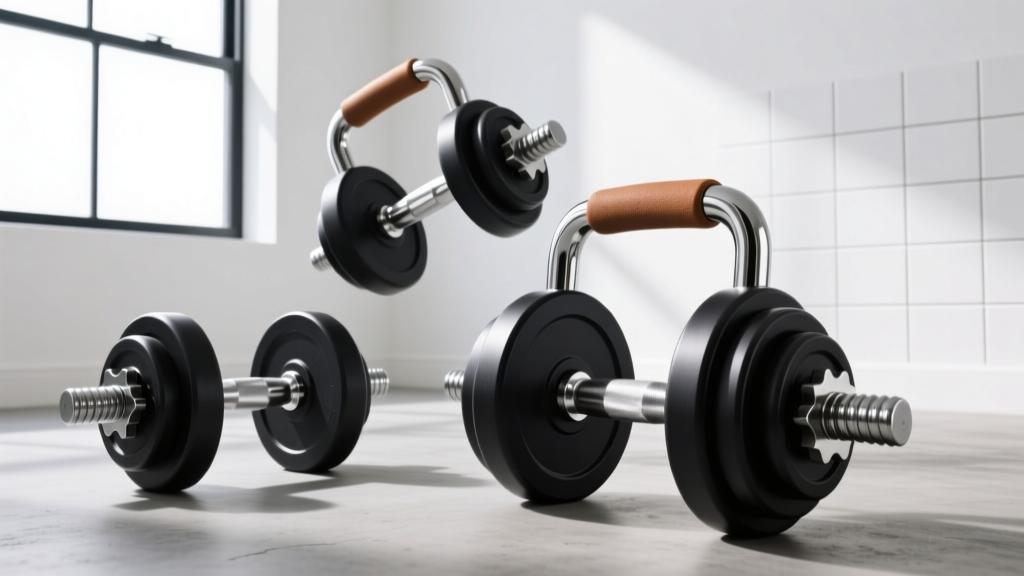
Curved Dumbbell Handles & Loadable Plates: Value Guide
