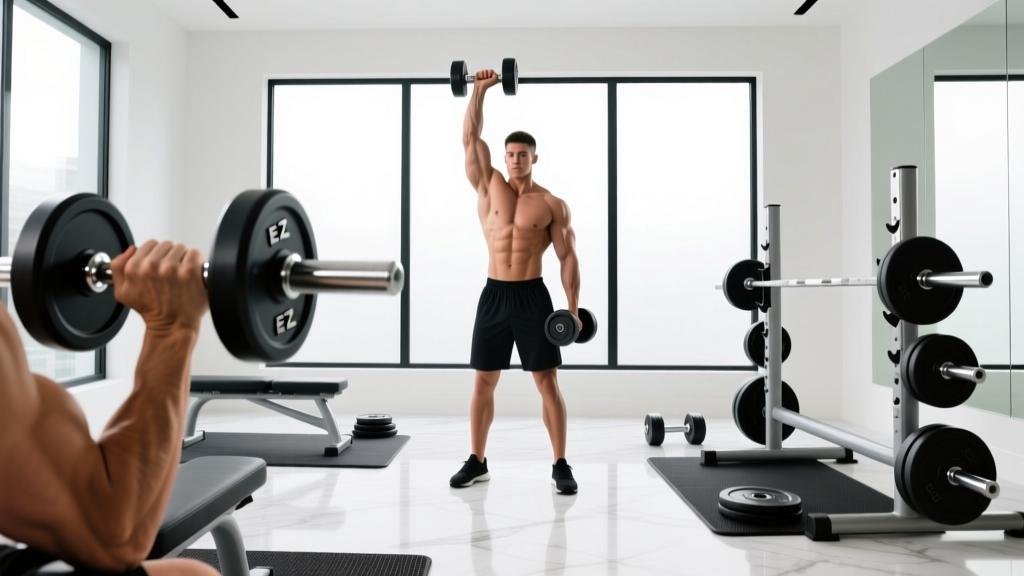
How Much Do Dumbbells Cost vs. Barbells? Home Gym Setup Guide
Discover how much do dumbbells cost versus barbells. This complete setup walkthrough covers Olympic barbell weight, knurling, and rack installation.

The Foundation: Budgeting Your Free Weight Arsenal
When outfitting a new home gym or upgrading a commercial facility, one of the most common budgetary questions we receive is: how much do dumbbells cost compared to building a traditional Olympic barbell setup? As of 2026, the fitness equipment market has seen a stabilization in steel and urethane pricing, but the cost-per-pound dynamics between dumbbells and barbells remain vastly different. Understanding this financial layout is the first step in your complete equipment setup and installation walkthrough.
Dumbbells require significantly more material and manufacturing precision per pound than a single barbell and plate set. Below is a comparative breakdown to help you allocate your budget before we dive into the technical specifications of Olympic barbell selection and rack installation.
| Equipment Type | Material / Model Example | Avg Cost Per Pound (2026) | Total Cost for 200 lbs |
|---|---|---|---|
| Neoprene Dumbbells | Cast Iron / Neoprene Coat | $1.50 - $2.20 | $300 - $440 |
| Rubber Hex Dumbbells | Rogue Rubber Hex | $2.50 - $3.50 | $500 - $700 |
| Urethane Dumbbells | Premium Virgin Urethane | $4.00 - $6.00 | $800 - $1,200 |
| Adjustable Dumbbells | Nuobell 80lb / PowerBlock Elite | N/A (Sold as pairs) | $450 - $850 (Pair) |
| Olympic Barbell + Plates | 20kg Bar + Crumb Bumpers | $1.80 - $2.80 | $360 - $560 |
While adjustable dumbbells offer a space-saving solution for lighter isolation work, a barbell setup remains the most cost-effective and biomechanically superior method for progressive overload. If your budget allows for both, prioritize a high-quality Olympic barbell first. The barbell is the single piece of equipment that will interact most intimately with your body, making its weight calibration and knurling geometry paramount.
Olympic Barbell Selection: Weight Tolerances and Steel Metallurgy
Before you can install your barbell onto a power rack, you must select the right shaft. A standard Olympic barbell weighs exactly 20 kilograms (44.09 lbs) or 45 pounds. However, not all 45-pound bars are created equal. The deviation in weight accuracy and the steel's yield strength dictate the bar's performance and lifespan.
Weight Tolerances
- Entry-Level Bars (+/- 2% to 5% tolerance): Often found in big-box sporting goods stores. A 45lb bar might actually weigh 43lbs or 47lbs. This is unacceptable for tracking progressive overload accurately.
- Standard Commercial Bars (+/- 1% tolerance): The baseline for reputable brands. Weighs between 44.5lbs and 45.5lbs.
- IWF/IPF Competition Bars (+/- 15 grams): Calibrated to exacting international standards. These carry a premium price tag but guarantee absolute weight accuracy.
Tensile vs. Yield Strength
When reviewing specs from manufacturers like those featured in the Rogue Fitness Bar Guide, you will see two distinct metallurgical terms:
- Tensile Strength (measured in PSI): The point at which the steel will physically snap. You want a minimum of 165,000 PSI for a general fitness bar, and 190,000+ PSI for heavy Olympic lifting.
- Yield Strength: The point at which the steel bends and does not return to its original straight form. This is actually more important than tensile strength. A high yield strength ensures the bar won't permanently bend when dropped on J-cups during a failed squat.
Decoding Knurling: Aggressiveness, Patterns, and Center Knurls
Knurling is the cross-hatched pattern machined into the steel shaft to provide grip. According to extensive testing by Garage Gym Reviews, the geometry of the knurl dictates the bar's primary use case. During your setup walkthrough, inspecting the knurl depth is a critical quality-control step.
The Three Knurl Geometries
- Hill Knurl: Found on cheap, entry-level bars. The peaks of the knurl are rounded off. It provides minimal grip and relies heavily on chalk. Avoid these for serious training.
- Volcano Knurl: The gold standard for powerlifting and general strength (e.g., the Rogue Ohio Power Bar). The machine cuts a sharp rim but leaves a flat, textured peak. It provides maximum surface area contact, biting into the hand without tearing calluses.
- Mountain Knurl: Sharp, pointed peaks with no flat top. Common in Olympic weightlifting bars (like Eleiko). It allows for easy grip transitions during snatches but can shred hands during high-rep deadlifts.
Center Knurl and Ring Spacing
For squat setups, a center knurl is non-negotiable. It grips the fabric of your shirt or the bare skin of your upper back, preventing the bar from sliding during heavy low-bar squats. Ensure your chosen bar features IPF rings (810mm apart) for powerlifting, or IWF rings (910mm apart) for weightlifting, as these serve as your tactile guides for hand placement during bench presses and snatches.
Step-by-Step Barbell and Rack Installation Walkthrough
Once your budget is set and your barbell is selected, it is time to execute the physical setup. Proper installation of your squat rack and barbell ensures safety and equipment longevity.
Step 1: Unboxing and Shaft Inspection
Do not simply load the bar and start lifting. Out of the box, run a plastic zip-tie or a bare microfiber cloth slowly down the entire length of the shaft. If the zip-tie snags or the cloth pulls threads, the bar has machining burrs. Contact the manufacturer immediately for a replacement. A defective knurl will tear your hands and degrade over time.
Step 2: Rack Hardware and J-Cup Alignment
When bolting your power rack or squat stand to the floor or stabilizer feet, use a calibrated torque wrench. Most 3x3-inch, 11-gauge steel uprights require hardware torqued to exactly 80 to 90 ft-lbs. Under-torquing leads to rack sway during re-racking; over-torquing can strip the threads or warp the steel brackets.
Install your J-cups at the appropriate height. The bar should rest at mid-chest level. Verify that the UHMW (Ultra-High Molecular Weight) plastic inserts on the J-cups are fully seated. This plastic is what absorbs the impact of the barbell's steel sleeves, protecting both the rack and the bar's finish.
Step 3: Sleeve and Bearing Check
Before adding weight plates, spin the sleeves. A high-quality barbell utilizes either bronze bushings (for slower, heavier powerlifting movements) or needle bearings (for rapid Olympic lifts). The sleeve should spin freely and come to a gradual, smooth halt. If it stops abruptly or grinds, the internal lubrication is insufficient or the bushing is misaligned.
Ongoing Maintenance and Calibration
Chalk, sweat, and dead skin will rapidly pack into the knurling valleys, creating a smooth, slippery surface and promoting oxidation (rust), even on stainless steel shafts.
Pro-Tip: Once a month, take a stiff nylon brush (never wire, as it damages the steel) and scrub the knurling while applying a few drops of 3-in-One oil or a specialized barbell cleaner. Wipe it down with a dry rag. This maintains the 'volcano' grip and prevents zinc or chrome flaking.
By understanding the true cost dynamics of dumbbells versus barbells, and taking the time to properly select, inspect, and install your Olympic barbell, you build a home gym foundation that is both economically sound and built for decades of heavy performance.
More gear to consider
All reviews
Bowflex Dumbbells Stuck on One Side? Storage & Rack Layout Fixes

How to Exercise Shoulders with Dumbbells: Rack Guide

Select a Weight: Dumbbells & Bumper vs Iron Plate Value

Beyond Dumbbell Workout Names: The Complete Barbell Collar Setup Guide
Rubber Hex vs Urethane: Top Dumbbells for a Woman's Bench Press