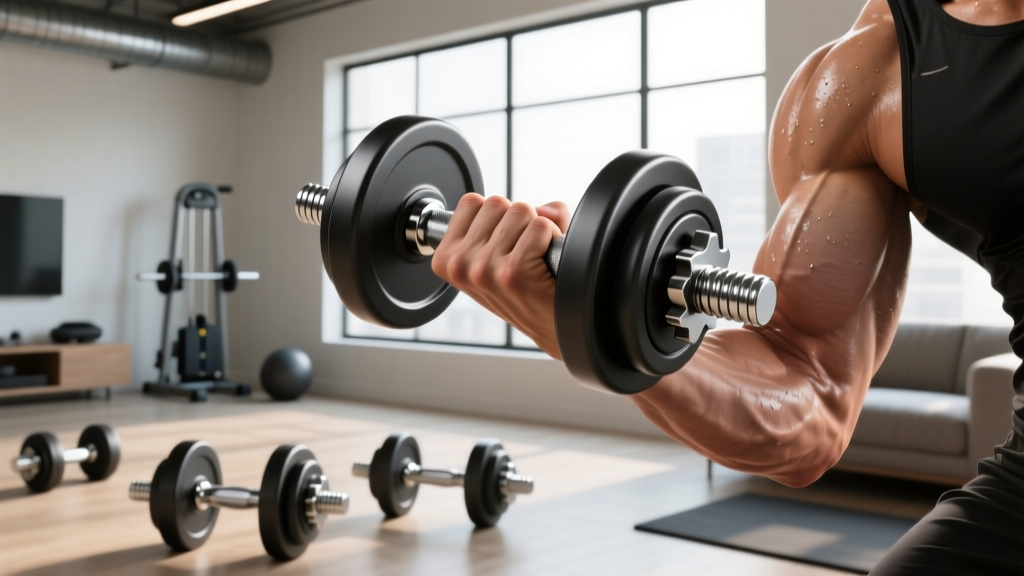
Barbell Collar Setup & Stiff Leg Deadlift with Dumbbells
Master your rig with our barbell collar installation walkthrough, clamp comparison, and setup guide for the stiff leg deadlift with dumbbells.

The Foundation of Free Weight Safety
Whether you are loading an Olympic barbell for heavy squats or transitioning to the floor for a stiff leg deadlift with dumbbells, the integrity of your equipment setup dictates the safety and efficacy of your training session. A comprehensive home or commercial gym requires more than just iron; it demands precision hardware and strict installation protocols. In this 2026 equipment walkthrough, we break down the exact installation procedures for modern barbell collars, compare clamp mechanisms, and provide a biomechanical setup guide for dumbbell hinge movements. Securing your plates and mastering your stance are two sides of the same coin when it comes to injury prevention and force production.
Barbell Collar and Clamp Types Comparison
Not all collars are engineered equally. The market is saturated with cheap spring clips that fail under axial load, alongside premium lever clamps designed for IWF-standard drops. According to BarBend's comprehensive barbell collar testing, the primary failure point for budget collars is the loss of radial tension over repeated micro-impacts. When a 45lb bumper plate hits the floor, the kinetic energy translates into lateral sleeve force, which can easily overcome the 40 lbs of radial tension a standard spring clip provides.
Below is a technical comparison of the four primary collar types available on the market today, factoring in current 2026 pricing and material science.
| Collar Type | Model Example | Est. Price (Pair) | Locking Mechanism | Best Use Case |
|---|---|---|---|---|
| Spring Clip | Generic Chrome Spring | $10 - $15 | Coil Tension | Light accessories, warm-ups, machine pins |
| Snap-Fit Polymer | Lockjaw Pro | $25 - $35 | TPU Latch & O-Ring | CrossFit, high-rep Olympic lifts, garage gyms |
| Aluminum Lever | Rogue HG 2.0 | $90 - $100 | Forged Steel Cam & Lever | Powerlifting, heavy eccentrics, commercial racks |
| Competition Lever | Eleiko Olympic | $130 - $145 | Precision Machined Steel | Sanctioned weightlifting meets, elite platforms |
Complete Installation Walkthrough: Securing the Olympic Sleeve
Proper installation of a lever or snap-fit collar requires attention to the 50mm (1.968-inch) Olympic sleeve standard. Follow this step-by-step walkthrough to ensure maximum clamping force.
Step 1: Sleeve Preparation and Cleaning
Before loading plates, wipe down the barbell sleeve with a microfiber cloth and a light application of 3-in-One oil or specialized barbell cleaner. Chalk dust, sweat, and oxidized zinc create a microscopic layer of debris that reduces the friction coefficient between the collar's internal O-ring and the steel sleeve. A clean sleeve ensures the collar bites into the metal rather than sliding over a layer of grime.
Step 2: Plate Loading and Gap Management
Load your calibrated plates or bumpers tightly against the inner sleeve flange. The critical error most lifters make is leaving too much space between the last plate and the end of the sleeve. You must leave exactly 1/4 to 1/2 inch of exposed sleeve. This gap allows the internal lip of a lever clamp (like the Rogue Fitness collar lineup) to seat fully against the outer face of the plate, applying inward axial pressure that eliminates plate rattle.
Step 3: Collar Engagement and Cam Locking
- For Polymer Snap-Fits (Lockjaw): Slide the collar onto the sleeve until the internal O-ring passes the edge of the plate. Push the TPU latch down until you hear an audible click. The latch should sit flush against the sleeve.
- For Aluminum Lever Clamps (Rogue HG): Open the lever fully. Slide the collar onto the sleeve, ensuring the inner plastic shim is flush against the plate. Push the lever closed. You must push past the 90-degree apex until the steel cam locks into the over-center position. If the lever does not require significant thumb pressure to close the final 15 degrees, the collar is too loose; adjust the tension screw with an Allen key.
Floor Setup Walkthrough: Stiff Leg Deadlift with Dumbbells
Transitioning from barbell rigging to free-standing dumbbell work requires a shift in spatial awareness. The stiff leg deadlift with dumbbells is a premier hip-hinge movement designed to isolate the hamstrings and glutes while minimizing knee flexion. According to the ExRx kinesiology database, the biomechanical demand of this exercise places immense shear force on the lumbar spine if the setup and eccentric lowering phases are not meticulously controlled.
Step 1: Dumbbell Selection and Stance Alignment
Opt for urethane hex dumbbells (e.g., Rogue Urethane Hex, typically priced around $3.50/lb). The hexagonal heads prevent the weights from rolling away when set on the floor or during the brief pause at the bottom of the movement. Stand with your feet hip-width apart (roughly 8 to 10 inches between your heels). Point your toes forward or slightly outward (5-10 degrees). The dumbbells should rest on the floor directly outside your shins, aligning the center of the handle with your mid-foot.
Step 2: The Pick-Up and Starting Position
Do not bend over at the waist to grab the weights. Instead, perform a standard squat to grip the dumbbells. Stand up by driving through your mid-foot, locking out your hips and knees. Pull your shoulder blades down and back (scapular depression and retraction) to engage the lats. This is your starting position. The dumbbells should be resting against the front of your thighs.
Step 3: Hinge Mechanics and Eccentric Lowering
- Unlock the Knees: Introduce a micro-bend in your knees (about 10 to 15 degrees). This angle must remain locked throughout the entire set; the stiff leg deadlift is not a Romanian Deadlift (RDL), which features a deeper knee bend.
- Initiate the Hinge: Push your hips backward as if trying to close a car door with your glutes. Do not simply bend forward at the waist.
- Bar Path (Dumbbell Path): Keep the dumbbells in constant contact with your thighs, grazing your knees and shins as you descend. This keeps the center of mass over your mid-foot, reducing lumbar torque.
- Depth Limit: Lower the weights only until you feel a profound stretch in the hamstrings or your torso reaches parallel to the floor. If your lower back begins to round (spinal flexion), you have gone too deep for your current mobility.
Expert Insight: The stiff leg deadlift with dumbbells allows for a greater range of motion than a barbell variation because the dumbbells can pass beside the legs rather than being blocked by the shins. Use this extra depth to maximize hamstring stretch, but only if your pelvic tilt remains neutral.
Equipment Failure Modes & Edge Cases
Even with premium gear, edge cases occur during intense training cycles. Here is how to troubleshoot common failures:
Collar Slippage on Knurled Sleeves
Some aggressive power bars feature knurling that extends further out the sleeve than standard Olympic bars. If a polymer collar's internal O-ring seats directly on top of sharp knurling, the steel will slice the rubber under heavy axial load, leading to slippage. Solution: Always position the collar on the smooth, unknurled portion of the sleeve, adjusting your plate width if necessary.
Dumbbell Grip Fatigue During High-Rep Hinges
When performing sets of 12-15 reps on the stiff leg deadlift with dumbbells, grip strength often fails before the hamstrings do. The thick handles of heavy hex dumbbells (often 35mm+ in diameter) tax the forearm flexors. Solution: Use chalk to increase friction, or incorporate lifting straps (like Rogue Versa Lifting Straps, ~$25) for your final two working sets to ensure the target musculature reaches true failure.
Expert Troubleshooting FAQ
How tight should a lever barbell collar actually be?
A properly installed lever collar should be tight enough that you cannot slide it off the sleeve using only your bare hands without disengaging the lever. It should require a firm slap or push to open the cam mechanism. If you can twist the collar back and forth on the sleeve by hand, it is too loose and will allow plates to rattle during explosive movements.
Can I use spring clips for the stiff leg deadlift with dumbbells?
Spring clips are irrelevant for dumbbell exercises, as dumbbells do not utilize sleeves or collars. However, if you are supersetting dumbbell stiff leg deadlifts with barbell good mornings or rows, ensure the barbell is secured with lever clamps, not spring clips, especially if you are dropping the bar back onto the J-cups from a height.
Why do my Lockjaw collars crack in cold garages?
Thermoplastic Polyurethane (TPU) becomes brittle at temperatures below 40°F (4°C). If you train in an unheated garage gym during winter, the snap-fit latches on polymer collars are prone to micro-fractures and sudden snapping. Upgrade to forged aluminum lever clamps for cold-weather environments, as steel and aluminum maintain their structural integrity regardless of ambient temperature.
More gear to consider
All reviews
Olympic vs Standard Plates: Sizing for Your Dumbbell Hip Thrust Belt
Dumbbell Press vs Bench Press: Olympic vs Standard Plate Setup

Bumper vs Iron Plate Trends & Dumbbell Exercises for Seniors PDF

Compact Home Gym: Tricep Dumbbell Workout With Loadable Plates

Bumper vs Iron Plates: Gym Layouts & Supination with a Dumbbell