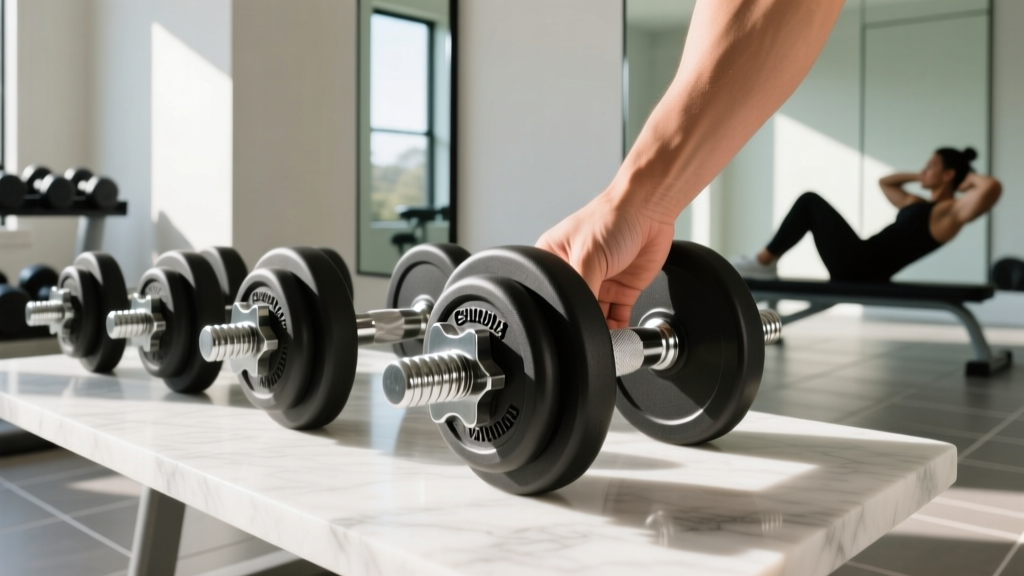
Beginner Dumbbell Shoulder Press Workout Using Neoprene Weights
Master the beginner dumbbell shoulder press workout at home using neoprene coated weights. Step-by-step form guide, routines, and gear tips inside.

The Case for Neoprene Dumbbells in Home Gyms
Building a home gym in 2026 doesn't require dropping thousands of dollars on commercial-grade equipment right out of the gate. For beginners focusing on foundational movements, neoprene-coated dumbbells are the undisputed champions of accessibility, safety, and floor protection. Neoprene (polychloroprene) is a synthetic rubber that offers a slightly porous, sweat-resistant grip, making it vastly superior to bare cast iron or slick vinyl when your hands get clammy during a challenging set.
Furthermore, neoprene dumbbells are universally color-coded by weight, eliminating the guesswork from your progression. A standard industry color map usually assigns red to 5 lbs, green to 10 lbs, blue to 15 lbs, gray to 20 lbs, and purple to 25 lbs. Priced between $1.50 and $2.20 per pound, a starter pair of 10 lb and 15 lb neoprene dumbbells from reputable brands like CAP Barbell or Amazon Basics will cost you roughly $50 to $70 total—an incredibly low barrier to entry for a complete upper-body transformation.
Material Comparison: Which Dumbbell Coating is Right for You?
| Material | Pros | Cons | Avg. Cost per lb (2026) |
|---|---|---|---|
| Neoprene | Sweat-resistant grip, color-coded, floor-safe, quiet | Fixed weight only, can degrade with heavy UV exposure | $1.50 - $2.20 |
| Hex Rubber | Anti-roll design, durable, heavier weight options | Strong initial odor, slippery when wet, bulky heads | $1.80 - $2.50 |
| Urethane | Commercial durability, odorless, precise weight calibration | Expensive, overkill for light home use | $3.50 - $5.00+ |
| Bare Cast Iron | Classic feel, compact, indestructible | Rusts easily, damages hardwood floors, loud drops | $1.20 - $1.80 |
Step-by-Step: Perfecting Your Dumbbell Shoulder Press Form
The dumbbell shoulder press is a compound movement that primarily targets the anterior (front) and medial (side) deltoids, while heavily recruiting the triceps and upper chest. However, poor form is a fast track to shoulder impingement. According to biomechanical guidelines outlined by the American Council on Exercise (ACE), joint alignment and scapular positioning are critical for long-term shoulder health.
- The Setup: Sit on a bench with back support (or stand for core engagement). Hold a neoprene dumbbell in each hand at shoulder height. Your palms should face forward, but not strictly out to the sides.
- The Scapular Plane Adjustment: This is the most crucial step for beginners. Do not flare your elbows out to 180 degrees (the frontal plane). Instead, tuck your elbows slightly forward, about 15 to 30 degrees in front of your torso. This is called the scapular plane or scaption. It aligns the humerus with the natural orientation of your shoulder blade, drastically reducing the risk of rotator cuff impingement.
- Wrist Stacking: Ensure your wrists are perfectly stacked over your elbows. A common failure mode is letting the wrists extend backward (hyperextension) under the load, which leaks power and strains the carpal joints. Grip the neoprene tightly to activate irradiation, a neurological phenomenon where gripping hard increases tension in the surrounding muscles.
- The Press: Brace your core as if preparing for a punch to the stomach. Exhale and press the weights upward and slightly inward, stopping just short of locking out your elbows to maintain constant tension on the deltoids.
- The Eccentric Lowering: Inhale and slowly lower the dumbbells back to the starting position over a full 2 to 3 seconds. Control the eccentric phase; do not let gravity pull the weights down for you.
Beginners often arch their lower back excessively to push the weight up, flaring their ribs toward the ceiling. This shifts the load away from the shoulders and onto the lumbar spine. Keep your ribs "knitted" down and your glutes squeezed to maintain a neutral pelvis throughout the entire set.
The 4-Week Beginner Dumbbell Shoulder Press Workout
To build muscle and neurological efficiency, you need a structured progression. This routine is designed to be performed twice a week, with at least 48 hours of rest between sessions. We will utilize the concept of Reps in Reserve (RIR). An RIR of 2 means you stop the set when you feel you could only complete exactly two more reps with perfect form.
Weeks 1 & 2: Neuromuscular Adaptation
The goal here is to groove the movement pattern and condition the connective tissue.
- Exercise: Seated Dumbbell Shoulder Press (Scapular Plane)
- Sets: 3
- Reps: 10 - 12
- Rest: 90 seconds between sets
- Intensity: 3 RIR (Stop well before failure)
- Tempo: 1 second up, 2 seconds down
Weeks 3 & 4: Hypertrophy & Load Progression
Now that your form is locked in, we increase the mechanical tension. If you used 10 lb neoprene dumbbells for the first two weeks and hit 12 reps easily on all three sets, it is time to move up to the 15 lb pair.
- Exercise: Seated Dumbbell Shoulder Press (Scapular Plane)
- Sets: 4
- Reps: 8 - 10
- Rest: 120 seconds between sets
- Intensity: 1 to 2 RIR (Pushing closer to muscular failure)
- Tempo: 1 second up, 3 seconds down (emphasizing the eccentric stretch)
Pro-Tip for Balanced Development: The shoulder press is a "push" exercise. To prevent postural imbalances and shoulder pain, you must pair it with a "pull" exercise. For every set of shoulder presses you perform, do a set of dumbbell chest-supported rows or face pulls. This ensures your rear deltoids and rhomboids are strong enough to stabilize the shoulder joint during heavy overhead pressing.
When to Upgrade: Outgrowing Neoprene Weights
Neoprene dumbbells are phenomenal for the first 3 to 6 months of your fitness journey. However, the deltoids and triceps adapt quickly, and you will soon find that the 25 lb or 30 lb neoprene pairs are no longer challenging enough for an 8-rep set. Furthermore, buying individual fixed-weight pairs past 25 lbs becomes economically inefficient and eats up valuable floor space in your home gym.
Once you can comfortably press a pair of 25 lb neoprene dumbbells for 4 sets of 12 reps with strict form, it is time to transition to adjustable dumbbells. Models like the Bowflex SelectTech 552 (which adjusts from 5 to 52.5 lbs in 2.5 lb increments) or the PowerBlock Elite USA (which utilizes a blocky, cage-like design for extreme durability) are the standard 2026 upgrades. While the upfront cost is higher—typically ranging from $350 to $450 per pair—they replace up to 15 sets of fixed neoprene dumbbells, offering a massive return on investment and allowing for micro-loading, which is essential for continued shoulder joint safety as the weights get heavier.
By starting with budget-friendly, grip-optimized neoprene weights and strictly adhering to scapular-plane mechanics, you will build a resilient, muscular set of shoulders while completely avoiding the beginner pitfalls that lead to injury. Grab your weights, brace your core, and press with purpose.
More gear to consider
All reviews
2026 Trends: Loadable Gear for Back Exercises for Men with Dumbbells
Olympic vs Standard Plates Setup & Dumbbell Lunges Workout Guide

Single Leg Romanian Deadlifts With Dumbbells: 2026 Form & Gear Guide

Bumper vs Iron Plate Care & Incline Dumbbell Skull Crusher Longevity
Power Rack vs Squat Rack vs Stand: Best Dumbbell Chest Exercise Setup