
Leg Press Machine for Quads vs Calf Raise: Standing vs Seated Fixes
Fix lower body machine errors. We troubleshoot using a leg press machine for quads and compare standing vs seated calf raise mistakes.

The modern commercial gym is filled with highly engineered lower body equipment, yet user error remains the primary barrier to hypertrophy and injury prevention. Two of the most frequently misused applications on the fitness floor involve optimizing the leg press machine for quads and navigating the biomechanical differences between standing and seated calf raise machines. While these machines seem straightforward, subtle deviations in joint angles, pad placement, and sled tracking can completely alter the stimulus or, worse, lead to chronic joint degradation.
In this comprehensive troubleshooting guide, we break down the exact failure modes of these staple machines. Whether you are trying to isolate the vastus lateralis on a 45-degree sled or decide between a standing and seated calf raise machine for targeted triceps surae development, this guide provides the mechanical fixes and equipment-specific insights you need.
The Leg Press Machine for Quads: Biomechanical Mistakes and Fixes
Using a leg press machine for quads requires a specific foot placement: low and narrow on the footplate. This increases knee flexion at the bottom of the movement, thereby placing a greater stretch and mechanical tension on the quadriceps compared to a high, wide stance (which biases the glutes and adductors). However, this quad-focused setup introduces severe troubleshooting challenges.
Common Error: Lumbar Flexion (The 'Butt Wink')
When you place your feet low on the sled to target the quads, your knees must travel further forward. In 2026, biomechanical analyses consistently show that lifters with poor ankle dorsiflexion or short femurs will compensate by tilting their pelvis posteriorly at the bottom of the press. This lifts the sacrum off the backpad, placing massive shear force on the L4-L5 vertebrae.
⚠️ Troubleshooting Fix: Do not chase maximum depth at the expense of pelvic stability. Limit your range of motion to the exact millimeter before your lower back breaks contact with the pad. If you are using a premium unit like the Prime Fitness 45-Degree Leg Press (retailing around $3,800), utilize the adjustable backpad angle to open up the hip joint, allowing for deeper knee flexion without posterior pelvic tilt.Common Error: Knee Valgus Under Heavy Load
A narrow foot placement often causes the knees to cave inward (valgus) during the concentric phase. This is a failure of the gluteus medius and vastus medialis oblique (VMO) to stabilize the patellar tracking.
- The Fix: Widen your stance by exactly two inches. It will still bias the quads but provides a stable base for the adductors to co-contract.
- Equipment Check: Inspect the footplate texture. Worn-out diamond-plate metal or smooth rubber causes micro-slipping, forcing the lifter to grip with their toes and altering knee tracking.
The 'Leg Press Calf Raise' Fallacy
Many lifters attempt to use the leg press machine for calf raises by sliding down and pressing the sled with the balls of their feet. From a kinesiology perspective, this is a compromised movement. According to data on triceps surae activation published by ExRx Kinesiology, the gastrocnemius crosses both the knee and the ankle joint. It is most active when the knee is fully extended.
On a 45-degree leg press, your knees are bent at roughly 45 to 60 degrees. This places the calf in a biomechanical 'dead zone'—it is neither fully extended (like a standing calf raise) nor fully flexed at 90 degrees (like a seated calf raise). Furthermore, the risk of the heavy sled slipping off the balls of the feet and crushing the toes is a documented emergency room hazard. Always transition to a dedicated calf machine for lower leg isolation.
Standing vs. Seated Calf Raise Machines: The Data
Choosing between a standing and seated calf raise machine is not a matter of preference; it is a matter of anatomical targeting. The calf is primarily composed of the gastrocnemius (the large, diamond-shaped superficial muscle) and the soleus (the deeper, wider muscle). Below is a comparative matrix to help you troubleshoot your programming and machine selection.
| Feature | Standing Calf Raise Machine | Seated Calf Raise Machine |
|---|---|---|
| Knee Angle | 170° - 180° (Nearly Extended) | 90° (Fully Flexed) |
| Primary Target | Gastrocnemius | Soleus |
| Optimal Rep Range | 8 - 12 (Heavy Load) | 15 - 25 (Metabolic Stress) |
| Industry Standard Model | Hammer Strength Plate-Loaded (~$2,100) | Cybex Selectorized Seated (~$1,400) |
Troubleshooting Standing Calf Raise Machines
The standing calf raise machine is notorious for causing lower back and knee pain when used incorrectly. Because the load is applied axially (downward through the spine), troubleshooting your setup is critical.
1. Shoulder Pad Placement Errors
The Mistake: Resting the pads on the cervical spine (neck) or too far out on the acromion (shoulder joints). The Fix: The pads must sit squarely on the upper trapezius. If you are using a plate-loaded unit, ensure the pivot point of the lever arm aligns with your ankle joint, not your knee. Misalignment here causes the pad to slide forward or backward during the repetition, creating shear force on the spine.
2. Knee Hyperextension
The Mistake: Locking the knees out completely to move more weight. The Fix: Maintain a 'soft lock' (about 175 degrees of flexion). As highlighted in biomechanics guidelines from the National Strength and Conditioning Association (NSCA), hyperextending the knee shifts the tension away from the calf muscle belly and directly onto the popliteal ligament and joint capsule.
3. Bouncing Out of the Hole
The Mistake: Using the stretch reflex of the Achilles tendon to bounce out of the bottom position. The Fix: Implement a strict 2-second pause at the bottom of the dorsiflexion phase. This dissipates the elastic energy and forces the muscle fibers to initiate the concentric contraction. If your machine has a restricted bottom stopper, adjust it to allow a full 2-inch heel drop below the footplate level.
Troubleshooting Seated Calf Raise Machines
Seated calf machines isolate the soleus, which is composed of predominantly slow-twitch muscle fibers. Troubleshooting this machine revolves around pad security and ankle mobility.
1. Thigh Pad Slippage
The Mistake: Placing the thigh pad too close to the hips. When the heel drops, the pad slides forward, reducing tension on the calf. The Fix: The pad must be locked directly over the distal femur, just above the knee joint. Use the adjustment pin to pull the pad tight against your legs. You should not be able to slide your hand between the pad and your thighs before initiating the lift.
2. Inadequate Dorsiflexion (The Half-Rep Syndrome)
The Mistake: Lifters often load the seated calf machine with 200+ lbs, resulting in a tiny, two-inch range of motion. The Fix: Drop the weight by 40%. The soleus requires a deep stretch to trigger hypertrophy. Your heel must drop below the edge of the foot block until you feel an intense stretch deep in the lower calf. If your ankle mobility restricts this, perform tibialis anterior stretches between sets.
"The soleus is an endurance muscle designed to keep you upright all day. It responds poorly to heavy, low-rep sets on the seated machine. Keep the load moderate, the tempo slow, and the burn high."
Equipment Maintenance and Failure Modes
Even with perfect form, poorly maintained equipment will ruin your workout. If you manage a home gym or are troubleshooting commercial floor equipment, watch for these specific failure modes:
- Guide Rod Pitting (Selectorized Machines): If the weight stack on a seated calf machine stutters on the way up, the linear bearings are likely failing due to pitted guide rods. Wipe rods with a silicone-based lubricant monthly; never use WD-40, which attracts dust and creates a grinding paste.
- Pivot Point Friction (Plate-Loaded Standing): The lever arm on a standing calf raise relies on a heavy-duty pivot bolt. If the machine squeaks or feels 'sticky' at the top of the movement, the bronze bushing inside the pivot is dry. It requires disassembly and application of white lithium grease.
- Foot Block Wear: The diamond-plate foot block on leg presses and calf machines wears smooth over time. If you find your feet slipping during heavy calf raises, apply a layer of athletic tape to the block or request the gym owner to replace the rubber grip overlay (a $50 fix that prevents catastrophic foot injuries).
Summary Checklist for Your Next Leg Day
Stop compromising your lower body development with sloppy machine setups. Next time you hit the gym, run through this quick diagnostic checklist:
- Leg Press for Quads: Feet low and shoulder-width. Stop the sled exactly when the pelvis begins to tilt. Keep the lower back glued to the pad.
- Abandon Leg Press Calves: Move to a dedicated machine to ensure proper knee angles and toe safety.
- Standing Calves: Soft knee lock, pads on the traps, 2-second pause in the deep stretch.
- Seated Calves: Pad locked tight over the distal femur, high reps (15-25), full range of motion.
By treating equipment setup with the same precision as your nutritional programming, you will unlock new hypertrophy pathways and extend the lifespan of your joints. Master the machine, and the results will follow.
More gear to consider
All reviews
Data vs Cold: How Quantitative Insights Transform Thermal Protection in Legwear Engineering

Squat Rack vs Planet Fitness Leg Press Machine: Space Layout Guide
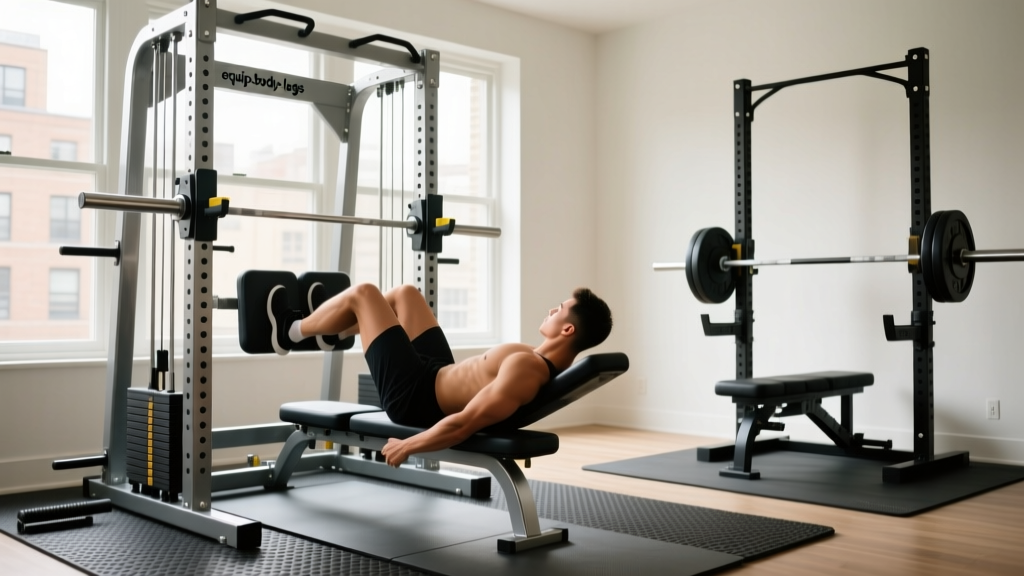
Hack Squat vs Leg Press: Setup a Leg Press at Home Without a Machine
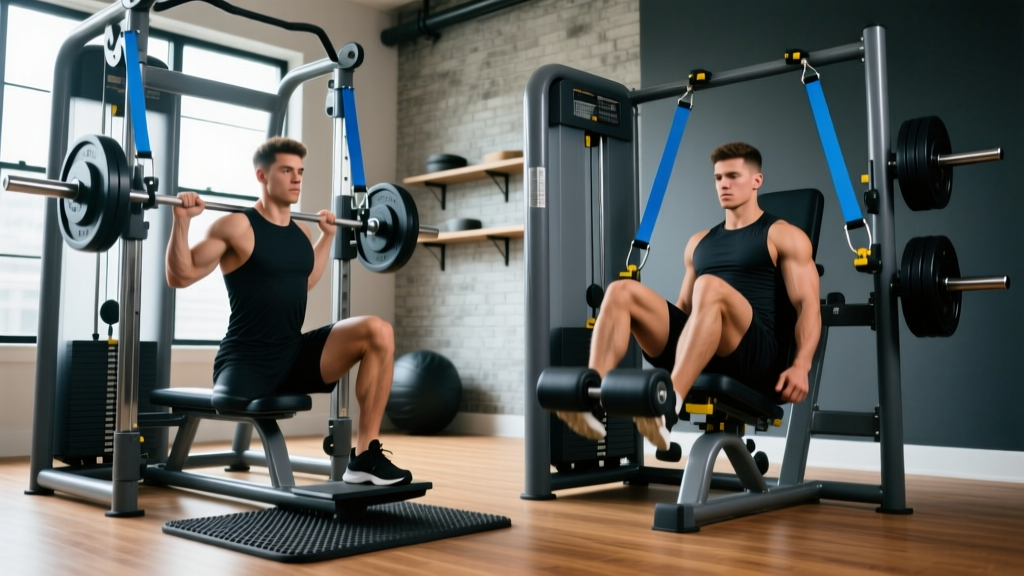
Hack Squat vs Leg Press Setup & Leg Press Machine Exercises

Leg Press Machine Types Compared: Best for Home Gyms
