
ProForm Treadmill Performance 400 Setup & Feature Comparison
Master the ProForm Treadmill Performance 400 setup with our complete installation walkthrough and feature comparison guide for smart cardio buying.

Unboxing and Space Planning: The Reality of Budget Treadmills
Bringing a new cardio machine into your home gym is an exciting milestone, but the bridge between unboxing and your first workout is paved with Allen wrenches and heavy lifting. The ProForm Treadmill Performance 400 has long been a staple in the entry-level fitness market, offering a compact footprint and straightforward console. However, as buyers in 2026 demand more from their home equipment, understanding the physical setup process is just as critical as evaluating the digital features.
Before you unseal the box, you must evaluate your spatial requirements. The Performance 400 measures approximately 65 inches long by 28 inches wide when fully assembled. While this is notably more compact than commercial-grade decks, you must account for safety clearances. The American College of Sports Medicine recommends at least 2 feet of clearance on each side and 6 feet behind the treadmill to prevent injury in the event of a fall. Weighing in at roughly 135 pounds in the box, this is strictly a two-person unboxing job. Do not attempt to pivot the boxed base through standard 30-inch interior doorways alone; the cardboard will tear, and the internal styrofoam will fail to protect the motor housing.
⚠️ Installation Warning: The most common Day-1 failure on budget ProForm models is a pinched console data cable. Never route the upright wires without utilizing the provided foam protective sleeve, and ensure the zip-ties are snug but not crushing the internal copper wiring.Step-by-Step Installation Walkthrough
The assembly of the ProForm Treadmill Performance 400 is designed for DIY installation, typically taking 45 to 60 minutes with a standard 10mm socket wrench and the included Allen keys. Here is the professional sequence to avoid misalignment and wire damage.
1. Base Preparation and Upright Installation
Carefully cut the box straps and remove the top cardboard. Do not flip the box; instead, pull the cardboard sleeve up and off the base. Lay the base on a high-density EVA foam mat to protect both your flooring and the machine's plastic shrouds. Identify the left and right uprights (marked with subtle stickers near the base). When bolting the uprights to the base using the M8x15mm hex bolts, leave them 10% loose. This slight play is crucial; it allows you to align the pre-routed internal data cables without putting tension on the delicate connector pins.
2. Routing the Console Wires
This is the critical failure point. Feed the wire from the base up through the left upright. Use the included wire pull-string. When connecting the left and right uprights to the main console mast, ensure the wire is routed behind the metal bracket, not in front of it. Tightening the console bolts with the wire in front will instantly sever the data connection, resulting in a blank console and a voided warranty claim.
3. Console and Handrail Attachment
Mount the console to the uprights using the M8x30mm bolts. Connect the data cable, ensuring you hear a definitive 'click' from the plastic retaining clip. Attach the side handrails and tighten all previously loosened base bolts in a star pattern to ensure even weight distribution across the frame.
Feature Comparison: Performance 400 vs. 2026 Market Standards
As you tighten the final bolts, it is the perfect time to evaluate what you have actually purchased. The treadmill buying guide landscape has shifted dramatically. While the ProForm Treadmill Performance 400 offers excellent value for walkers and light joggers, how do its core features stack up against the 2026 baseline for entry-level cardio machines? According to the Consumer Reports Treadmill Buying Guide, modern buyers must scrutinize continuous duty horsepower (CHP) and belt dimensions to ensure long-term joint and motor health.
| Feature Category | ProForm Performance 400 | 2026 Entry-Level Standard (e.g., Horizon T101) | Buyer Impact & Verdict |
|---|---|---|---|
| Motor Size | 2.0 HP (Mach Z) | 2.5 to 2.75 CHP | Adequate for walking; may overheat during sustained 6+ mph running. |
| Running Surface | 18" x 50" | 20" x 55" | 18" width requires strict forward focus. Not recommended for tall runners. |
| Incline System | Manual (3-position) | Motorized (0-10%) | Manual incline limits workout variety and iFIT auto-adjustment capabilities. |
| Top Speed | 10 MPH | 10 to 12 MPH | 10 MPH is sufficient for 90% of home users, capping out at a 6:00/mile pace. |
| Console Tech | Basic LCD / Tablet Shelf | Integrated Touchscreens | BYOD (Bring Your Own Device) approach saves money but relies on personal tablets. |
'When evaluating budget treadmills, the running belt width is the most compromised feature. An 18-inch belt, like the one found on the Performance 400, is perfectly safe for walking and power-hiking. However, as Wirecutter's comprehensive treadmill testing notes, runners naturally drift laterally when fatigued. If you plan on running intervals, a 20-inch minimum width is a non-negotiable safety standard in 2026.'
Calibration and First-Run Diagnostics
Once the physical assembly is complete, do not immediately jump on and start a 5K. Proper calibration ensures the longevity of the deck and the accuracy of the console metrics.
Belt Tension and Tracking
Plug the machine into a dedicated 120V outlet (avoid GFCI outlets or extension cords, as the motor's startup surge can trip the breaker). Insert the magnetic safety key. Start the treadmill at 2.0 MPH and observe the rear roller. The belt should track dead-center. If it drifts left, insert the Allen key into the left rear roller cap and turn it clockwise exactly one-quarter turn. Wait 30 seconds for the belt to adjust before making further corrections. Over-tightening the belt to fix tracking is a rookie mistake that will prematurely burn out the 2.0 HP motor.
Deck Lubrication Check
While many modern belts come pre-lubricated from the factory, budget models occasionally ship with dry decks to save on manufacturing costs. Lift the edge of the belt in the center of the deck. Run your finger along the underside. It should feel slick with silicone lubricant. If it feels dry or gritty, apply 100% silicone treadmill lubricant immediately. Running a dry 18x50 belt on a 2.0 HP motor creates excessive friction, drawing higher amperage and triggering the machine's internal thermal breaker within the first 20 minutes of use.
Final Verdict: Who is the Performance 400 For?
The setup process of the ProForm Treadmill Performance 400 is highly manageable for the average DIYer, provided you respect the wire-routing protocols and bolt-tightening sequences. As a buying decision in 2026, it remains a highly specific tool: it is an exceptional, space-saving walking pad alternative for power-walkers, remote workers utilizing the tablet shelf for walking meetings, and those recovering from joint injuries who need a predictable, low-impact surface. However, if your feature comparison checklist includes motorized incline training, sub-7-minute mile pacing, or you stand over 6 feet tall, the 18-inch belt and manual incline will quickly become limiting factors, pushing you toward a mid-tier 20x55 alternative.
More gear to consider
All reviews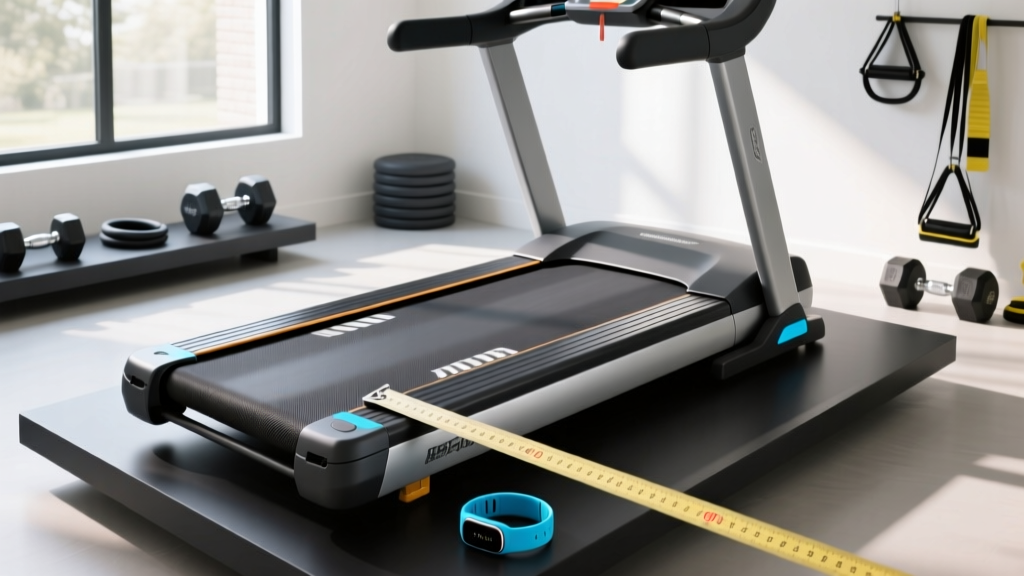
Calculate Treadmill Speed to Test Belt Slip: Expert Lube Reviews

Sunny Treadmill SF-T4400 Setup & Feature Comparison Guide
Folding Treadmill for Small Spaces & Treadmill Exercise App Value
Do Treadmills Work Better With High HP? Setup Guide

Benefits of Working Out on a Treadmill: Sole F80 vs Peloton Tread
