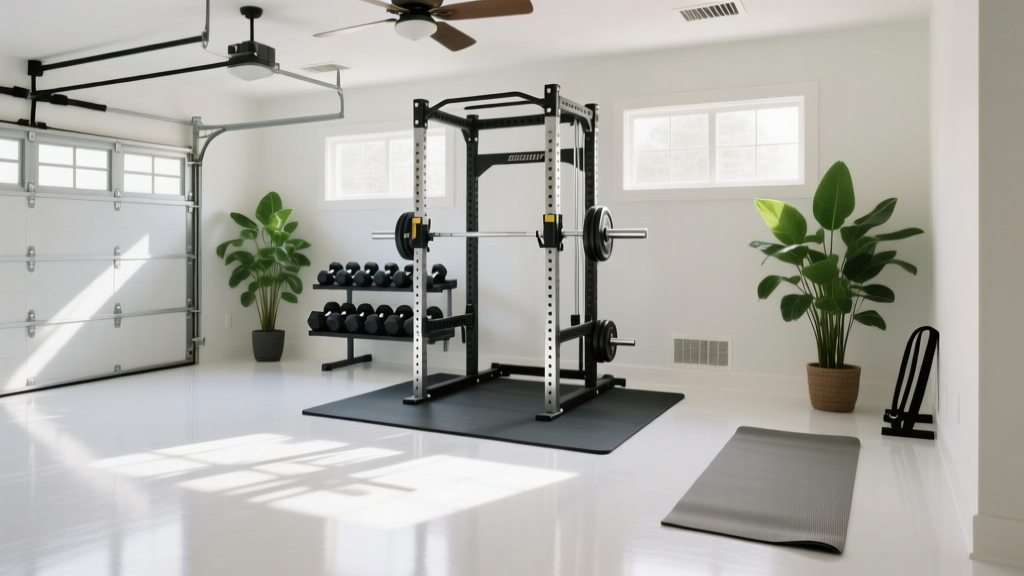
Weatherproof Outdoor Gym Setup & Home Gym Workout Plan PDF
Master your outdoor home gym setup with our weather-proofing walkthrough. Includes gear protection tips and a free home gym workout plan PDF.

The Reality of Outdoor Training: Why Weather Dictates Your Build
Taking your fitness routine outside is one of the most rewarding upgrades you can make to your lifestyle, but building an outdoor home gym in 2026 requires a radically different approach than converting a spare bedroom or garage. Mother Nature is relentless. UV radiation degrades polymers, humidity invites rapid oxidation on bare steel, and freeze-thaw cycles can heave improperly laid foundations. If you simply drag indoor equipment onto a patio, you will face thousands of dollars in replacement costs within 18 months.
This complete setup and installation walkthrough will guide you through engineering a weatherproof outdoor training facility. Furthermore, because outdoor training requires adapting to environmental stressors, we have integrated our proprietary home gym workout plan PDF framework to help you periodize your training around local weather patterns, ensuring safety and optimal performance year-round.
⚠️ CRITICAL WARNING: Never install standard indoor rubber flooring or bare-steel power racks directly on grass or dirt. Moisture wicking from the soil will destroy the equipment base and create a dangerous, slippery surface.Phase 1: Base Preparation and Drainage Engineering
Your foundation is the single most important weather consideration. A failed base leads to pooling water, which accelerates rust on your squat stands and creates a slip hazard during heavy lifts.
The Permeable Paver System (Best for Rain-Heavy Climates)
Instead of pouring a solid concrete slab—which requires expensive permitting and precise sloping—we recommend a permeable interlocking rubber paver system over a crushed stone base.
- Excavation: Dig out a 10x10 foot area to a depth of 6 inches.
- Geotextile Fabric: Lay down a heavy-duty commercial weed barrier to prevent organic intrusion.
- Aggregate Base: Fill with 4 inches of 3/4-inch crushed angular gravel. Compact this with a plate compactor to create a load-bearing, free-draining sub-base.
- Surface Layer: Install 2-inch thick vulcanized rubber outdoor pavers (such as the Sterling Outdoor Tile or RevTime Heavy-Duty Pavers). These cost between $5.50 and $8.00 per square foot but allow rain to drain directly through the joints.
This setup ensures that even during a torrential downpour, your lifting surface remains dry and stable within minutes.
Phase 2: Equipment Selection and Rust Mitigation
The fitness equipment market is flooded with indoor-rated gear. When shopping for an outdoor rig, the finish of the steel is vastly more important than the brand name. According to metallurgical standards, standard black powder coating will begin to 'chalk' and micro-crack under UV exposure within two years, allowing moisture to reach the raw steel.
| Equipment Finish | UV Resistance | Moisture/Rust Rating | Cost Premium |
|---|---|---|---|
| Standard Powder Coat | Poor (Chalks in 2 yrs) | Low (Rusts if chipped) | Base Price |
| Zinc Plating | Moderate | High (Sacrificial layer) | + $80 - $120 |
| Hot-Dip Galvanized | Excellent | Extreme (Marine grade) | + $150 - $250 |
| Cerakote / Urethane | Excellent | Extreme | + $300+ |
Our Recommendation: Order your rig (like the Rogue SML-2 Monster Lite Squat Stand) with a factory Zinc or Galvanized upgrade. If you already own a powder-coated rig, you must apply a UV-stable marine-grade clear coat and perform bi-annual rust treatments.
Protecting the Knurling and Iron Plates
Barbell knurling and cast iron plates are essentially rust sponges. To protect them without ruining the grip, use a lanolin-based corrosion inhibitor like Fluid Film NAS. Unlike WD-40, which evaporates and strips lubrication, Fluid Film creeps into the micro-pores of the knurling, displacing moisture while maintaining a tacky grip. Apply it with a stiff nylon brush every 90 days.
For plates, avoid standard HI-Temp rubber bumpers, which will dry-rot and crack under direct sunlight. Invest in Urethane-coated plates or virgin rubber plates with heavy UV inhibitors, which typically cost around $3.50 to $4.50 per pound but will easily survive a decade outdoors.
Phase 3: Overhead Protection and Climate Control
Direct sunlight doesn't just damage gear; it severely limits your training capacity. The EPA's UV Index guidelines warn that prolonged exposure to high UV levels accelerates skin damage and increases core body temperature, drastically reducing time-to-exhaustion during heavy metabolic conditioning.
Installing a High-Density Shade Sail
Do not rely on a standard canvas canopy; they will tear in 40 MPH winds and trap heat underneath. Instead, install a knitted High-Density Polyethylene (HDPE) shade sail (such as the Coolaroo 90% UV Block series, approx. $90-$130).
- Mounting: Use 4x4 pressure-treated wooden posts set in 2 feet of concrete, or lag-bolt heavy-duty turnbuckles to your home's structural headers.
- Pitch: Always install the sail with a minimum 20-degree pitch. This prevents water from pooling in the center during heavy rainstorms, which can cause the sail to collapse under the weight.
Active Cooling: Misting Systems
If you live in an arid, high-heat climate (like Arizona or Nevada), install a high-pressure misting line along the perimeter of your rig. A standard 10-nozzle Orbit misting kit costs about $45 and can drop the ambient temperature under your shade sail by up to 20°F through evaporative cooling.
Phase 4: Integrating the Home Gym Workout Plan PDF
An outdoor gym requires a flexible training methodology. You cannot safely execute a high-volume barbell complex when the heat index is 105°F, nor can you perform heavy max-effort deadlifts when the ambient temperature is 25°F and your central nervous system is sluggish.
To solve this, we have designed our exclusive home gym workout plan PDF to be weather-responsive. When you download and print the PDF, you will notice it is divided into three distinct environmental tiers. Here is how to use the framework based on real-time weather data:
🌡️ The Weather-Responsive Training MatrixTier 1: Optimal (55°F - 80°F)
Execute the primary strength and hypertrophy blocks from the PDF. This is your standard progression model focusing on progressive overload, heavy compound lifts, and high-intensity interval finishes.
Tier 2: High Heat / High Humidity (81°F - 95°F+)
Shift to the PDF's 'Shaded Hypertrophy & Mobility' module. Drop the heavy axial-loading barbell movements (squats/deadlifts) which spike core temperature rapidly. Substitute with unilateral dumbbell work, kettlebell flows, and extended rest periods. Follow the CDC's NIOSH guidelines on heat stress by enforcing mandatory 10-minute shade-and-hydrate breaks every 40 minutes.
Tier 3: Cold / Freeze Conditions (Below 45°F)
Switch to the PDF's 'CNS Priming & Power' module. Cold weather reduces muscle elasticity and joint lubrication. The PDF outlines a mandatory 15-minute dynamic friction-warmup, followed by low-rep, high-velocity power movements (cleans, plyometrics) and sled pushes to generate internal body heat without exposing the body to prolonged time-under-tension in the cold.
By treating the weather as a variable in your periodization—rather than an obstacle—you ensure consistent progress without risking heat exhaustion or cold-weather muscle tears.
Phase 5: The Seasonal Maintenance Checklist
Even the most robust outdoor setup requires a strict maintenance cadence. Print this checklist and keep it in your gym's weatherproof lockbox:
- Spring (Post-Thaw): Inspect the rubber paver base for heaving. Power-wash the rig to remove winter pollen and apply a fresh coat of UV-protectant spray to all rubber bumper plates.
- Summer (Peak UV): Check the tension on your shade sail turnbuckles; HDPE fabric stretches over time. Re-apply Fluid Film to all barbell knurling and bare steel collars.
- Autumn (Pre-Rain): Clear all organic debris (leaves, pine needles) from the paver joints to ensure proper drainage. Bring chalk, lifting belts, and resistance bands indoors, as moisture will ruin them.
- Winter (Freeze Warning): If you use a water-based misting system, blow out the lines with an air compressor to prevent the brass nozzles from cracking during freeze cycles. Cover your pull-up bars with foam pipe insulation to prevent frostbite on your hands.
Final Thoughts on Outdoor Training
Building an outdoor home gym is an investment in both your physical health and your mental well-being. Training in the fresh air, with natural light and changing seasons, provides a psychological boost that no basement gym can replicate. By engineering your space with proper drainage, investing in galvanized steel, utilizing UV-blocking shade, and following a structured, weather-responsive home gym workout plan PDF, you are building a facility that will withstand the elements and serve you for decades.
More gear to consider
All reviews
2026 Trends: Garage Flooring & Ventilation for a Home Gym Hack Squat

Marcy Home Gym Instruction Manual: Electrical & Safety Troubleshooting

Best Home Gym Accessories Storage for Remodels: Slatwall vs Pegboard

Shared Gym Setup: Using Bowflex Home Gym Older Models for Couples

Trump Home Gym Tax Impact: 2 Budget Setups Under $500 Compared