
Smart Dumbbell Rack Storage & the Best Calf Exercise with Dumbbells
Optimize your home gym layout with space-saving dumbbell rack storage solutions, clearance metrics, and the perfect calf exercise with dumbbells.

As home fitness spaces evolve in 2026, the premium on square footage has never been higher. Whether you are converting a compact spare bedroom, a section of your garage, or a dedicated basement corner, the difference between a cluttered hazard zone and a high-performance training facility comes down to one critical factor: layout geometry. At the heart of this spatial puzzle is your dumbbell rack and storage solutions. Choosing the right rack is not just about holding iron; it is about optimizing volumetric efficiency, ensuring safe egress, and creating a seamless flow between your storage zone and your lifting zone.
In this comprehensive layout guide, we will break down the exact dimensions, steel gauges, and footprint metrics of the industry's top space-saving racks. Furthermore, we will put your newly optimized layout to the test with a highly functional, space-efficient movement: the standing calf exercise with dumbbells. This specific movement serves as the ultimate benchmark for testing your clearance zones, rack ergonomics, and overall spatial harmony.
The Geometry of Home Gym Storage: Why Rack Footprint Matters
When designing a home gym layout, many lifters focus solely on the footprint of their power rack or lifting platform, treating dumbbell storage as an afterthought. This is a critical error. A standard 15-pair dumbbell set (ranging from 5 to 50 pounds) scattered across the floor consumes roughly 45 square feet of dead space and creates a severe tripping hazard. Consolidating this mass into a dedicated rack reclaims that floor space, but the rack's own dimensions must be scrutinized.
Volumetric efficiency is the ratio of storage capacity to the floor space the unit occupies. In 2026, modern rack designs utilize steeper tier angles and vertical A-frame structures to minimize the X and Y axes while maximizing the Z axis (height). However, going too high can compromise the ergonomic pickup of heavier pairs, forcing excessive lumbar flexion. The sweet spot for a 3-tier rack is a top-tier height of 34 to 36 inches, allowing you to deadlift heavy dumbbells off the rack with a neutral spine.
2026 Space-Saving Dumbbell Rack Comparison Matrix
To help you visualize your layout options, we have analyzed three of the most popular space-optimizing racks on the market. The data below reflects current 2026 pricing and exact manufacturer specifications.
| Rack Model | Footprint (L x W) | Top Tier Height | Weight Capacity | Est. Price (2026) | Best Layout Application |
|---|---|---|---|---|---|
| Rogue 3-Tier Dumbbell Rack | 31.5" x 34.5" | 36.0" | 1,000+ lbs | $425.00 | Standard Garage Gyms |
| York Barbell A-Frame | 25.0" x 25.0" | 51.0" | 600 lbs | $180.00 | Ultra-Compact Bedrooms |
| REP Fitness 3-Tier Rack | 32.0" x 34.0" | 35.5" | 800 lbs | $249.00 | Budget-Conscious Flow Zones |
For those with severe spatial constraints, the Rogue Fitness 3-Tier Rack Specifications remain the gold standard for balancing a manageable footprint with heavy-duty 11-gauge steel construction. However, if your layout is restricted to a tight corner, the York A-Frame's 25x25 inch footprint is unmatched, utilizing verticality to store up to 10 pairs in less than 4.5 square feet of floor space.
Layout Integration: Flow and the 36-Inch Clearance Rule
According to facility design principles outlined by the National Strength and Conditioning Association (NSCA), proper clearance zones are non-negotiable for safety and functional flow. When mapping out your gym layout, you must adhere to the 36-inch clearance rule.
Layout Pro-Tip: The Triangle of FlowPosition your dumbbell rack, adjustable bench, and primary lifting area in a triangular formation. Ensure there is a minimum of 36 inches of unobstructed walking path between the rack and the bench. This allows you to carry heavy dumbbells to your workout station without navigating tight pivots or risking a collision with other equipment.
Placing your rack flush against a wall is common, but placing it in a corner at a 45-degree angle can sometimes improve the approach trajectory, allowing you to grab and turn in one fluid motion rather than shuffling backward out of a dead-end corridor.
Functional Space Testing: The Standing Calf Exercise with Dumbbells
Once your rack is positioned and your clearance zones are measured, you need to test the functional harmony of your new layout. The ultimate benchmark for a compact, well-designed space is a strict, standing calf exercise with dumbbells. Unlike sprawling movements like dumbbell lunges, floor presses, or farmer's walks, calf raises require strict verticality and zero horizontal drift. If your layout forces you to alter your stance, bump your elbows against a wall, or compromise your posture due to proximity to the rack, your spatial geometry needs adjustment.
Why This Movement Tests Your Layout
Performing a calf exercise with dumbbells requires a calf block or a raised platform (like a 2x6 wooden block or a dedicated steel calf wedge) to achieve a full stretch at the bottom of the movement. In a highly optimized gym, this block is stored directly on the bottom tier of your dumbbell rack. The test begins the moment you retrieve the block, place it exactly 18 inches in front of the rack, and pick up your heavy dumbbells from the top tier. If the 36-inch clearance rule was followed, you will have ample room to step onto the block, stabilize, and execute the movement without your elbows grazing the rack's uprights.
Biomechanics and Rack Ergonomics
As detailed in the ExRx.net Biomechanical Directory, the standing calf raise primarily targets the gastrocnemius muscle when the knees are kept straight. To induce sufficient hypertrophy, advanced lifters often require loads exceeding 60 pounds per hand. Picking up 60-pound dumbbells from the floor requires a deep hinge, which can be dangerous in a fatigued state. A properly sized 3-tier rack (with a top tier around 35-36 inches high) allows you to grip the dumbbells and stand up using a partial squat, preserving the lower back. This ergonomic synergy is the hallmark of intelligent storage design.
Step-by-Step Execution in a Compact Zone
- Retrieve the Block: Pull your calf wedge from the bottom storage tier of your rack and place it 18 inches away, ensuring you are still within your designated 36-inch safety corridor.
- The Ergonomic Pickup: Hinge at the hips, grip your heavy dumbbells from the top tier, and stand tall. The rack height should eliminate the need for excessive lumbar flexion.
- Stance and Positioning: Step onto the block with the balls of your feet, letting your heels hang off the edge. Stand tall, holding the dumbbells at your sides with a neutral grip.
- The Eccentric Stretch: Slowly lower your heels below the level of the block until you feel a deep stretch in the gastrocnemius (approx. 2 seconds down).
- The Concentric Press: Drive through the balls of your feet, extending your ankles fully to reach maximum plantar flexion. Hold the peak contraction for 1 second.
- Return and Reset: Step off the block, return the dumbbells to the top tier, and slide the block back onto the bottom shelf. Your footprint remains entirely contained within a 4x4 square foot zone.
Micro-Storage Hacks for Compact Zones
To truly maximize your layout, the dumbbell rack must serve as a multi-functional storage hub. In 2026, lifters are utilizing magnetic hooks and tension rods to attach accessories directly to the rack's steel frame without expanding its physical footprint.
- Magnetic Chalk Holders: Snap a magnetic silicone chalk cup to the side upright of the rack to keep dust away from your lifting platform.
- Resistance Band Pegs: Use the gap between the first and second tiers to loop and hang loop bands, keeping them untangled and ready for warm-ups.
- Neoprene Mat Hooks: Install heavy-duty carabiners on the rear cross-bracing to hang lifting straps, belts, and wrist wraps.
"A well-designed home gym doesn't just store equipment; it choreographs the workout. Every piece of iron should have a home that dictates the flow of the session, turning a cramped room into a high-performance laboratory."
Final Thoughts on Spatial Harmony
Optimizing your home gym layout is an exercise in spatial awareness and biomechanical respect. By selecting a dumbbell rack that aligns with your specific square footage constraints—whether that is a vertical A-frame for a bedroom or a 3-tier workhorse for a garage—you reclaim valuable floor space. More importantly, by testing that layout with strict, vertical movements like the standing calf exercise with dumbbells, you ensure that your storage solutions actively enhance, rather than hinder, your training mechanics. Measure twice, buy once, and lift with absolute spatial freedom.
More gear to consider
All reviews
Barbell Setup Guide: Knurling, Weight & Are Dumbbell Squats Effective?
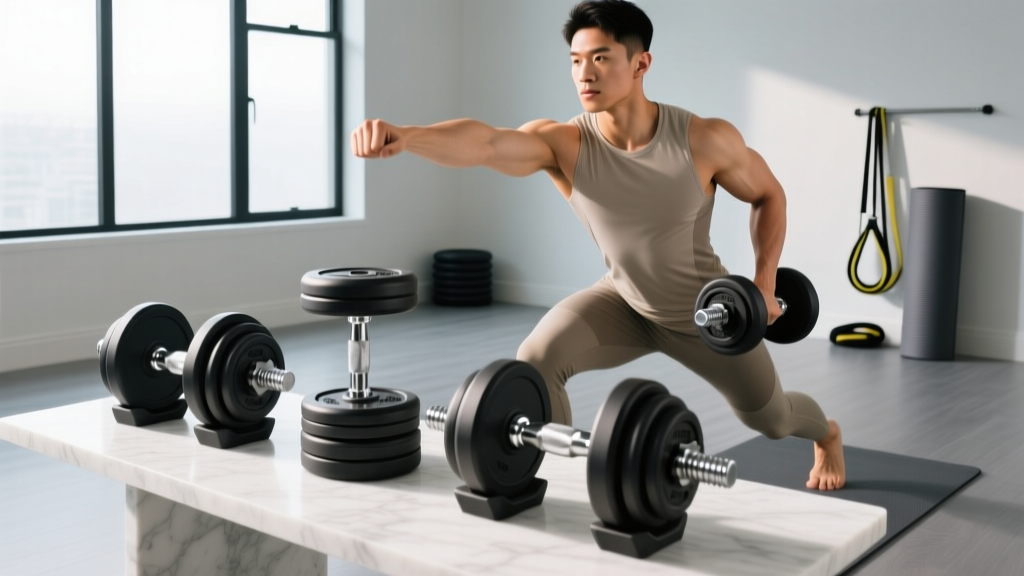
Budgeting Loadable Dumbbells for the Alternating Dumbbell Front Raise
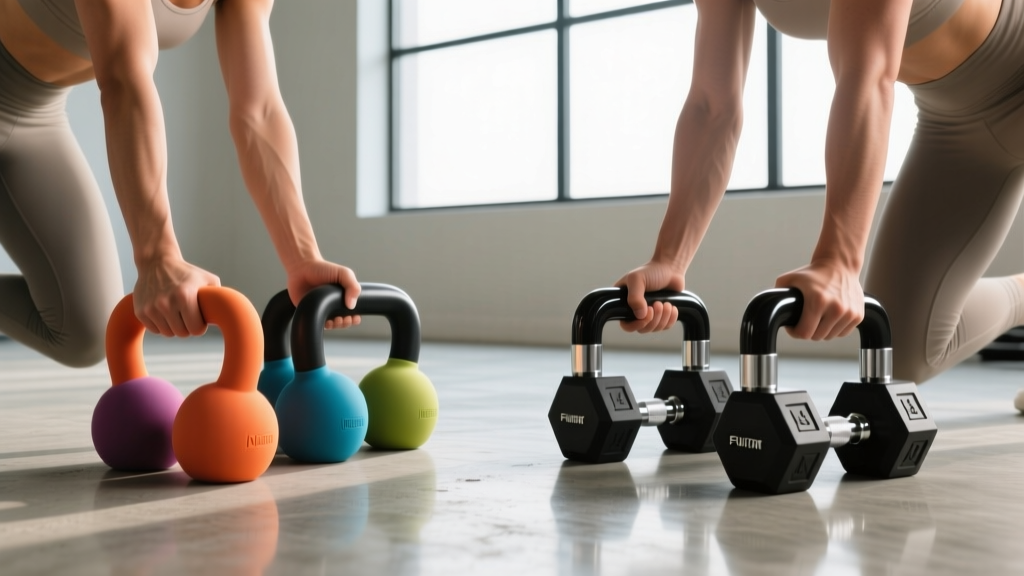
Pull Up Alternative with Dumbbells: Neoprene vs. Hex in 2026
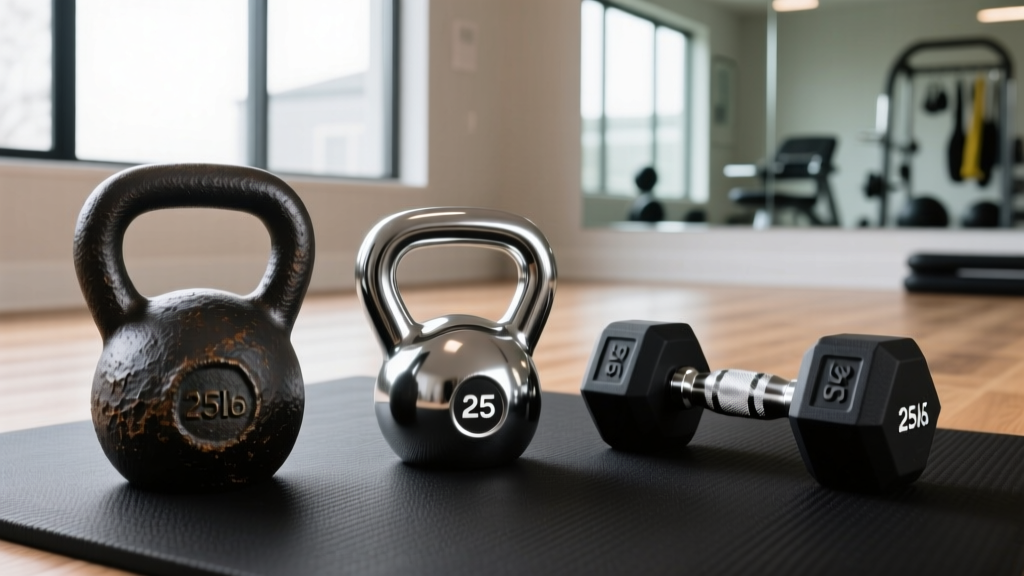
Kettlebell Maintenance: Cast Iron vs Competition & 25lbs Dumbbells
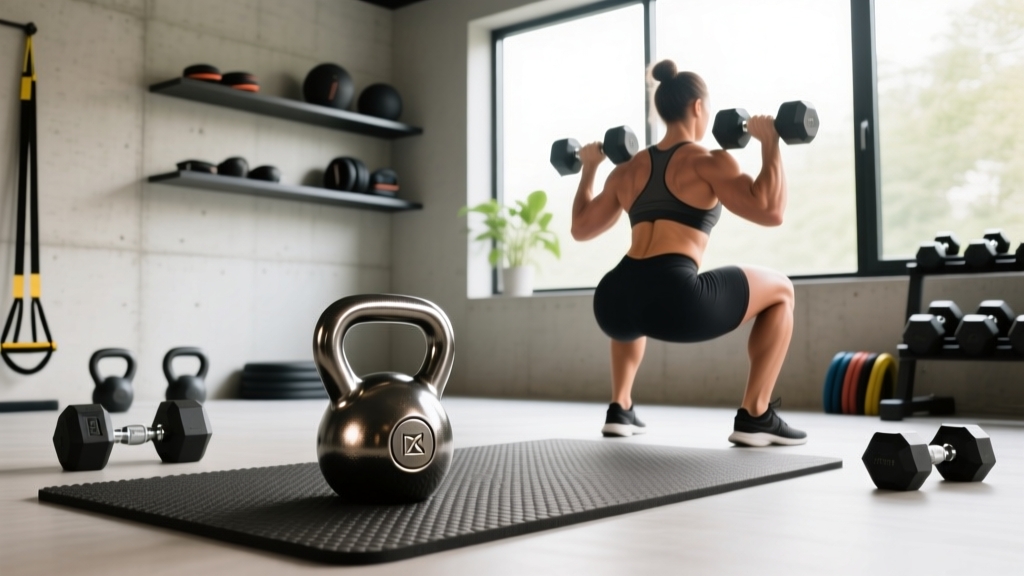
Kettlebell Care & A Reverse Hack Squat Alternative with Dumbbells
