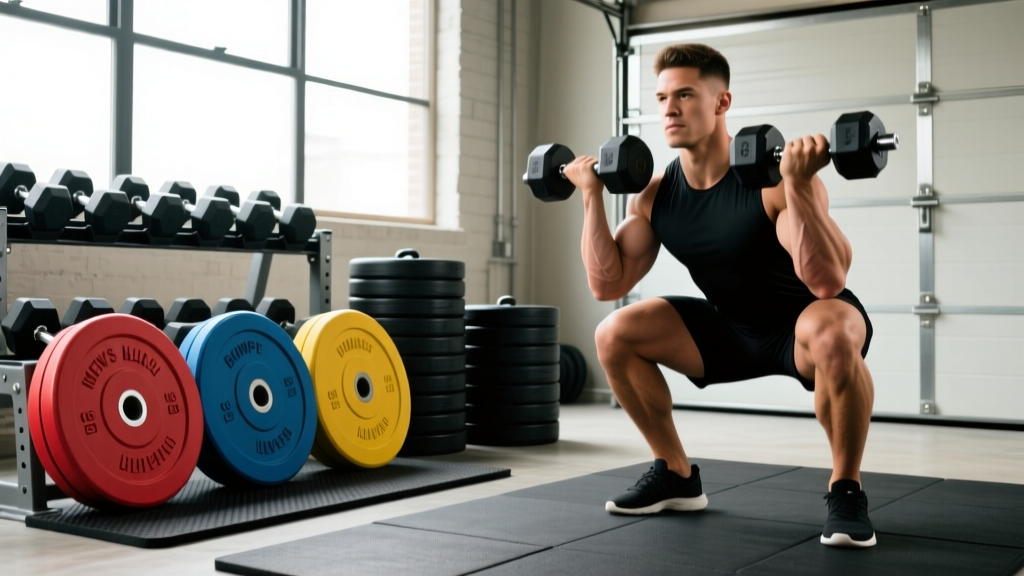
Home Gym Setup: Barbell Knurling & Back Fat Workouts With Dumbbells
Master your home gym setup with our Olympic barbell knurling guide, installation steps, and targeted back fat workouts with dumbbells for posterior growth.

Complete Free Weight Zone Setup and Installation Walkthrough
Designing a high-performance home gym requires more than just dropping equipment onto a garage floor. A true installation walkthrough demands an understanding of metallurgy, spatial ergonomics, and biomechanics. In this 2026 setup guide, we will walk through the precise installation of an Olympic barbell station, the assembly of a heavy-duty dumbbell rack, and the programming required to utilize this space effectively—including a deep dive into the science and execution of back fat workouts with dumbbells.
Phase 1: Olympic Barbell Selection, Weight Tolerances, and Knurling
The centerpiece of any free weight zone is the Olympic barbell. When selecting a bar for your primary rack, you must evaluate two critical specifications: weight calibration tolerances and knurling profiles. Cheap, mass-market bars often feature a weight variance of +/- 50 grams or more, which can severely impact progressive overload tracking. Elite competition bars adhere to International Weightlifting Federation (IWF) or International Powerlifting Federation (IPF) standards, boasting tolerances of +/- 10 grams (0.05%).
As of early 2026, premium stainless steel options like the Rogue 20KG Ohio Power Bar (retailing around $345) or the Eleiko Olympic WL Bar (exceeding $1,100) remain the gold standards. But beyond the steel alloy, the knurling—the machined crosshatch pattern on the shaft—dictates your grip security and comfort.
Knurling Profile Comparison Matrix
| Profile Type | Visual Shape | Aggressiveness | Best Application | Example Model |
|---|---|---|---|---|
| Volcano | Crater-like with a dip in the center | Medium-High | Powerlifting, Heavy Rows | Rogue Ohio Power Bar |
| Mountain | Sharp, peaked points | Very High | Deadlifts, Low-Rep Maxes | Texas Power Bar |
| Hill | Rounded, flattened peaks | Low-Medium | Olympic Lifts, High Volume | Eleiko Olympic WL Bar |
During installation, ensure your barbell storage is mounted on a vertical rack with UHMW plastic-lined cradles to prevent scratching the zinc or stainless steel finish. Never store a bare steel bar directly against unprotected metal uprights.
Phase 2: Dumbbell Rack Assembly and Flooring Preparation
Before unboxing your dumbbells, the flooring and rack footprint must be prepped. For a standard 3-tier A-frame dumbbell rack holding 5 to 50-pound pairs, you need a minimum clearance envelope of 48 inches in width and 42 inches in depth to allow for safe extraction and racking.
- Subfloor Prep: Sweep and degrease the concrete slab. Moisture barriers are highly recommended if your gym is in a basement or unsealed garage.
- Matting Installation: Lay down 3/4-inch thick vulcanized rubber horse stall mats (typically 4x6 feet). These cost roughly $50-$70 per mat in 2026 and provide superior shock absorption compared to interlocking foam tiles, which compress and degrade under heavy point-loads.
- Rack Anchoring: While A-frame racks are inherently stable due to their wide base, if you are installing a commercial saddle rack, use 3/8-inch wedge anchors driven at least 3 inches into the concrete to prevent tip-overs when loading or unloading heavy 40lb+ dumbbells.
Phase 3: Programming the Space (Targeting the Posterior Chain)
With the hardware installed, we transition to software: the programming. Many home gym owners search for specific aesthetic routines, particularly back fat workouts with dumbbells. Before detailing the routine, we must address a pervasive fitness myth.
Expert Callout: The Spot Reduction Myth
According to exercise science databases like ExRx.net, spot reduction—the idea that training a specific muscle will burn the adipose tissue (fat) directly overlying it—is a physiological impossibility. Fat loss occurs systemically through a caloric deficit. Therefore, 'back fat workouts with dumbbells' are actually posterior chain hypertrophy routines. By building the latissimus dorsi, rhomboids, and rear deltoids, you increase your basal metabolic rate and improve the structural taper of your torso, which alters your visual composition as overall body fat decreases.
The Dumbbell Posterior Hypertrophy Routine
Utilize your newly installed dumbbell rack and an adjustable incline bench (set to 30 degrees) for this targeted session. Perform this routine twice a week, leaving at least 48 hours between sessions for muscle protein synthesis.
- Chest-Supported Dumbbell Row: 4 sets of 8-10 reps. Lie face down on the incline bench. This eliminates lower-back momentum and isolates the mid-back. Focus on driving the elbows toward the ceiling and squeezing the scapulae together.
- Single-Arm Dumbbell Pullover: 3 sets of 12-15 reps. Lie perpendicular on a flat bench. Lower the dumbbell behind your head to stretch the lats, then pull back over your chest. This targets the latissimus dorsi without requiring a cable machine.
- Prone Rear Delt Flye: 3 sets of 15-20 reps. Use lighter dumbbells (5-15 lbs). Keep a slight bend in the elbows and raise the weights laterally to target the often-neglected rear deltoids, crucial for shoulder health and posture.
Phase 4: Long-Term Equipment Maintenance Protocol
A complete setup walkthrough is incomplete without a maintenance schedule. Chalk, sweat, and ambient humidity are the enemies of free weights.
- Barbell Care: After every heavy session involving chalk, use a stiff nylon brush (never wire brass on stainless steel, as it can embed particles that lead to rust) to scrub the knurling valleys. Once a month, apply a light coat of 3-IN-ONE oil or food-grade mineral oil to the shaft and sleeves to displace moisture.
- Dumbbell Upkeep: If using urethane-coated dumbbells, wipe them down with a mild, non-abrasive antibacterial wipe. Avoid harsh chemical degreasers, which can break down the urethane binding agents over time, causing the rubber to flake and emit a permanent odor.
- Rack Inspection: Every six months, take a socket wrench to your power rack and dumbbell rack hardware. Vibrations from dropped weights will inevitably loosen M10 bolts and lag screws.
Final Thoughts on Your Free Weight Zone
Building a functional, aesthetically pleasing, and biomechanically effective home gym is a meticulous process. By understanding the nuances of Olympic barbell knurling, ensuring proper spatial installation for your dumbbell racks, and applying evidence-based programming rather than falling for spot-reduction myths, you create a space that yields lifelong results. For further reading on barbell metallurgy and grip mechanics, resources like BarBend offer excellent visual breakdowns of knurling depths and peak angles.
More gear to consider
All reviews
Latissimus Dorsi Exercises with Dumbbells: Hex vs Urethane (2026)
Barbell Collar Types Comparison & Dumbbell Shoulder Row

Olympic vs Standard Plates for the Seated Dumbbell Good Morning

EZ Curl vs Straight Bar Maintenance & Dumbbell Crunches Grip Care
Power Rack vs Squat Rack vs Stand: Setup & Rear Dumbbell Laterals