
Olympic Barbell Knurling Setup & Jump Squats with Dumbbells Guide
Master your free weight zone setup. This walkthrough covers Olympic barbell weight and knurling selection, plus flooring for jump squats with dumbbells.

Introduction: Designing the 2026 Hybrid Strength & Power Zone
Building a comprehensive home or commercial gym in 2026 requires more than just buying equipment; it demands a strategic installation walkthrough that bridges heavy static lifting with dynamic explosive power. This guide serves as your complete setup manual. We will walk through the precise selection and installation of an Olympic barbell station—focusing heavily on weight tolerances and knurling profiles—before transitioning to the adjacent plyometric zone. Here, we will configure the flooring and equipment necessary to safely perform high-impact movements like jump squats with dumbbells. By the end of this walkthrough, your free-weight space will be biomechanically optimized, structurally sound, and ready for elite-level training.
Phase 1: Olympic Barbell Buying Guide (Weight & Knurling)
The centerpiece of your primary lifting platform is the Olympic barbell. Selecting the right bar requires understanding the interplay between shaft diameter, weight distribution, and knurling aggression. According to BarBend's comprehensive knurling guide, the machining pattern on the steel shaft dictates your grip security and skin tear rate.
Understanding Barbell Weight and Shaft Diameter
Standard men's Olympic bars weigh exactly 20kg (44 lbs) and feature a 28mm to 29mm shaft diameter. Women's Olympic bars weigh 15kg (33 lbs) with a 25mm shaft. For a hybrid gym setup, a 28.5mm shaft (like the Rogue Ohio Bar, retailing around $295) offers the perfect compromise between the whip needed for Olympic lifts and the stiffness required for heavy squats.
Knurling Profiles: The Grip Matrix
Knurling is not just 'rough' or 'smooth.' It is precisely machined into three primary geometric profiles. When setting up your barbell station, choose the profile that matches your primary lifting style:
| Knurl Type | Geometric Shape | Aggression Level | Best Application | Example Model |
|---|---|---|---|---|
| Volcano | Peaks with a microscopic crater in the center | Medium-High | Powerlifting, Hypertrophy | Rogue Ohio Power Bar |
| Mountain | Sharp, unflattened peaks | High (Aggressive) | Heavy Deadlifts, Low-Rep Squats | Eleiko Olympic WL |
| Hill | Rounded, flattened peaks | Low (Passive) | High-Rep Olympic Lifts, Beginners | REP Fitness Excalibur |
Phase 2: Power Rack Installation Walkthrough
Before you can safely rack your newly selected barbell, the power rack must be anchored. A standard 4x4 upright rack (like the Rogue SML-2C) weighs over 250 lbs, but dynamic re-racking can generate lateral forces exceeding 400 lbs of torque.
- Staging and Base Assembly: Lay down a protective cardboard layer over your rubber flooring. Assemble the base gussets and uprights loosely. Do not fully tighten the 5/8" Grade 8 bolts until the entire frame is squared using a carpenter's level.
- Upright Plumbing: Use a magnetic torpedo level on all four vertical uprights. Adjust the floor shims (included with most premium racks) until the rack is perfectly plumb.
- Concrete Anchoring: If bolting to a concrete slab, use a 3/8" hammer drill bit to bore 3-inch deep holes. Insert 3/8" x 3" wedge anchors. Tighten to 30 ft-lbs of torque using a calibrated torque wrench.
- J-Cup Placement: Install your UHMW plastic-lined J-cups. For squat setups, align the cups so the barbell rests at your sternum height, allowing for a seamless walkout without excessive knee flexion.
Phase 3: The Plyometric Drop Zone (Jump Squats with Dumbbells)
To develop explosive rate of force development (RFD), athletes must incorporate plyometrics. Performing jump squats with dumbbells is a highly effective method for overloading the lower body without the spinal compression of a barbell. However, this movement requires a specialized installation zone adjacent to your power rack.
Flooring Setup for High-Impact Landings
When executing jump squats with dumbbells, the ground reaction forces upon landing can reach 3 to 4 times your body weight. Standard 1/2" foam tiles will compress and destabilize your ankle joints. You must install 3/4" thick vulcanized rubber mats (commonly sold as horse stall mats, approximately $55 per 4x6 sheet). According to Rogue Fitness flooring specifications, vulcanized rubber provides the necessary shock absorption while maintaining a rigid surface for force transfer.
Selecting the Right Dumbbells
Never use round or adjustable dial dumbbells for plyometrics. The installation of your dumbbell zone must feature Urethane Hex Dumbbells (e.g., REP Fitness Urethane Hex, ~$2.50/lb). The hexagonal heads prevent rolling when you set them down or drop them laterally upon fatigue. Urethane is also mandatory, as it does not off-gas noxious odors like cheap virgin rubber and withstands repeated impacts without cracking.
'The integration of loaded plyometrics, such as dumbbell jump squats, significantly enhances vertical jump height and peak power output when combined with traditional heavy resistance training.' - National Strength and Conditioning Association (NSCA) Guidelines
Phase 4: Execution and Safety Protocols
With the barbell station anchored and the plyometric drop zone installed, you are ready to integrate both modalities into your programming. Proper execution of jump squats with dumbbells requires strict adherence to biomechanical safety, as detailed in ExRx.net's biomechanical breakdown.
- The Setup: Stand on your 3/4" rubber mat with feet shoulder-width apart. Hold the hex dumbbells at your sides with a neutral grip. Do not shrug the weight; let your lats engage to stabilize the load.
- The Descent: Hinge at the hips and bend the knees to a quarter-squat depth (approximately 45 to 60 degrees of knee flexion). Going deeper into a full parallel squat drastically reduces the elastic energy return from the Achilles tendon.
- The Explosion: Drive forcefully through the mid-foot. The goal is maximum height, not maximum weight. Start with 10% to 15% of your body weight distributed between the two dumbbells.
- The Landing: Land softly on the balls of your feet, immediately rolling back to the heels while absorbing the impact through knee and hip flexion. Never drop the dumbbells from the apex of the jump; maintain your grip to stabilize the shoulder capsule upon ground contact.
Maintenance & Care Walkthrough
A properly installed gym requires a strict maintenance schedule to preserve equipment longevity and safety.
Weekly Barbell Maintenance
Use a stiff nylon brush to sweep chalk and dead skin out of the knurling valleys. Wipe the shaft with a microfiber cloth lightly dampened with 3-in-1 oil to prevent oxidation. If you selected a stainless steel bar (like the Rogue Stainless Ohio Bar, ~$395), oiling is optional but recommended for maintaining the luster.
Monthly Rack and Flooring Inspection
Check all 5/8" hardware on your power rack using a socket wrench; vibration from dropped weights can loosen bolts over time. Inspect the seams of your rubber drop zone mats. If the 3/4" mats begin to separate, use a heavy-duty mat tape or interlocking edge connectors to prevent tripping hazards during your plyometric circuits.
By meticulously following this setup and installation walkthrough, you have created a professional-grade training environment. You now possess the heavy steel and aggressive knurling required for maximal strength, alongside the specialized flooring and hex dumbbells necessary to safely execute jump squats with dumbbells for elite explosive power.
More gear to consider
All reviews
Dumbbell Squat Machine vs Loadable Plates: 2026 Value Analysis
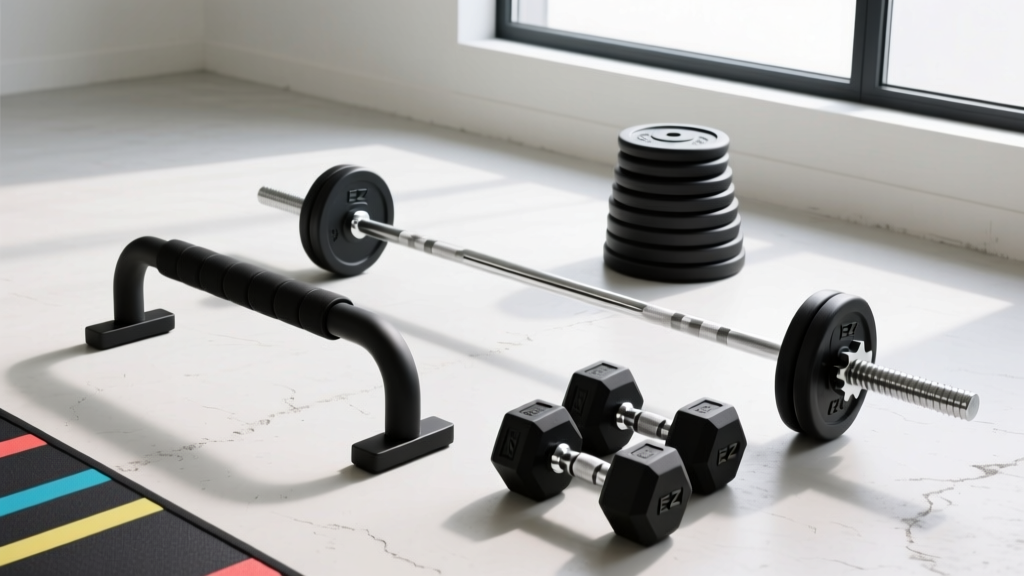
EZ vs Straight Bar: Compact Biceps and Triceps Workout with Dumbbells

Tricep Dumbbell Exercise Gear: Rubber Hex vs Urethane Care
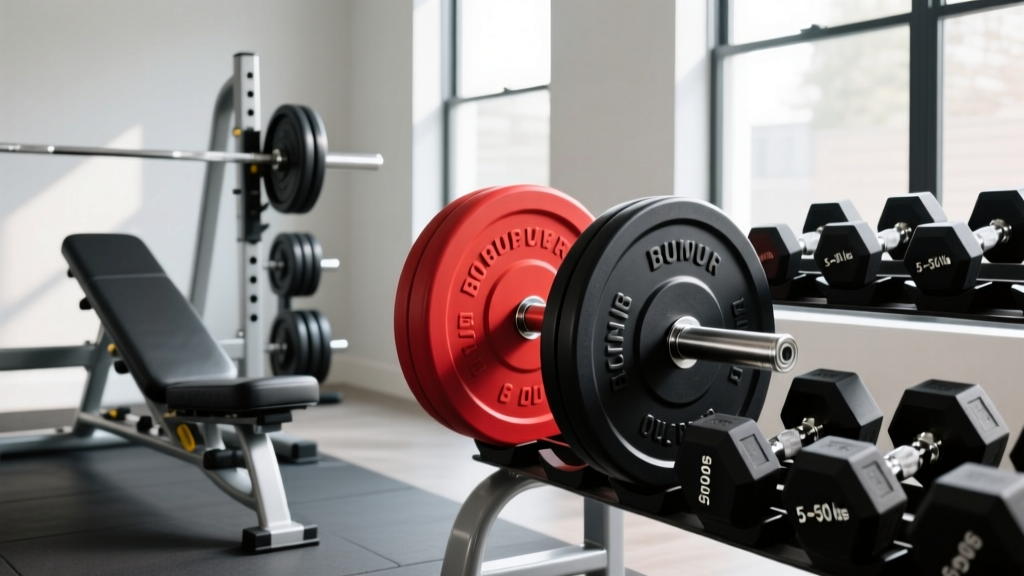
Bumper vs Iron Plates: Bench Press & Chest Fly Exercise with Dumbbells

2026 Budget: Reebok Dumbbell vs Cast Iron & Competition Kettlebells
