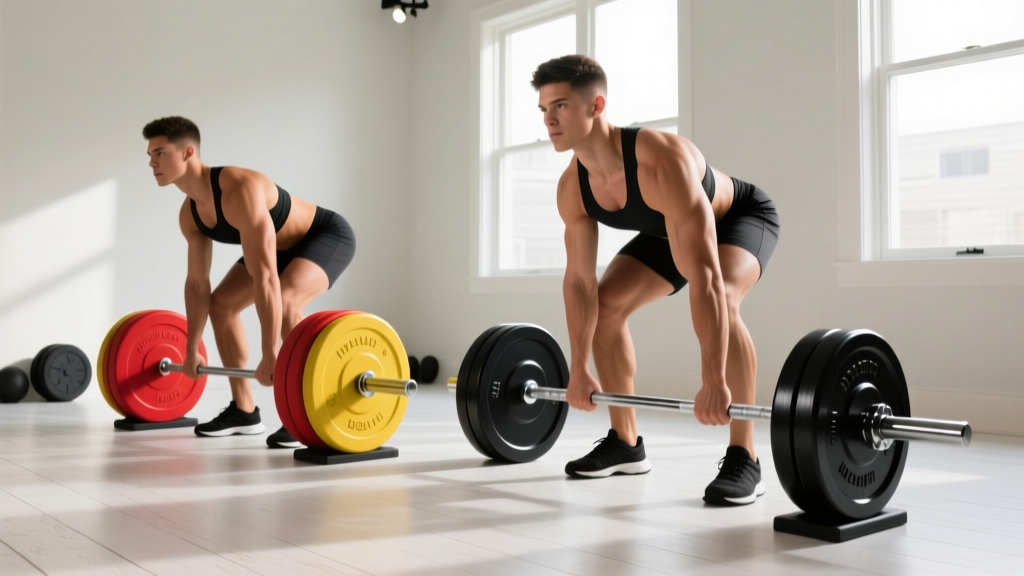
Barbell Collar Types Comparison & Incline Dumbbell Press GIF Guide
Master barbell collar and clamp types with our setup walkthrough. Ensure rack safety for heavy lifts and incline dumbbell press sessions.

The Critical Role of Barbell Collars in Rack Safety
When building a comprehensive free weight station, lifters often obsess over barbell whip, rack hole spacing, and bench pad density. Yet, the most vital safety component in your rig is frequently treated as an afterthought: the barbell collar. A failure in lateral plate retention doesn't just result in an aborted lift; it causes catastrophic weight shifts, bent sleeves, and severe injury. According to safety guidelines published by the National Strength and Conditioning Association (NSCA), securing Olympic plates with high-tolerance collars is a non-negotiable standard for both commercial and home gym environments.
In this complete setup and installation walkthrough, we break down the mechanical differences between spring clamps, polymer lock-jaws, and CNC-machined aluminum collars. We will cover exact installation tolerances, failure modes, and how to integrate barbell storage safety into multi-use rack setups.
Barbell Collar and Clamp Types Comparison Matrix
Not all collars are engineered for the same load paths. Drop-heavy Olympic lifts require different retention mechanics than slow-grind powerlifting movements. Below is a 2026 market comparison of the most reliable retention systems available.
| Collar Type | Model Example | Material & Mechanism | Approx. Price (Pair) | Best Application | Lateral Holding Force |
|---|---|---|---|---|---|
| Spring Clamp | Generic Chrome Spring | Spring Steel / Squeeze | $12 - $18 | Light accessories, lunges | Low (Fails under vibration) |
| Polymer Lock-Jaw | Lock-Jaw Pro 2 | Glass-filled Nylon / Cam | $30 - $35 | CrossFit, Olympic drops | High (Shock absorbent) |
| Aluminum Cam | Rogue HG 2.0 | Aluminum Body / Steel Cam | $35 - $40 | Powerlifting, Heavy Squats | Very High (Rigid bite) |
| Lever Clamp | OSO Barbell Clamps | CNC Aluminum / Urethane Pad | $45 - $55 | Precision lifting, Bench | Maximum (Over-center lock) |
| Competition | Eleiko IWF Certified | Steel / Precision Thread | $95 - $120 | Sanctioned Meets | Absolute (Zero tolerance) |
For a hybrid home gym setup, we recommend stocking two pairs of Rogue HG 2.0 collars for heavy barbell work, and one pair of polymer lock-jaws for high-rep bumper plate conditioning where the collar will inevitably be dropped onto rubber flooring.
Step-by-Step Installation and Setup Walkthrough
Even a $100 competition collar will slip if installed incorrectly. The physics of a cam-lever collar rely on converting rotational force into lateral clamping pressure. Follow this exact installation protocol to ensure zero plate migration.
Step 1: Sleeve Preparation and Debris Clearance
Before sliding the collar onto the 50mm Olympic sleeve, wipe the outer two inches of the barbell with isopropyl alcohol. Chalk dust, sweat, and degraded zinc oxidation create a lubricated layer that reduces the friction coefficient of the collar's inner nylon or urethane pad. If you are using a bar with a cerakote or hard chrome finish, ensure no micro-burrs are present on the sleeve edge, which can gouge the collar's internal insert.
Step 2: The 'Credit Card' Gap Technique
This is the most common failure point in gym setups. Lifters typically slide the collar completely flush against the outermost weight plate and then lock the lever. Do not do this. As the steel cam rotates downward to lock, its geometry pushes the collar outward. If it was already flush, the cam will push the collar away from the plate, leaving a 2mm gap and zero lateral pressure.
- Slide the collar onto the sleeve and push it flush against the plate.
- Pull the collar back exactly 1mm to 2mm (roughly the thickness of a standard credit card).
- Engage the locking mechanism. The cam will pull the collar forward, biting tightly against the plate and applying maximum inward clamping force.
Step 3: Over-Center Lever Verification
For lever-style clamps like the OSO or standard snap-clamps, ensure the lever passes the 90-degree 'over-center' mark. If the lever stops exactly at 90 degrees, the vibration from a heavy deadlift drop will bounce the lever back into the open position. It must rest flat against the collar body.
⚠️ Safety Warning: Storage Horn HazardsWhen configuring your power rack for a superset circuit, you might be reviewing an incline dumbbell press gif on your phone to dial in your bench angle and scapular retraction. However, if your adjacent barbell storage horns are loaded with sleeves that lack proper collars, the vibration from heavy dumbbell drops or rack pulls can literally shake a 45-pound bumper plate off the barbell. Always collar bars stored on the rack's weight pegs, even when not in active use.
Troubleshooting Slippage and Edge Cases
If your plates are still shifting during heavy eccentrics or floor presses, diagnose the issue using this framework:
1. Nylon Insert Degradation
Polymer and aluminum collars use an internal nylon or urethane ring to grip the steel sleeve. Over 12 to 18 months of heavy use, this insert compresses and develops a 'memory groove.' If you frequently use the same barbell, the collar will only grip tightly when placed in that exact groove. Fix: Rotate the collar 45 degrees each time you install it to distribute wear evenly across the insert, or replace the collar once the insert feels smooth to the touch.
2. Oversized Tolerance Sleeves
Not all 50mm sleeves are exactly 50mm. Budget barbells often feature sleeves that measure 49.2mm to 49.5mm to cut manufacturing costs. A standard competition collar will slide on easily but fail to generate enough bite pressure. Fix: Use a polymer lock-jaw collar for undersized sleeves; the flexible nylon housing conforms to micro-variances in sleeve diameter much better than rigid CNC aluminum.
3. Bumper Plate Hub Migration
Sometimes the collar isn't failing; the plate is. Low-quality bumper plates feature rubber hubs that compress under lateral load. If you are using 10lb or 15lb fractional plates on the outside of a 45lb bumper, the collar will hold the 15lb plate, but the 45lb plate's rubber hub will compress inward, creating a gap. Fix: Always place metal change plates on the absolute outside of the sleeve, directly against the collar, to provide a rigid surface for the cam to bite against.
Integrating Collar Safety with Adjustable Bench Setups
A complete rack setup involves more than just the barbell. When transitioning from barbell bench presses to adjustable incline dumbbell work, the spatial awareness of your equipment is critical. As referenced earlier, while analyzing an incline dumbbell press gif to perfect your biomechanics, you must ensure the surrounding environment is secure.
Adjustable benches with heavy-duty steel frames transmit immense kinetic energy into the floor when dropped. If your barbell is resting on the J-cups or floor nearby with only spring clamps securing the plates, the shockwave traveling through the rubber matting can cause spring clamps to vibrate open. By upgrading to over-center lever clamps or steel-cam collars, you isolate your barbell setup from the acoustic and kinetic vibrations generated by heavy dumbbell work in the same rack footprint.
Maintenance Schedule for Heavy Lifters
To maintain peak clamping force and adhere to the safety standards outlined by the International Weightlifting Federation (IWF) for sanctioned equipment, implement this maintenance schedule:
- Weekly: Wipe down the inner sleeve and collar insert with a dry microfiber cloth to remove chalk buildup.
- Monthly: Apply a single drop of 3-in-One oil to the steel cam hinge or lever pivot point. Wipe away all excess to prevent dust attraction.
- Bi-Annually: Inspect the nylon/urethane inner ring. If you can run a fingernail smoothly over the inside without feeling the original micro-ridges, the collar has lost its friction coefficient and must be retired to light-duty accessory use only.
Investing $40 to $90 in premium barbell collars and installing them with mechanical precision is the cheapest insurance policy you can buy for your home or commercial gym. Respect the physics of lateral pressure, maintain your hardware, and lift with absolute confidence.
More gear to consider
All reviews
2026 Adjustable Dumbbell Comparison: Top Picks for the Close Grip Dumbbell Press
Rubber Hex vs Urethane: Surviving Your Dumbbell CrossFit Workout
Olympic vs Standard Plates & Decline Dumbbell Press Machine Mistakes

Building Your Dumbbell Exercise List: Rubber Hex vs Urethane Value

Best Dumbbell Racks for Your Arm and Shoulder Workout with Dumbbells