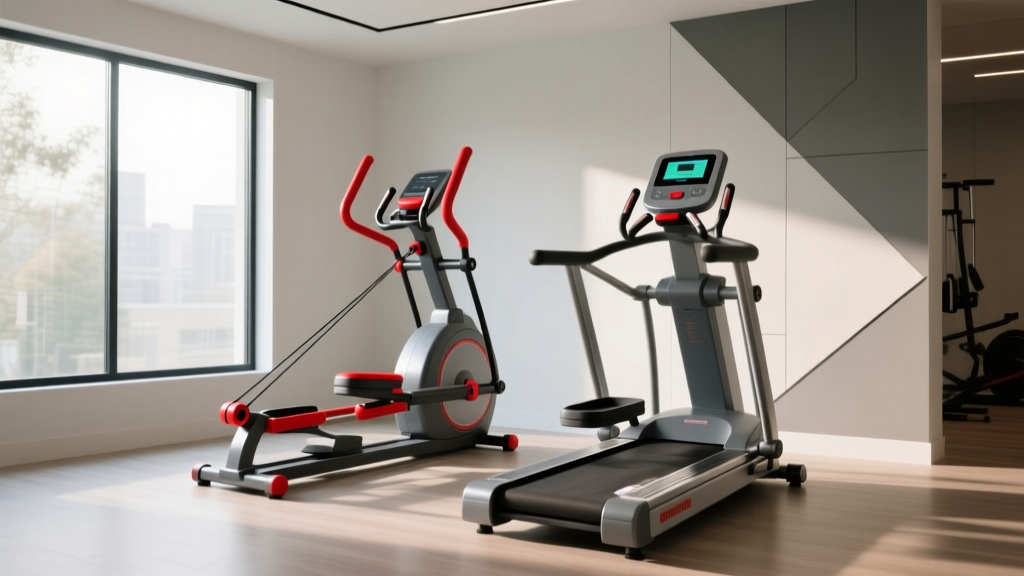
Stair Climber Installation: Manual Treadmill vs Motorized Treadmill
Complete stair climber installation walkthrough for home gyms, comparing ceiling clearance and floor space against manual treadmill vs motorized treadmill setups.

The Home Gym Footprint: Stair Climbers vs. The Treadmill Debate
When designing a dedicated home cardio space, equipment selection dictates your entire floor plan. While many home gym owners spend months debating the manual treadmill vs motorized treadmill footprint and belt mechanics, transitioning to a vertical stair climber introduces an entirely different set of spatial, structural, and electrical installation challenges. A curved manual treadmill like the AssaultRunner Elite or a standard motorized model like the Sole F63 primarily demands horizontal floor space. A stair climber, however, demands vertical clearance, reinforced subflooring, and dedicated electrical planning.
This comprehensive 2026 setup and installation walkthrough will guide you through the exact measurements, structural requirements, and step-by-step assembly process for installing a commercial-grade stair climber (such as the StairMaster FreeClimber or Rogue Fitness Echo Climber) in a residential environment. We will also compare these requirements directly against traditional treadmill setups to help you finalize your home gym layout.
⚠️ Critical Ceiling Clearance Warning: The most common installation failure for home stair climbers is inadequate ceiling height. Unlike treadmills where the user remains relatively flat, a stair climber elevates the user 8 to 10 inches above the base deck. If your ceiling is under 84 inches, you risk head strikes at the top of the stride cycle.Pre-Installation: Spatial and Structural Requirements
Before unboxing your machine, you must verify that your room meets the minimum spatial requirements. According to the Mayo Clinic's home exercise equipment guidelines, ensuring adequate clearance and proper flooring is essential for preventing joint strain, equipment degradation, and accidental injuries.
Equipment Footprint & Clearance Matrix
| Equipment Type | Floor Footprint (L x W) | Min. Ceiling Clearance | Power Requirement | Avg. Shipping Weight |
|---|---|---|---|---|
| Vertical Stair Climber (e.g., StairMaster StepMill) | 46" x 28" | User Height + 14" | 120V / 15A Dedicated | 240 - 285 lbs |
| Manual Treadmill (e.g., TrueForm Runner) | 68" x 32" | User Height + 6" | None (Self-Powered) | 180 - 220 lbs |
| Motorized Treadmill (e.g., NordicTrack 1750) | 78" x 35" | User Height + 10" | 120V / 15A Dedicated | 210 - 260 lbs |
Note: To calculate your exact stair climber ceiling requirement, take the tallest user's height in inches and add 14 inches (10 inches for max step elevation + 4 inches for safety buffer).
Subfloor Preparation and Vibration Dampening
Stair climbers generate high-impact vertical force vectors that differ significantly from the horizontal shear forces of a motorized treadmill. Dropping a 250-pound steel chassis directly onto luxury vinyl plank (LVP) or laminate flooring will cause catastrophic subfloor denting over time.
- Avoid EVA Foam Tiles: Interlocking foam tiles compress too much under the concentrated point-load of the climber's leveling feet, causing the machine to wobble during high-cadence climbs.
- The 2026 Standard - Vulcanized Rubber: Use 3/4-inch thick vulcanized rubber horse stall mats (typically 4x6 feet). As of 2026, these cost between $65 and $85 per panel at agricultural supply stores. This density absorbs vertical vibration without compromising the chassis leveling.
- Moisture Barrier: If installing in a basement, lay a 6-mil polyethylene vapor barrier beneath the rubber mats to prevent trapped moisture from rusting the machine's base plate.
Step-by-Step Stair Climber Assembly Walkthrough
Commercial stair climbers ship partially assembled to protect the internal drive chain and alternator. Expect the base unit to arrive strapped to a wooden pallet. You will need a socket wrench set (metric and standard), a 48-inch machinist level, and a second person for lifting.
- Phase 1: Pallet Unboxing and Staging
Cut the steel strapping and remove the cardboard shroud. Do not attempt to lift the base unit manually. Use a pallet jack or carefully tilt the unit onto a heavy-duty furniture dolly to roll it onto your prepared rubber matting. Remove the shipping bolts (usually painted bright orange or red) that lock the internal flywheel and step-chain in place during transit. - Phase 2: Chassis Leveling (Crucial Step)
Place your 48-inch level across the side rails of the base. A stair climber must be perfectly level laterally to prevent the step-chain from tracking off-center and grinding against the side skirts. Adjust the four threaded rubber footpads using a wrench until the bubble is dead center. Torsion on the chassis is the number one cause of premature belt wear. - Phase 3: Upright Mast and Cable Routing
With the help of a partner, lift the upright steel mast into the base receiver tubes. Warning: Before tightening the M10 hex bolts, carefully feed the console ribbon cable and heart-rate sensor wires through the mast's internal channel. Pinching this cable between the steel mating surfaces will result in a dead console and voided warranty. Hand-tighten the bolts, then torque them to 35-40 ft-lbs. - Phase 4: Handlebar and Console Mounting
Attach the stationary and moving handlebars. Ensure the pulse-grip sensors click firmly into their wiring harnesses. Mount the digital console, securing it with the provided Phillips-head screws. Route any excess cable back into the mast cavity to prevent rattling during use. - Phase 5: Drive Mechanism Tension Check
Remove the side access panel (usually secured by four screws). Inspect the poly-V drive belt connecting the alternator to the main step-gear. It should have roughly 1/2 inch of deflection when pressed with your thumb. If it feels loose, adjust the alternator mounting bracket tensioner bolt until the slack is removed.
Electrical Setup and Breaker Management
While the manual treadmill vs motorized treadmill debate often highlights the fact that manual treadmills require zero electricity, stair climbers with magnetic resistance or motorized step-turning mechanisms (like the StepMill) have strict electrical needs.
The American Council on Exercise (ACE) recommends dedicated electrical circuits for high-draw cardio machines to prevent micro-interruptions that can fry digital console boards and interrupt workout telemetry.
The Dedicated Circuit Rule: A commercial stair climber can draw up to 12 to 14 amps during peak startup inrush current. If your home gym shares a standard 15-amp bedroom circuit with a space heater, air conditioner, or even a high-draw LED lighting array, the breaker will trip mid-workout. Hire a licensed electrician to install a dedicated 120V/15A or 20A receptacle directly behind the machine. Avoid using GFCI outlets if possible, as the motor's electromagnetic interference can cause nuisance tripping; a standard grounded outlet on a dedicated breaker is preferred.
Post-Installation Calibration and Maintenance
Once powered on, enter the machine's diagnostic mode (usually by holding the 'Start' and 'Level Down' buttons simultaneously for 5 seconds). Run the automatic step-calibration test to ensure the optical sensors are reading the flywheel RPM correctly.
Ongoing Maintenance Schedule
- Weekly: Wipe down the side skirts and handrails with a non-corrosive, ammonia-free cleaner. Sweat acidity degrades the polyurethane grip coatings over time.
- Monthly: Inspect the step-tread pads for edge lifting. Re-secure with 3M double-sided industrial tape if necessary.
- Bi-Annually: Remove the side shrouds and vacuum out dust and pet hair from the alternator cooling fins. Overheating is the primary failure mode for home-use stair climbers placed in unventilated garage gyms.
Frequently Asked Questions
Can I install a stair climber on the second floor of my house?
Yes, but you must verify your floor joist load capacity. Modern residential building codes require second-floor joists to support a live load of 30-40 pounds per square foot. A 250-pound stair climber plus a 200-pound user creates a concentrated dynamic load. It is highly recommended to place the machine perpendicular to the floor joists, ideally near a load-bearing wall, to distribute the vertical impact forces safely.
Why does my stair climber console flicker when I step on it?
If you are using a self-generating alternator model (common in newer 2026 eco-friendly models), flickering at low cadences is normal until you reach the minimum RPM required to generate 12 volts. If it flickers at high speeds, check the internal ribbon cable connection at the console base, as vibration may have loosened the seating.
How does the noise level compare to a motorized treadmill?
A properly leveled stair climber with a magnetic alternator is significantly quieter than a motorized treadmill. You will hear a low 'whir' from the flywheel and the mechanical click of the step-pedals, but you eliminate the loud thumping of foot-strikes on a motorized treadmill belt, making stair climbers ideal for shared-wall apartments or basement gyms with sleeping family members above.
More gear to consider
All reviews
Rowing Machine Buying Guide & Technique vs Borgusi Treadmill Review

TM029 Treadmill Maintenance: Extending Portable Cardio Life

2026 Trend Report: Hitting a 10 Min Mile Pace on Portable Treadmills
WalkingPad C2 Foldable Walking Treadmill vs Standard: Motor HP Guide

Doufit TD 01 Treadmill Review: Budget Folding Value Analysis
