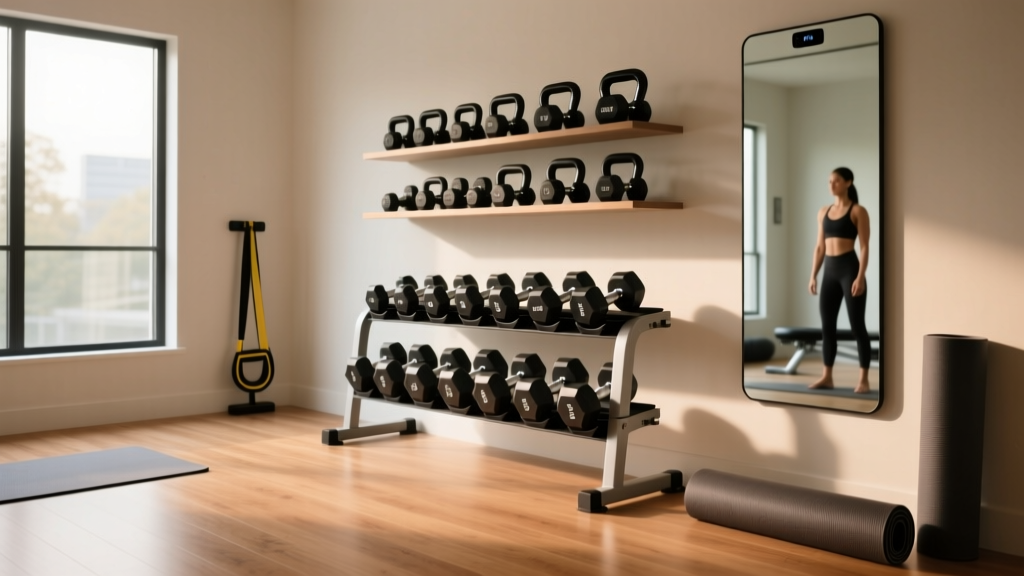
Power Rack vs Squat Rack vs Stand for Your Dumbbell Exercise Program
Compare power racks, squat racks, and stands to find the perfect installation and setup for your home dumbbell exercise program. Expert guide.

Why Rack Selection Matters for a Dumbbell-Focused Routine
When building a home gym centered around a comprehensive dumbbell exercise program, it is tempting to assume you only need an adjustable bench and a set of hex or urethane dumbbells. However, as your strength progresses, integrating a dedicated racking system becomes non-negotiable for safety, spatial organization, and exercise versatility. Whether you are executing heavy dumbbell floor presses, utilizing spotter arms for incline presses, or simply requiring integrated dumbbell storage trays to keep your workout space clear, the structural foundation of your gym dictates your training ceiling.
In this complete setup and installation walkthrough, we break down the critical differences between a full power rack, a half rack (squat rack), and independent squat stands. We will guide you through spatial planning, concrete anchoring protocols, and specific hardware configurations to optimize your rig for dumbbell training in 2026.
The Core Comparison: Power Rack vs. Half Rack vs. Squat Stand
Before unboxing any steel, you must match the equipment to your spatial constraints and training goals. According to facility setup guidelines outlined by ExRx.net Weight Room Guidelines, maintaining adequate clearance around lifting zones is critical for injury prevention, especially when maneuvering heavy dumbbells laterally.
| Feature | Power Rack (e.g., Titan T-3) | Half Rack (e.g., REP PR-4000) | Squat Stand (e.g., Rogue SML-1) |
|---|---|---|---|
| Footprint | 48" x 48" (Enclosed) | 48" x 36" (Open front) | 48" x 48" (Minimalist) |
| Steel Gauge | 11-Gauge (3x3" Uprights) | 11-Gauge (3x3" Uprights) | 11-Gauge (3x3" Uprights) |
| Dumbbell Integration | High (Internal DB trays, bench lock-in) | High (Front-mounted DB horns) | Low (Requires separate DB tree) |
| Safety for DB Press | Maximum (4-point pin/pipe spotters) | High (Strap safeties or flip-downs) | Moderate (Requires precise arm placement) |
| 2026 Avg. Cost | $550 - $850 | $600 - $950 | $350 - $450 |
For a dedicated dumbbell exercise program, the Half Rack often provides the optimal balance. It offers the open-front accessibility required to easily walk heavy dumbbells into position for incline or flat presses, while still providing robust safety spotter arms and integrated storage horns. However, if your ceiling height is limited or your budget is strict, independent squat stands remain a highly viable, space-efficient alternative.
Phase 1: Spatial Planning and Floor Preparation
Installation failures rarely stem from the equipment itself; they originate from poor environmental prep. Before assembling your rack, address the following structural variables:
Ceiling Height and Overhead Clearance
A standard power rack stands 82 to 90 inches tall. If your dumbbell exercise program includes seated or standing overhead presses, you must account for the user's height plus the dumbbell's vertical travel.
⚠️ Expert Warning: If your ceiling is exactly 84 inches (7 feet), avoid tall power racks. Opt for a 72-inch short rack or independent squat stands. Striking a drywall ceiling during a heavy 70lb dumbbell overhead press is a common failure point in garage gym setups that leads to both structural damage and rotator cuff injuries.Subfloor and Matting Requirements
Dropping 100lb+ dumbbells generates immense localized kinetic energy. Your subfloor must be protected by a minimum of 3/4-inch (19mm) vulcanized rubber matting. Thinner foam or interlocking PVC tiles will compress and degrade within six months under heavy free-weight impacts, leading to an uneven base that compromises rack stability.
Phase 2: The Anchoring and Assembly Walkthrough
While heavy-duty racks like the Rogue Fitness Monster Lite series boast immense static weight, dynamic forces (like racking a heavy dumbbell forcefully or failing a rep) can cause unanchored uprights to tip. Here is the professional-grade installation protocol for bolting your rig to a concrete slab.
Tools Required
- Hammer Drill (Corded preferred for consistent torque)
- 1/2" SDS-Plus Masonry Bit
- 1/2" x 3-3/4" Wedge Anchors (Zinc-plated or Stainless Steel)
- Torque Wrench (calibrated to 40-50 ft-lbs)
- Shop Vac and Wire Brush
- Steel Shims (for uneven concrete)
Step-by-Step Concrete Anchoring
- Position and Mark: Assemble the base of the rack loosely. Position it on your rubber matting, cut the matting out from under the anchor plates so the steel sits directly on the concrete, and mark the hole centers with a grease pencil.
- Drill and Clean: Drill to a depth of 4 inches (allowing for 1/2" of dust clearance). Critical Step: Use a shop vac and wire brush to clean the concrete dust from the hole. Failure to remove dust reduces the wedge anchor's holding power by up to 40%.
- Set the Anchors: Drive the wedge anchors through the rack base plate into the concrete using a 3lb masonry hammer. The nut should be hand-tight before striking.
- Torque to Spec: Using your torque wrench, tighten each nut to 45 ft-lbs. This expands the wedge at the base of the anchor, locking it into the 4000 PSI concrete slab.
Phase 3: Configuring the Rig for Dumbbell Movements
Once the steel is secured, configuring the attachments for a dumbbell exercise program requires specific geometric considerations that differ vastly from barbell training.
Spotter Arm Geometry for DB Bench Press
When bench pressing with dumbbells, your hands are not fixed to a single bar. If you fail a rep, the dumbbells will naturally fall outward and downward.
- The Error: Placing spotter arms directly under the dumbbell's vertical path.
- The Fix: Set your safety spotter arms (preferably strap safeties or UHMW plastic-lined pin pipes) roughly 6 to 8 inches wider than your torso, and set the height exactly 2 inches below your bottom-range-of-motion chest level. This allows you to drop the dumbbells safely to the sides without your wrists striking the steel uprights.
Integrating Dumbbell Storage Trays
If you selected a Power Rack or Half Rack, utilize the lower crossmembers to mount angled dumbbell trays. According to equipment reviews by Garage Gym Reviews, keeping heavy dumbbells (50lbs+) stored above knee height drastically reduces the lumbar shear force required to pick them up at the start of a set. Ensure your tray attachments utilize 5/8" hitch pins if you have 3x3" uprights with 1" holes, or 1" hitch pins for 5/8" holes, to prevent the trays from rattling loose during heavy rack pulls.
Edge Cases and Troubleshooting
Dealing with Sloped Garage Floors
Most residential garage floors slope toward the door at a rate of 1/4" per foot to allow for water drainage. If your rack is installed perpendicular to this slope, the uprights will not be plumb, causing binding in your adjustable pulley systems and uneven bench alignment. Solution: Use tapered stainless steel shims under the lower base plates before torquing your wedge anchors. Verify plumbness with a 48-inch magnetic level on both the front and side uprights.
Hardware Upgrades
Many budget racks shipped in 2026 still include low-grade zinc hardware that strips under repeated tightening. For a lifetime installation, discard the included bolts and purchase Grade 8 hex bolts with nylon-insert lock nuts (nyloc nuts) from a local industrial supplier. This prevents the micro-vibrations from dropped dumbbells from slowly loosening the rack's crossmember connections over time.
Final Verdict: Which Setup Wins?
For a pure, heavy dumbbell exercise program where space is at a premium, the Squat Stand (with a separate DB tree) offers the most unobstructed lateral movement and costs under $500. However, if your program incorporates cable attachments, pull-ups, and heavy incline pressing where safety is paramount, the Half Rack emerges as the undisputed champion. It provides the necessary open-front clearance for dumbbell manipulation while anchoring your gym with commercial-grade stability and integrated storage.
More gear to consider
All reviews
Bumper vs Iron Plates: Space Layouts & the Dumbbell Deficit Push Up
Collar & Clamp Types: Safe Gear for a Full Dumbbell Chest Workout
Olympic Barbell Guide: Knurling, Weight & Shoulder Rows Dumbbell

Beyond 200 Pound Dumbbells: Barbell Weight & Knurling Mistakes

Men's Leg Workouts with Dumbbells: Rubber vs Urethane