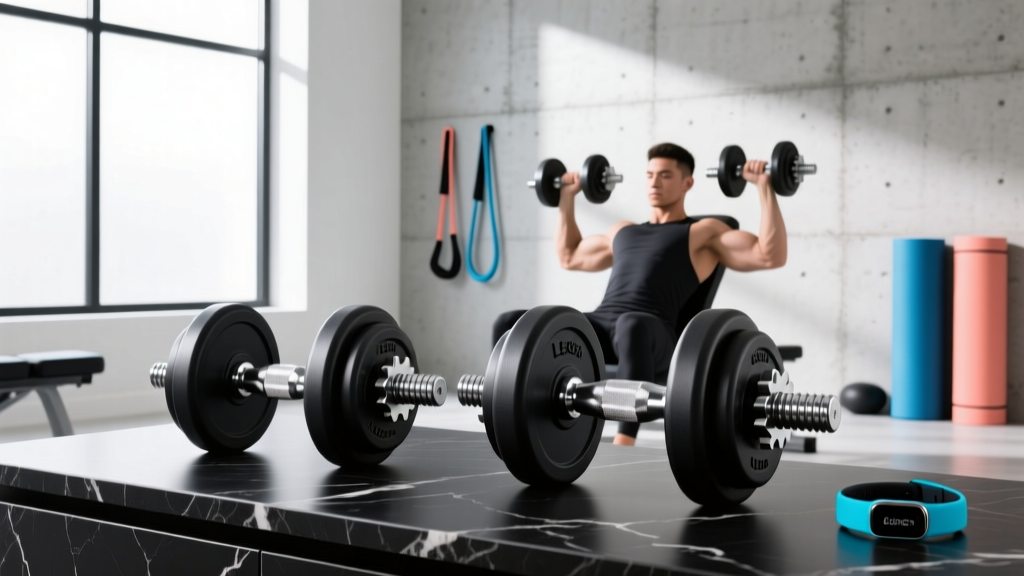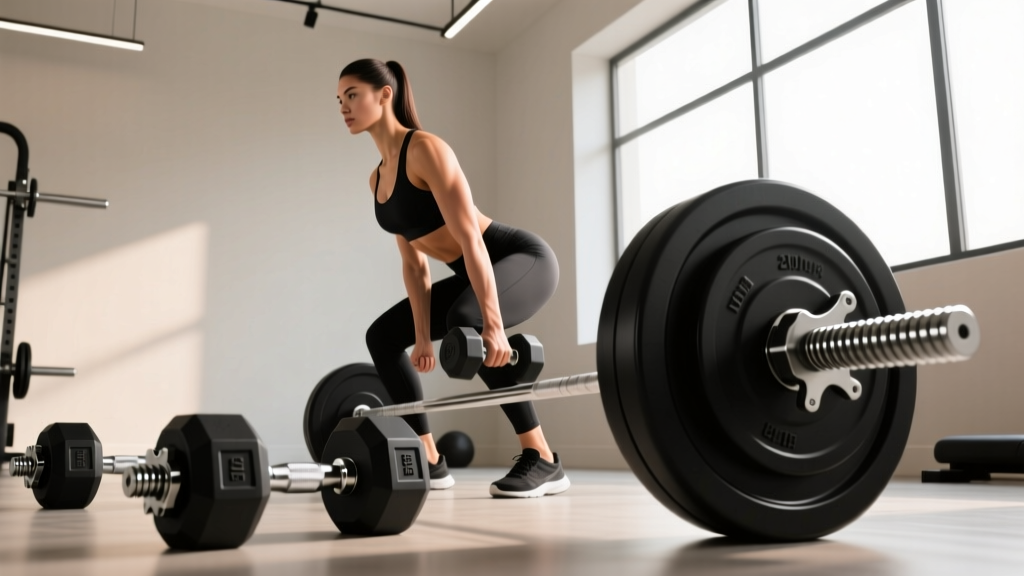
Dumbbell Hip Abduction & Barbell Collar Types Guide
Learn step-by-step dumbbell hip abduction form and compare barbell collar types to secure your plates safely during heavy lower-body lifts.

Building a Bulletproof Lower-Body Routine
When designing a comprehensive lower-body program, balancing targeted isolation work with heavy compound movements is essential. For beginners, mastering the dumbbell hip abduction is a foundational step toward developing the gluteus medius and improving pelvic stability. However, as you progress to heavy barbell hip thrusts, squats, and deadlifts, the safety of your equipment becomes paramount. This guide provides a beginner-friendly, step-by-step breakdown of the dumbbell hip abduction, followed by an in-depth barbell collar and clamp types comparison to ensure your plates stay locked in place during heavy lifts.
Step-by-Step: Mastering the Dumbbell Hip Abduction
The hip abduction movement primarily targets the gluteus medius, gluteus minimus, and the tensor fasciae latae (TFL). According to the American Council on Exercise (ACE), strengthening these lateral hip stabilizers is critical for preventing knee valgus (inward knee collapse) during heavy squats and improving overall athletic performance.
Equipment Needed
- Dumbbell: A 15 lb to 25 lb hex dumbbell. Hexagonal rubber or urethane coatings are preferred over round neoprene, as they prevent the weight from rolling off your thigh.
- Mat: A high-density exercise mat for pelvic comfort.
- Bench (Optional): To rest your head or support your torso if lying on the floor is uncomfortable.
Execution Steps
- The Setup: Lie on your side on the mat. Stack your hips directly on top of one another. Slightly bend your bottom knee for a stable base, and keep your top leg (the working leg) completely straight.
- Dumbbell Placement: Grasp the dumbbell by the handle and rest the weighted head against the lateral (outside) aspect of your top thigh, just an inch or two above the knee joint. Use your top hand to hold it securely in place.
- The Concentric Phase: Brace your core and exhale as you slowly lift your top leg toward the ceiling. Focus on leading with your heel and slightly externally rotating your foot (pointing your toe toward the wall in front of you) to maximize gluteus medius activation.
- The Peak Contraction: Pause at the top of the movement for 1 full second. Do not let your hips roll backward; keep your pelvis stacked.
- The Eccentric Phase: Inhale and lower the leg back to the starting position over a count of 3 seconds. Maintain constant tension on the muscle.
- Feeling it in your quads? You are likely lifting the leg too far forward. Keep the leg in line with your torso or slightly behind you.
- Lower back pain? Your hips are rolling backward. Imagine your back is pressed against a wall to keep your pelvis locked in place.
Transitioning to Barbells: Why Collar Security Matters
Once you have built a foundation with dumbbell hip abductions, you will likely progress to heavy barbell hip thrusts and squats. This is where equipment safety becomes non-negotiable. When performing a barbell hip thrust, the barbell travels horizontally and vertically. If you fail to secure your weight plates, the momentum of the lift can cause the plates to slide outward along the sleeves.
The National Strength and Conditioning Association (NSCA) emphasizes that an unevenly loaded barbell creates catastrophic torque on the lumbar spine and sacroiliac joints. A shifting 45-pound plate during the eccentric phase of a hip thrust can instantly unbalance the bar, leading to severe injury. To prevent this, selecting the right barbell collar is just as important as the plates themselves.
Barbell Collar and Clamp Types Comparison
As of 2026, the market offers several distinct collar technologies designed for 50mm Olympic barbell sleeves. Below is a detailed breakdown of the four primary types you will encounter in commercial and home gyms.
1. Spring Clips (The Budget Standard)
Made from heavy-gauge steel wire (usually 2mm to 3mm thick), spring clips are the most ubiquitous and affordable collars on the market. You compress the handles to open the coil, slide it onto the sleeve, and release.
- Pros: Extremely cheap ($8–$12 per pair); lightweight; lightning-fast to apply and remove.
- Cons: Low clamping force. They fail to secure plates during drops or high-impact movements like power cleans or heavy hip thrusts. Over time, the steel fatigues and loses tension.
2. Lockjaw / Clamp Collars (The Modern Favorite)
These utilize a heavy-duty glass-filled nylon body with a thermoplastic polyurethane (TPU) inner lining. A robust plastic lever snaps shut, creating immense inward pressure against the barbell sleeve.
- Pros: Excellent grip on standard steel and chrome sleeves ($25–$35 per pair); highly durable; easy to use with chalky hands.
- Cons: The plastic lever can crack if dropped directly on concrete from a height. They can also slip slightly on heavily worn, overly slick zinc sleeves during violent drops.
3. Lever-Action / Traditional Aluminum Clamps
Often referred to by the legacy brand name 'HG Collars', these feature an aluminum or steel body with a metal cam-lever mechanism that tightens a padded or metal ring against the sleeve.
- Pros: Superior holding power ($45–$75 per pair); virtually indestructible; the tension can be manually adjusted via a set screw as the pad wears down.
- Cons: Heavier than plastic clamps; takes slightly longer to secure; the metal lever can pinch fingers if handled carelessly.
4. Spinlock Collars (The Olympic Standard)
Machined from solid steel, these collars thread onto the end of the barbell or use a heavy friction-screw mechanism to lock against the sleeve. They are the mandatory standard in Olympic weightlifting competitions.
- Pros: Absolute maximum security ($80–$130 per pair); zero slip during high-velocity drops; perfectly calibrated for 50mm sleeves.
- Cons: Expensive; heavy (adding up to 5 lbs of dead weight to your bar); time-consuming to thread or screw on during fast-paced circuit training.
Comparison Matrix: Choosing the Right Collar
| Collar Type | Avg. Price (2026) | Security Level | Best Use Case |
|---|---|---|---|
| Spring Clips | $8 - $12 | Low | Strict pressing, light accessory work |
| Lockjaw / TPU Clamps | $25 - $35 | High | General powerlifting, hip thrusts, squats |
| Lever-Action Metal | $45 - $75 | Very High | Heavy deadlifts, commercial gym environments |
| Spinlock / Threaded | $80 - $130 | Maximum | Olympic weightlifting, high-impact drops |
Real-World Edge Cases: When Collars Fail
Even the best equipment has failure modes. As highlighted by equipment engineers at Rogue Fitness, the interaction between the collar's inner lining and the barbell sleeve's finish is the most common point of failure.
Warning: If you are using a barbell with a heavily polished, slick chrome or worn zinc sleeve, TPU-lined plastic clamps (like Lockjaws) may slowly creep outward during high-rep barbell hip thrusts. The horizontal friction of the barbell resting on your pelvis and sliding up and down can vibrate the collar loose. For slick sleeves, always use a metal lever-action clamp or a spinlock collar.
Maintenance Tip: Barbell sleeves accumulate chalk, sweat, and rust over time. This debris acts as a lubricant, reducing the friction coefficient between the sleeve and the collar. Wipe down your barbell sleeves with a nylon brush and a light coat of 3-in-One oil or mineral oil once a month to maintain optimal collar grip and protect the steel from oxidation.
Summary & Safety Checklist
Whether you are isolating the gluteus medius with a 20 lb hex dumbbell or loading up 300 lbs for a heavy barbell hip thrust, respecting the biomechanics of the hip joint and the physics of your equipment is vital.
- Master the dumbbell hip abduction with strict form, avoiding lumbar extension and quad dominance.
- Never perform heavy barbell hip thrusts or squats without collars.
- Match your collar type to your training style: use clamps for general strength, and spinlocks for Olympic drops.
- Keep your barbell sleeves clean to ensure maximum friction and collar security.
By combining intelligent exercise selection with rigorous equipment safety standards, you will build a resilient, injury-free lower body capable of handling progressive overload for years to come.
More gear to consider
All reviews
Barbell Collar and Clamp Types Comparison: Securing the Drag Curl with Dumbbells

Power Rack vs Squat Stand: How Dumbbell Dimensions Guide Your Choice

Bumper vs Iron Plates: Space Design & Two Handed Single Dumbbell Curl

Wrist Dumbbell Exercises and Barbell Collar Clamp Troubleshooting

EZ Curl Bar vs Straight Bar Storage & One Arm Dumbbell Row Exercise