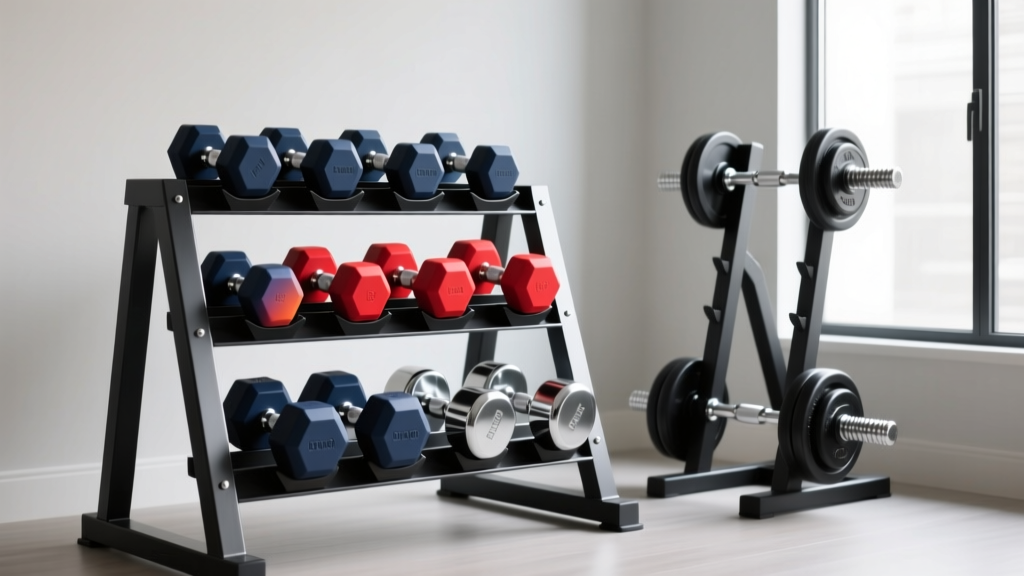
Power Rack vs Squat Rack vs Stand: Beyond Dumbbell Wallpaper
Designing a home gym? Look past the dumbbell wallpaper and master the differences between power racks, squat racks, and stands with this step-by-step guide.

The Aesthetic Trap: Why Structure Precedes Style
When you are dreaming up your ideal home gym, it is incredibly easy to get lost in the fun stuff: RGB lighting, custom rubber flooring, or even novelty dumbbell wallpaper for your accent wall. Building a personal training space is exciting, and visualizing the final look keeps you motivated. However, before you order the decor or paint the walls, you must solve the most critical, expensive, and safety-dependent piece of the puzzle: your lifting station.
Choosing between a power rack, a squat rack (often called a half rack), and a squat stand is the foundational decision of any free-weight setup. Make the wrong choice, and you will be limited in your exercise selection, forced to skip heavy solo lifts, or worse, risk a catastrophic equipment failure. This beginner-friendly, step-by-step guide will walk you through the exact measurements, steel gauges, and safety protocols you need to know in 2026 to select the perfect rack for your space.
⚠️ The Decor Trap: Aesthetic choices like trendy dumbbell wallpaper or peel-and-stick murals do not add structural integrity. Never compromise on rack footprint, steel thickness, or anchoring requirements just to save space for a visual design element. Safety always dictates the layout.Step 1: Audit Your Space and Clearances
Before looking at specific models, you must measure your room. The most common beginner mistake is buying a rack that is too tall for the ceiling or too wide for the designated wall.
- Ceiling Height: Standard power racks are 84 to 90 inches tall. If you want to perform strict pull-ups, you need at least 12 to 18 inches of clearance above the pull-up bar. If your ceiling is 8 feet (96 inches), you must look for 'short' racks (usually 72 inches tall) or dedicated squat stands.
- Barbell Clearance: A standard Olympic barbell is 86 inches wide (with 51.5 inches between the collars). Your rack must have an interior width of at least 48 inches to allow you to unrack the bar without scraping the collars against the uprights.
- Floor Load & Material: A loaded rack can easily exceed 800 lbs. You need a solid concrete slab or a reinforced wood subfloor. Always use 3/4-inch thick horse stall mats or high-density EVA tiles to protect the floor and dampen acoustic vibration.
Step 2: Compare the Contenders (2026 Market Matrix)
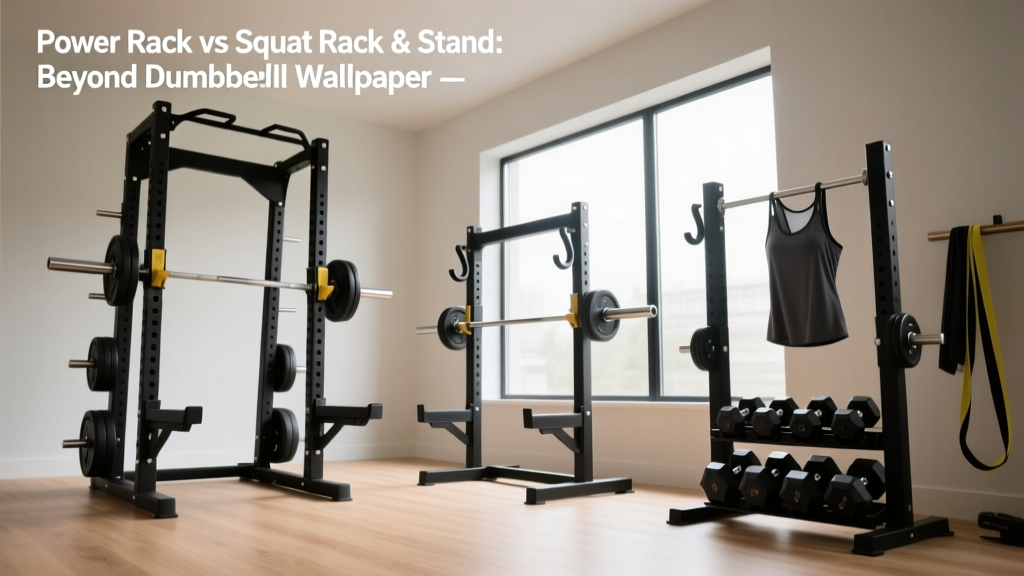
The terminology in the fitness industry can be murky. Here is the definitive breakdown of the three main categories you will encounter when shopping for a lifting station.
| Feature | Power Rack (Full Cage) | Squat Rack (Half Rack) | Squat Stand |
|---|---|---|---|
| Uprights | 4 (Enclosed cage) | 2 Front + 2 Rear (Storage) | 2 Independent |
| Safety Mechanism | Internal Catcher Pins/Straps | Forward Spotter Arms | Spotter Arms (Tipping Risk) |
| Avg Footprint | 48" x 48" (or deeper) | 48" x 34" | 12" x 12" (Base plates) |
| 2026 Price Range | $500 - $1,200+ | $400 - $800 | $150 - $450 |
| Best For | Heavy solo lifting, kipping, bands | Garage gyms, easy barbell storage | Minimalist spaces, temporary setups |
Step 3: Deep Dive into Power Racks (The Gold Standard)
If you have the space and the budget, a full power rack is the undisputed king of the home gym. Because you are inside the cage, the safety spotter arms catch the barbell directly beneath you if you fail a squat or bench press.
What to Look For:
- Steel Gauge & Tubing: In 2026, the standard for premium racks is 11-gauge steel with 3x3-inch tubing. Avoid 14-gauge or 2x2 tubing unless you are on an extreme budget and only lifting under 250 lbs. 11-gauge steel offers a weight capacity well over 1,000 lbs and prevents the rack from swaying during kipping pull-ups.
- Hole Spacing: Look for 'Westside Spacing'. This means the holes in the lower half of the uprights (the bench press and squat zone) are spaced 1 inch apart, allowing for micro-adjustments of your J-cups. Standard 2-inch spacing can force you to unrack the bar slightly too high or too low.
- Top Picks: The Titan T-3 Power Rack (approx. $599) remains a budget-friendly workhorse with 3x3 uprights. For premium quality, the Rogue R-3 (approx. $825) offers unmatched fit and finish, utilizing 11-gauge steel and UHMW plastic liners to protect your barbell knurling.
Expert Insight: Always opt for sandwich-style J-cups with UHMW plastic inserts. Metal-on-metal contact between your barbell and the J-cups will destroy the knurling on your expensive Olympic bar over time.
Step 4: The Half Rack (Squat Rack) Compromise
A half rack features two main front uprights and two smaller rear uprights connected by a crossmember, which usually doubles as weight plate storage. This design shifts the center of gravity backward, making it more stable than a squat stand without requiring the massive footprint of a full cage.
The Pros and Cons:
- Pro: You can easily step forward out of the rack to perform overhead presses or thrusters without hitting a rear crossmember.
- Pro: Built-in weight storage acts as a counterbalance, increasing stability.
- Con: Spotter arms extend forward from the front uprights. If you fail a rep and dump the bar forward, the spotter arms will catch it, but the sudden forward force can tip lighter, unanchored half racks.
- Top Pick: The REP Fitness PR-5000 Half Rack utilizes a modular attachment system that rivals premium brands, featuring laser-cut numbering on the uprights for easy J-cup alignment.
Step 5: Squat Stands (Minimalist but Risky)
Squat stands are two independent, freestanding uprights. They are incredibly cheap and take up almost zero visual space—leaving plenty of bare wall for your favorite dumbbell wallpaper. However, they come with severe safety caveats.
Critical Failure Modes to Avoid:
- The Tipping Hazard: If you re-rack a heavy barbell slightly off-center, or if you use the spotter arms and fail a rep, the leverage can flip the stand backward or forward. Never use squat stands without anchoring them to a concrete floor or loading the rear weight pegs with heavy plates to act as ballast.
- Width Alignment: Because they are independent, you must manually measure the distance between them every time you move them. If they are slightly misaligned, your barbell will roll off the J-cups.
- Top Pick: The Rogue SML-2C Monster Lite Squat Stands ($445/pair) feature 3x3 tubing and a massive base plate with pre-drilled holes for bolting directly into concrete. For budget lifters, the Fitness Reality 810XLT Super Max ($229) is adequate for beginners, provided you never exceed 300 lbs and always use a spotter.
Step 6: Anchoring and Installation Protocols
According to safety guidelines reviewed by organizations like the ExRx.net Testing and Safety Guidelines, structural stability is paramount when lifting unsupervised. Here is how you anchor your equipment properly in 2026:
- Concrete Slabs: Use 3/8-inch or 1/2-inch wedge anchors. Drill the hole to the exact depth specified by the manufacturer (usually 3 inches of embedment), vacuum out the concrete dust (crucial for grip), and torque the nut until the washer is flush and tight.
- Wood Subfloors: You cannot use standard wood screws. You must locate the floor joists using a stud finder and use 3/8-inch structural lag bolts (at least 3 inches long) driven directly into the center of the joists. If the rack feet do not align with the joists, you must install a structural plywood sub-base to distribute the load.
For comprehensive reviews on how different racks handle lateral stress and anchoring, industry authorities like Garage Gym Reviews provide excellent video teardowns of rack stability.
Frequently Asked Questions (FAQ)
Can I attach resistance bands to a squat stand?
No. Band work creates immense upward and lateral tension. Squat stands and half racks are not designed to handle the uplift forces of heavy resistance bands. Only use band pegs on a fully enclosed, bolted-down power rack.
Do I need a pull-up bar on my rack?
Most power racks and half racks include a rear crossmember that doubles as a pull-up bar. If you have low ceilings, you can often order these racks without the top crossmember, but you will lose the ability to do kipping movements or muscle-ups safely.
What is the best flooring to put under my rack?
Skip the expensive puzzle mats. Go to a local farm supply store and buy 3/4-inch thick, 4x6 foot rubber horse stall mats. They cost around $50 each, are virtually indestructible, and provide the exact shock absorption needed for dropped deadlifts. You can frame them with wood trim to create a clean, professional look that complements any room design—even if you decide to hang that novelty dumbbell wallpaper on the adjacent wall.
Final Verdict: Build the Foundation First
Designing a home gym is a journey that balances raw utility with personal expression. While aesthetic touches make the space inviting, your lifting station must be rooted in uncompromising safety and biomechanical efficiency. If you have an 8-foot ceiling and a concrete floor, invest in an 11-gauge power rack with Westside spacing. If space is tight, a bolted-down half rack offers the best compromise. Save the squat stands for temporary setups or dedicated Olympic lifting platforms where bumper plates are dropped from overhead. Secure your steel, anchor your base, and then—only then—worry about the wallpaper.
More gear to consider
All reviews
Olympic vs Standard Plates: Upgrading Your LS Dumbbell

Olympic vs Standard Plates: Gear for the Dumbbell Forward Lunge

Master the Seated Dumbbell Clean with Space-Saving Loadable Plates

Olympic Barbell Knurling: Fixing Grip From Cable Dumbbell Curls

Plate Care: Bumper vs Iron & Alternating Dumbbell Bicep Curls