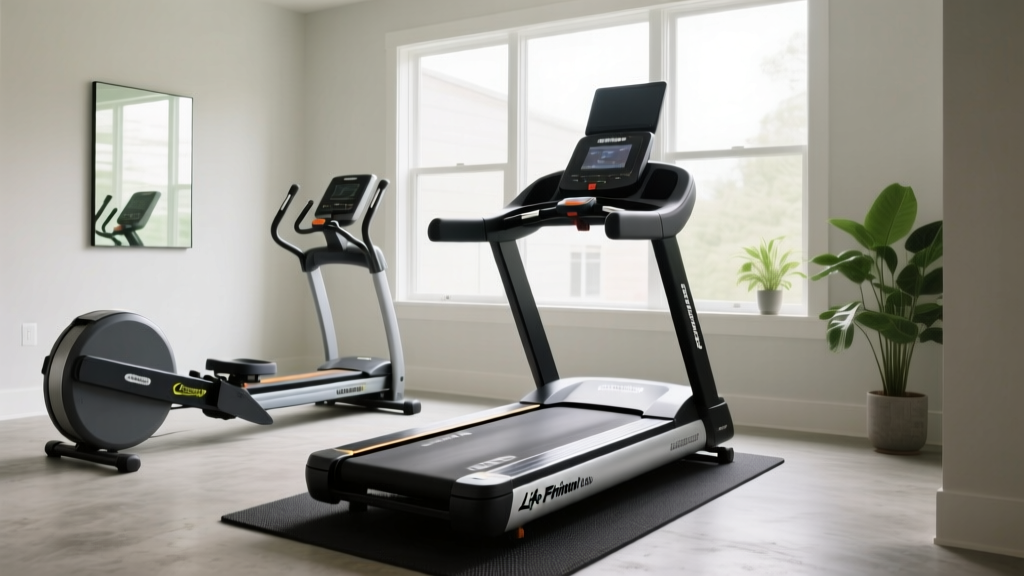
Life Fitness Platinum Club Series Treadmill Setup vs Curved Manuals
Master the Life Fitness Platinum Club Series treadmill setup. Compare motorized installation, electrical needs, and space against curved manual treadmills.

The Motorized vs. Manual Installation Paradigm
Bringing commercial-grade cardiovascular equipment into a residential space requires more than just plugging it in. As of 2026, the home gym market has bifurcated into two distinct high-end categories: ultra-premium motorized decks and gravity-driven curved manuals. Understanding the installation nuances between these two formats is critical for equipment longevity, safety, and optimal biomechanical performance. This guide provides a complete setup and installation walkthrough for the Life Fitness Platinum Club Series treadmill, while contrasting its spatial, electrical, and calibration requirements against premium curved manual alternatives like the AssaultRunner Elite or TrueForm Runner.
While the Life Fitness Platinum Club Series treadmill represents the gold standard in motorized home fitness—featuring a high-torque AC motor and the patented FlexDeck Shock Absorption System—curved manual treadmills rely entirely on user-generated force and precise deck geometry. The installation protocols for each are fundamentally different, dictated by their distinct engineering realities.
Pre-Installation Site Prep: Spatial and Electrical Realities
Before unboxing, you must prepare the installation environment. Motorized treadmills demand strict electrical compliance, while curved manuals demand strict structural leveling. Below is a comparative matrix outlining the baseline requirements for both formats.
| Specification | Life Fitness Platinum Club Series (Motorized) | Premium Curved Manual (e.g., AssaultRunner) |
|---|---|---|
| Shipping Weight | ~380 lbs (172 kg) | ~280 lbs (127 kg) |
| Assembled Footprint | 83' L x 35' W (211 cm x 89 cm) | 69' L x 33' W (175 cm x 84 cm) |
| Rear Safety Clearance | 79' (200 cm) minimum | 48' (122 cm) minimum |
| Electrical Requirement | 120V / 15A Dedicated Circuit (NEMA 5-15) | None (or standard 120V for Bluetooth console) |
| Floor Leveling Tolerance | Moderate (adjustable rear feet) | Critical (gravity-driven belt drift risk) |
Life Fitness Platinum Club Series Treadmill: Step-by-Step Setup
Phase 1: Unboxing and Frame Positioning
The Platinum Club Series arrives on a heavy-duty pallet. Do not attempt to lift the 380-pound chassis manually. Use a heavy-duty appliance dolly and a two-person team. Carefully cut the steel banding, remove the corrugated shell, and tilt the dolly back to roll the unit to its final destination. Ensure the path is clear of thresholds that could jolt the frame and misalign the internal motor mounts.
Phase 2: Electrical Hookup and Grounding Verification
Locate your dedicated 15-amp NEMA 5-15 receptacle. The Life Fitness Support Portal explicitly states that sharing a circuit with high-draw appliances (like HVAC units or refrigerators) will trigger the treadmill's internal breaker. Plug the heavy-gauge power cord directly into the wall. Use a standard $15 outlet tester to verify that the receptacle is properly grounded; an ungrounded circuit poses a severe shock hazard and can cause static buildup that destroys the Discover SE3HD console's logic board.
Phase 3: Console Mast and Wiring Routing
With the base positioned, lift the upright console mast. This is a two-person job. One person must support the mast's weight while the other routes the internal data cables through the pivot hinge. Critical Edge Case: Ensure the data cable is seated firmly in the zip-tie guides. If the cable rests against the pivot hinge's metal edge, the repeated folding of the treadmill (if applicable to your specific sub-model) will eventually sever the wiring harness, resulting in console blackouts.
Curved Manual Treadmill Setup: The Contrast
Assembly and the Leveling Imperative
Setting up a curved manual treadmill bypasses the electrical phase entirely, but introduces a rigorous structural requirement. Because curved treadmills operate on a gravity and friction gradient, the deck must be perfectly level laterally and longitudinally. If your home gym floor has a slope of even 1.5 degrees, the vulcanized rubber slat belt will continuously drift to the lower side during use, causing edge-friction and premature bearing wear.
Use a 24-inch digital torpedo level across the deck's width. Adjust the threaded leveling feet at the base of the curved frame until the bubble is perfectly centered. Unlike the Life Fitness Platinum Club Series treadmill, which uses a motorized tracking system to keep the belt centered, a manual treadmill relies entirely on physical symmetry.
Slat Belt Tensioning
Curved manuals do not require deck lubrication, but they do require precise slat belt tensioning. If the belt is too loose, it will slip under heavy sprint loads. If it is too tight, it will bind against the curved guide rails, creating excessive drag and destroying the sealed cartridge bearings. Use a 17mm hex key to adjust the rear axle bolts, turning each side exactly one-quarter turn at a time until the belt has exactly 1.5 inches of vertical deflection at the apex of the curve.
Calibration, Testing, and First-Run Protocols
Once assembled, both machines require specific calibration protocols before regular use. The American Council on Exercise (ACE) notes that improperly calibrated equipment alters user biomechanics and increases injury risk.
Motorized Calibration (Platinum Club Series)
- Speed Calibration: Access the hidden engineering menu on the console (usually by pressing 'Stop' and 'Speed Up' simultaneously for 5 seconds). Run the auto-calibration sequence, which tests the deck from 0.5 MPH to 12.0 MPH to ensure the AC motor's PWM (Pulse Width Modulation) controller is syncing correctly with the console display.
- Belt Tracking: Walk on the treadmill at 3.0 MPH. Observe the rear roller. If the belt drifts left, tighten the left rear adjustment bolt by a quarter-turn. Never adjust the belt while the machine is off; the tension differential will not register until the deck is in motion.
Manual Calibration (Curved Treadmill)
- Friction Testing: Stand on the apex of the curve. Lean forward slightly. The belt should engage smoothly without requiring a forceful 'stomp' to initiate movement. If it requires excessive force, the rear axle is over-tensioned.
- Top-Speed Stability: Perform three 20-second sprints. Listen for rhythmic clicking, which indicates a loose slat bolt or a misaligned guide wheel.
Long-Term Maintenance Divergence
Motorized (Life Fitness): Requires silicone deck lubrication every 300 miles or 6 months. The FlexDeck system relies on a low-friction interface between the belt and the phenolic deck. Neglecting this causes the motor to overwork, drawing excess amperage and eventually tripping the thermal cutoff switch.
Manual (Curved): Requires zero lubrication. Maintenance is limited to vacuuming dust from the curved guide tracks and checking the torque on the individual slat bolts every 12 months, as the repetitive impact of running can slowly back them out.
Frequently Asked Questions
Can I move the Life Fitness Platinum Club Series treadmill upstairs?
Yes, but not in one piece. The 380-pound assembled weight exceeds the safe dynamic load limit for most residential staircases when manipulated by standard moving equipment. You must unbolt the console mast from the base, moving the two halves separately. Always disconnect the internal data harness before separating the mast to avoid tearing the connector pins.
Do curved manual treadmills need a mat underneath?
While they lack a heavy motor, the localized point-load of a curved treadmill's front and rear feet is immense due to the concentrated weight distribution of the steel frame. A 3/8-inch thick vulcanized rubber equipment mat is highly recommended to prevent permanent indentation on hardwood floors and to dampen the acoustic vibration transmitted to the floor joists during sprint intervals.
Why does my motorized treadmill trip the breaker mid-run?
If your Life Fitness Platinum Club Series treadmill trips the breaker specifically during high-speed or high-incline intervals, it is experiencing voltage sag. This is almost always caused by an undersized wire gauge in the wall circuit (e.g., 14-gauge wire on a long run from the panel) or a shared circuit. Consult a licensed electrician to install a dedicated 12-gauge, 15-amp line directly from your breaker panel.
More gear to consider
All reviews
Rowing Machine Guide 2026: Technique vs Weightless Treadmill Cost

Stationary Bike Types vs. Jogging on Treadmill: 2026 Review

Under Desk Treadmill Review: Maintenance vs Barry's Treadmill
Walking Pad Reviews & How to Tighten Belt on NordicTrack Treadmill

Stair Climber vs Incline Treadmill: The Under Desk Office Alternative
