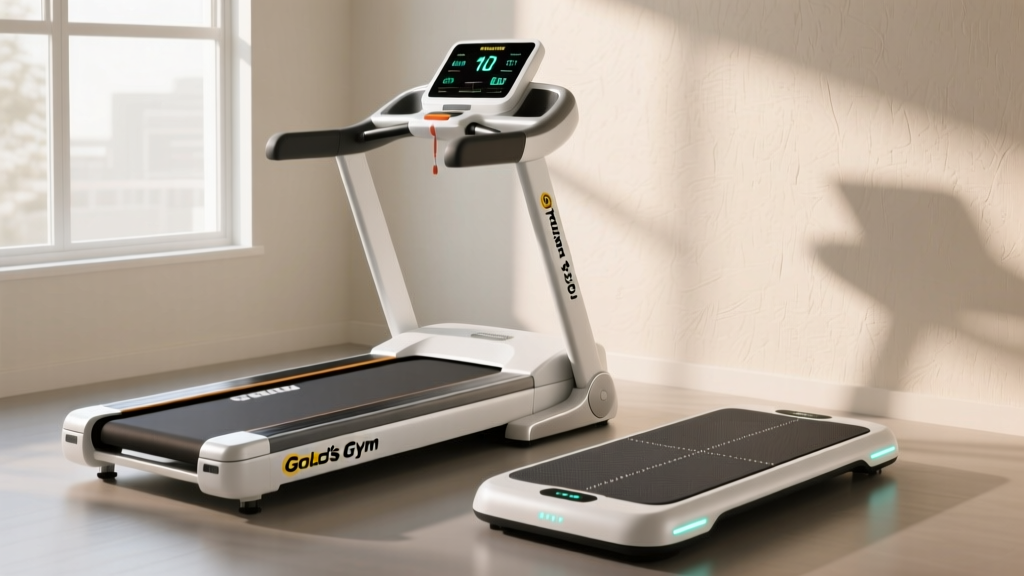
Stair Climber Setup Guide: Superfit Folding Treadmill Alternative
Master your cardio space with our stair climber installation guide. We compare setup requirements against the Superfit folding treadmill for modern homes.

The Home Cardio Dilemma: Vertical Climbers vs. Compact Treadmills
When outfitting a home gym in 2026, spatial efficiency and biomechanical impact are the two primary constraints. Many buyers cross-shop ultra-compact walking pads, like the popular Superfit folding treadmill, with high-intensity vertical stair climbers. While the Superfit folding treadmill offers an incredible 5-inch folded profile, a 2.25 HP motor, and requires virtually zero assembly out of the box, a dedicated stair climber machine demands a rigorous, calculated installation walkthrough.
Whether you are installing a heavy-duty magnetic hybrid like the Bowflex Max M9 (retailing around $1,999) or a compact hydraulic stepper like the Sunny Health & Fitness SF-S9002 ($399), improper setup leads to catastrophic failure modes, ranging from snapped resistance cables to subfloor damage. According to the American Council on Exercise (ACE), stair climbing recruits the glutes, hamstrings, and calves at a significantly higher rate than flat-surface walking, making the complex setup entirely worth the effort for targeted cardiovascular conditioning.
This complete setup and installation walkthrough will guide you through spatial planning, subfloor reinforcement, mechanical assembly, and software calibration.
Phase 1: Spatial Planning and Ceiling Clearance
The most common installation failure for home stair climbers is ignoring the vertical clearance. Unlike the Superfit folding treadmill, which operates entirely below the waist and requires a standard 70-inch ceiling height, stair climbers elevate your entire body mass.
| Specification | Bowflex Max M9 (Hybrid Climber) | Sunny SF-S9002 (Mini Stepper) | Superfit Folding Treadmill |
|---|---|---|---|
| Machine Height | 76 inches | 53 inches | 4.5 inches (folded) / 35 inches (unfolded) |
| Required Ceiling Clearance | User Height + 15 inches | User Height + 10 inches | Standard 70-inch room clearance |
| Footprint (L x W) | 49" x 30" | 19" x 14" | 45" x 19" |
| Assembly Time | 2.5 - 3 Hours (2 People) | 15 Minutes (1 Person) | 0 Minutes (Plug & Play) |
Phase 2: Subfloor Preparation and Dynamic Load Management
The Superfit folding treadmill distributes a user's weight across a relatively wide 40" x 15" running deck. Stair climbers, however, concentrate massive dynamic loads onto two small rear stabilizer tubes and a front mast.
Calculating Dynamic Impact
When a 200 lb user steps down forcefully on a stair climber, the dynamic force multiplier can generate up to 350 lbs of localized pressure per square inch on the floor contact points. Over time, this will dent luxury vinyl plank (LVP) flooring and compromise the structural integrity of weak subfloors.
- For Carpeted Floors: Use a 3/4-inch thick, high-density EVA foam equipment mat. Avoid interlocking puzzle mats, as the seams will separate under the lateral torque of a climbing stride.
- For Hardwood/LVP: Place a 5mm vulcanized rubber mat beneath the machine. Ensure the mat extends at least 12 inches past the rear stabilizer to catch sweat and prevent moisture warping.
- Leveling: Use a 24-inch torpedo level across the main mast. If your floor has a variance greater than 1/4 inch over 6 feet, use adjustable threaded leveling feet (usually included in the hardware kit) to prevent the mainframe from twisting during use, which causes premature rail wear.
Phase 3: Step-by-Step Stair Climber Assembly Walkthrough
For this guide, we will focus on the assembly of a standard magnetic-resistance vertical stair climber (similar to the Bowflex or NordicTrack FS series). Always consult your specific manual, but the mechanical principles remain identical.
Tools Required (Beyond the Included Kit)
Do not rely solely on the cheap, soft-metal Allen wrenches provided in the box. Gather the following:
- 10mm and 12mm socket wrench with ratchet
- High-quality metric hex key set (4mm, 5mm, 6mm)
- Rubber mallet (for seating tight bearing sleeves)
- Medium-strength threadlocker (Loctite 243)
- Cordless drill with torque clutch set to low (optional, but speeds up bolt threading)
The Assembly Sequence
- Base and Stabilizer Attachment: Attach the rear stabilizer tube to the main base frame. Pro Tip: Apply a single drop of Loctite 243 to all base bolts. The continuous up-and-down vibration of a stair climber will back out untreated bolts within 30 days of heavy use.
- Mast and Upright Post: With the help of a second person, lift the main mast into the base receiver. Route the internal data cables before tightening the collar bolts. Pinching the 14-pin data ribbon cable here is the #1 cause of 'E1' console errors on first boot.
- Pedal Arms and Drive Belt: Install the crank arms. If your model uses a poly-v drive belt, ensure the tensioner pulley is engaged. The belt should have exactly 1/2 inch of deflection when pressed with your thumb midway between the pulleys.
- Console and Handlebars: Connect the heart rate monitor wires. Ensure the spade connectors 'click' audibly. Wrap the connection in a small piece of electrical tape to prevent them from vibrating loose inside the plastic console shroud.
Phase 4: Electrical Requirements and Tech Calibration
While the Superfit folding treadmill can often be run off a standard 15-amp household circuit shared with a TV or fan, high-end magnetic stair climbers draw significant amperage during peak resistance shifts.
- Outlet Selection: Plug the stair climber directly into a wall outlet. Never use an extension cord or a power strip, as the voltage drop can fry the lower control board's MOSFETs.
- Surge Protection: If you must use a surge protector, ensure it is rated for at least 120V/15A with a clamping voltage of 400V or less.
Software Syncing and First Boot
Power on the machine. The console will run a self-diagnostic sweep. Step onto the pedals and begin a slow, manual warm-up. This allows the optical speed sensor to calibrate the RPMs and the magnetic eddy-current brake to map the resistance curve. If your machine features Bluetooth FTMS connectivity, pair it with your preferred third-party app (like Zwift or Peloton) before initiating a high-intensity interval session to ensure latency is under 50 milliseconds.
Common Installation Failure Modes & Troubleshooting
Even with careful assembly, home gym equipment can present edge-case issues. Here is how to troubleshoot the most common stair climber installation failures:
| Error Code / Symptom | Probable Cause | Installation Fix |
|---|---|---|
| E1 (Speed Sensor Error) | Optical sensor misaligned with the flywheel magnet. | Remove the side shroud. Adjust the sensor bracket so it sits exactly 3mm from the passing magnet. |
| Squeaking at the Apex | Pedal arm bearings lack factory grease. | Extract the crank bolt, remove the arm, and pack the bearing sleeve with white lithium grease. |
| Console Flickering | Voltage drop or loose data ribbon. | Check the 14-pin connection at the console. Ensure the machine is on a dedicated 15A circuit. |
"Proper biomechanical alignment on a stair climber requires the user to maintain a neutral spine without leaning heavily on the handrails. If your machine wobbles laterally during use, it is a sign that the floor leveling feet have not been properly calibrated to your room's specific grade."
— Adapted from Mayo Clinic's guidelines on aerobic exercise and posture mechanics.
Final Verdict: Which Machine Fits Your Space?
Choosing between a stair climber and a compact walking pad ultimately comes down to your spatial tolerance and fitness goals. If you live in a micro-apartment, possess low ceilings, or require a machine that can be slid under a bed after a 20-minute walk, the Superfit folding treadmill remains an undefeated champion of convenience and low-impact NEAT (Non-Exercise Activity Thermogenesis) accumulation.
However, if you have the 84-inch vertical clearance, the reinforced subfloor, and the willingness to spend an afternoon meticulously torquing bolts and routing cables, a stair climber offers unparalleled glute activation and VO2 max improvements. By following this complete setup and installation walkthrough, you ensure your machine operates safely, quietly, and reliably for years to come. For further safety guidelines regarding home fitness equipment clearances, always refer to the Consumer Product Safety Commission (CPSC) recommendations.
More gear to consider
All reviews
Elliptical vs Treadmill: Steep Incline Treadmill Budget Breakdown

What to Look for When Buying a Treadmill for Under-Desk Office Use

2026 Performance Treadmill Noise Comparison: Quietest Models
Strava Treadmill vs Elliptical: 2026 Home Cardio Market Trends

What Are Treadmills vs Stair Climbers? Home Buyer Guide