
Power Rack vs Squat Rack vs Stand & Back Workout With One Dumbbell
Compare power racks, squat racks, and stands for your home gym. Plus, follow our beginner-friendly back workout with one dumbbell to start training today.

Building Your 2026 Home Gym: The Rack Dilemma
Setting up a home gym is one of the best investments you can make for your long-term health, but the sheer volume of equipment options can paralyze beginners. The centerpiece of any serious strength setup is the rack. However, high-quality steel equipment has seen price fluctuations heading into 2026 due to global supply chain shifts and steel tariffs. This makes understanding the exact differences between a power rack, a squat rack, and a squat stand more critical than ever for your budget and spatial constraints.
But what if you are waiting on a tax refund, saving up for a full cage, or simply lack the ceiling height for a standard rack right now? You do not need to pause your fitness journey. According to the CDC's physical activity guidelines, consistent resistance training is vital for muscle preservation and metabolic health. Below, we break down the structural differences between the three main rack types, followed by a highly effective, beginner-friendly back workout with one dumbbell that you can execute today while you finalize your equipment purchases.
The Core Comparison: Power Rack vs Squat Rack vs Squat Stand
To make an informed decision, you must understand the engineering and safety profiles of each rack type. Here is how the industry standards stack up for the average home gym user.
| Feature | Power Rack (Full Cage) | Squat Rack (Half Rack) | Squat Stand |
|---|---|---|---|
| Uprights | 4 (Enclosed) | 2 or 4 (Open front) | 2 (Independent) |
| Safety Mechanism | Internal spotter arms/straps | Front-facing catchers or rear spotter arms | Basic pin-pipe or attachable spotter arms |
| Avg. Footprint | 48" x 48" to 49" x 53" | 48" x 48" (plus barbell clearance) | 40" x 45" (minimalist) |
| 2026 Price Range | $650 - $1,500+ | $450 - $900 | $200 - $400 |
| Best For | Heavy solo lifting, kipping, band work | Garage gyms with ample depth space | Small apartments, low ceilings, tight budgets |
1. The Power Rack (The Gold Standard for Safety)
A power rack encloses you within four uprights (typically 3x3 inch 11-gauge steel for premium models like the Rogue RML-390F). The primary advantage is the internal safety spotter arms. If you fail a back squat or bench press, the barbell drops onto the safeties, not your chest or neck. The enclosed design also allows for band attachments and kipping pull-ups without the rack tipping, provided it is bolted down or heavily weighted with rear storage.
2. The Squat Rack (The Space-Saving Compromise)
Often confused with power racks, true squat racks (or half-racks) feature two main front uprights with large catchers designed to catch a dropped barbell if you bail forward. They offer more open space for Olympic lifting variations but require significant forward floor space to safely dump a bar. Models like the Titan T-2 Series offer a great middle ground, though you must be disciplined about bailing forward safely.
3. The Squat Stand (The Minimalist's Choice)
Squat stands consist of two independent uprights. They are incredibly affordable and easy to move. However, they are the most dangerous option for heavy solo lifting. Without a spotter or robust attachable safety arms (like those on the Fitness Reality 810XST Super Max), failing a rep can result in injury or floor damage. They are best suited for strict presses, light squats, and as a pull-up station.
Pro-Tip: Check Your Ceiling Height
Standard power racks are 80 to 90 inches tall. If your basement or garage ceiling is under 84 inches, you will need a 'short' rack (typically 72 inches) to ensure you can perform pull-ups without hitting your head. Always measure your space before ordering heavy freight equipment.
The Interim Solution: A Beginner Back Workout With One Dumbbell
While you measure your space and budget for a rack, your back muscles do not need to wait. The Mayo Clinic recommends strength training all major muscle groups at least two times a week. You can stimulate immense latissimus dorsi, rhomboid, and erector spinae growth using just a single adjustable or fixed dumbbell and a sturdy household chair or bench.
Perform this routine twice a week, resting 60-90 seconds between sets. Focus on a 2-1-2 tempo: 2 seconds lowering the weight, a 1-second pause at the stretch, and a 2-second explosive contraction.
Step 1: The Single-Arm Dumbbell Row (3 Sets x 8-12 Reps per arm)
- Place your non-working knee and hand flat on a sturdy bench or chair, keeping your back parallel to the floor.
- Grip the dumbbell with a neutral (palms facing in) grip. Let it hang straight down to feel a deep stretch in your lat.
- Drive your elbow up and back toward your hip pocket, not your shoulder. Imagine pulling a string attached to your elbow.
- Lower the weight slowly. Avoid twisting your torso; keep your hips square to the floor to isolate the back muscles and protect your lumbar spine.
Step 2: Single-Leg Romanian Deadlift (3 Sets x 10 Reps per leg)
- Stand tall holding the dumbbell in your right hand. Plant your left foot firmly on the ground.
- Hinge at your hips, pushing your right leg straight back behind you while lowering the dumbbell toward the floor along your left shin.
- Keep your back completely flat. You should feel a deep stretch in your left hamstring and the erector spinae muscles of your lower back.
- Squeeze your glutes to return to the standing position. This unilateral movement builds crucial lower-back stability and balance.
Step 3: Floor Dumbbell Pullover (3 Sets x 12-15 Reps)
- Lie flat on your back on a carpeted floor or yoga mat, knees bent, feet flat.
- Hold the single dumbbell by the inside of the top weight plate with both hands, arms extended over your chest.
- Slowly lower the dumbbell backward over your head until your upper arms graze the floor. Keep a slight bend in your elbows to protect the joint.
- Contract your lats and serratus anterior to pull the weight back to the starting position. This mimics the lat stretch of a rack-mounted cable pullover.
Step 4: One-Arm Dumbbell Shrug (3 Sets x 15 Reps per arm)
- Stand holding the dumbbell in one hand, letting it hang at your side.
- Shrug your shoulder straight up toward your ear. Do not roll your shoulders; simply elevate and hold for a 1-second squeeze at the top.
- Lower under control. This targets the upper trapezius, completing your comprehensive back development.
'The mind-muscle connection is exponentially more important than the absolute weight lifted, especially for back training where you cannot visually see the working muscle. Focus on driving the elbow and squeezing the shoulder blade.' — Biomechanics & Hypertrophy Principles
Progression: Transitioning to the Rack
Once your power rack or squat stand arrives and you invest in a barbell, you will transition from unilateral dumbbell work to bilateral barbell movements. The single-arm rows you mastered will translate directly into a stronger, more stable Pendlay Row. The single-leg RDLs will build the posterior chain stability required for heavy conventional deadlifts off the rack pins.
Frequently Asked Questions
Do I need to bolt my power rack to the floor?
Yes, if you plan to do kipping pull-ups, use resistance bands, or if the rack weighs under 300 lbs. Bolt-down kits use 3/8" or 1/2" lag screws into concrete. If you are on a wood floor or cannot drill, you must use a rear weight storage attachment loaded with heavy bumper plates to act as a counterbalance.
Can I build a wide back with just one dumbbell?
Absolutely. The latissimus dorsi responds to mechanical tension and stretch. By utilizing the single-arm row and the floor pullover, you achieve both the loaded stretch and the peak contraction necessary for hypertrophy, as supported by modern resistance training literature.
What is the safest rack for a beginner lifting alone?
A 4-post power rack with UHMW plastic-lined spotter straps or flip-down safety arms is unequivocally the safest option for solo home gym training. It allows you to squat and bench press to failure without the risk of being trapped under the barbell.
More gear to consider
All reviews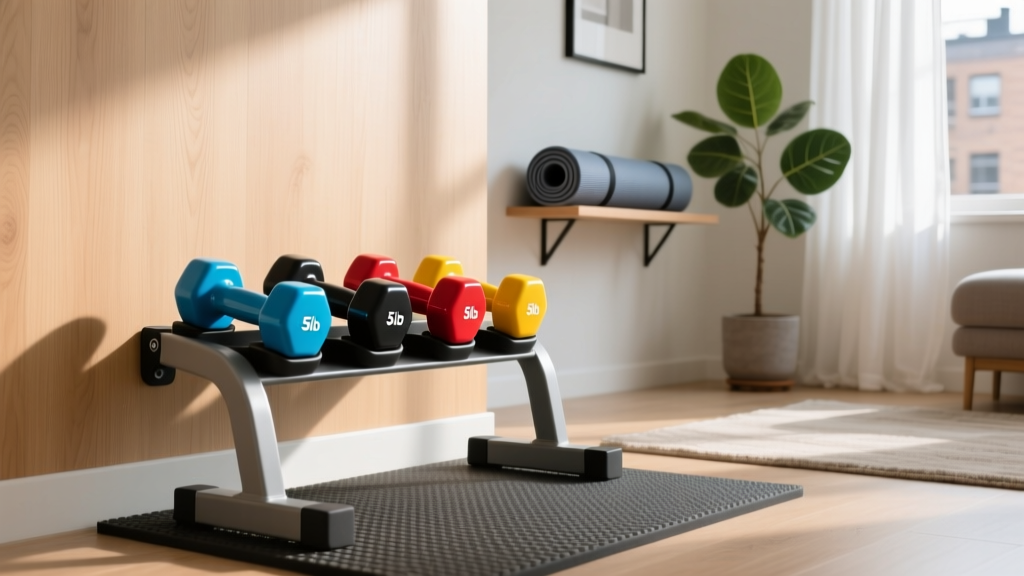
Budget Racks for Your 5lb Dumbbell Workout Set: 2026 Storage Guide

Beyond the 2 Pound Dumbbell: Power Rack vs Squat Rack Guide

Bumper vs Iron Plates for Dumbbell Tenements: 2026 Guide

Single-Arm Dumbbell Rows: Adjustable Dumbbell Mistakes & Top Picks
Olympic Barbell Buying Guide: Knurling & Dumbbell Leg Extensions
