Optimize Home Workouts with Dumbbells: Rack & Storage Guide
Maximize your space for home workouts with dumbbells. Discover expert layout designs, top rack models, and space-saving storage solutions for any room.

The Spatial Challenge of Home Workouts with Dumbbells
Transitioning to consistent home workouts with dumbbells is one of the most effective ways to build functional strength, but it introduces a distinct logistical hurdle: spatial chaos. A single pair of hex dumbbells is easy to tuck away, but a progressive set ranging from 10 to 50 pounds quickly consumes 15 square feet of floor space. Without a deliberate layout design, scattered iron becomes a tripping hazard, damages subflooring, and disrupts the psychological flow of your training environment.
Optimizing your space is not just about buying a rack; it is about engineering a 'Triangle of Efficiency'—the geometric relationship between your storage unit, your primary movement zone, and your adjustable bench. In this guide, we break down the exact dimensions, rack profiles, and layout protocols required to transform a cluttered spare room or garage into a high-performance training facility.
The Triangle of Efficiency Framework:1. Storage Node: The rack footprint and retrieval arc.
2. Movement Zone: Minimum 6x8 foot clearance for lateral and sagittal plane exercises.
3. Anchor Point: The bench placement relative to the rack to minimize walking distance with heavy loads.
Rack Profiles and Footprint Analysis
Choosing the right storage solution requires matching the rack's physical geometry to your room's architectural constraints. Below is a breakdown of the three primary rack profiles used in modern home gyms, including specific failure modes and spatial requirements.
1. Vertical 3-Tier Racks (The Corner Solution)
Vertical racks utilize a steep incline to stack dumbbells in three tiers, minimizing the horizontal footprint. The Rogue 3-Tier Dumbbell Rack is the industry benchmark here, constructed from 11-gauge steel. Failure Mode Warning: Because of their narrow base, vertical racks over 33 inches wide can experience forward tipping if heavily loaded on the top tier while the bottom tier is empty. Always bolt vertical racks exceeding 500 lbs of total capacity to your floor or wall studs.
2. A-Frame Racks (The Open Room Anchor)
A-Frame racks offer excellent visibility and accessibility from both sides, making them ideal for central room placement or shared garage gyms. However, they consume nearly double the floor space of vertical racks. The Titan Fitness A-Frame is a popular budget option, but users frequently report that the angled saddle trays can cause rubber-coated hex dumbbells to slide if the rubber degrades over time.
3. Wall-Mounted and Under-Bench Solutions (Micro-Spaces)
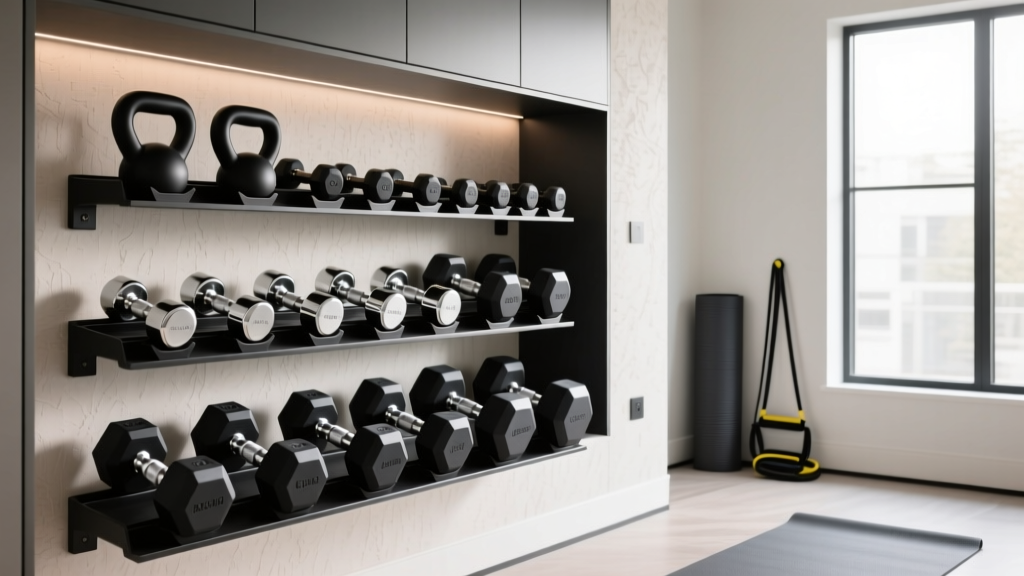
For apartments or bedrooms where floor space is premium, wall-mounted brackets or specialized under-bench cradles are essential. Brands like Bells of Steel offer wall-mounted tiers that hold up to 200 lbs, provided you anchor them directly into wooden studs or masonry, never just drywall.
Equipment Comparison Matrix
| Model / Type | Footprint (L x W) | Max Capacity | Price Range | Ideal Layout |
|---|---|---|---|---|
| Rogue 3-Tier (21" Wide) | 25" x 28" | 500 lbs | $195 - $215 | Tight Corners |
| Rep Fitness 3-Tier | 26" x 29" | 600 lbs | $149 - $179 | Flush Walls |
| Titan A-Frame | 35" x 24" | 800 lbs | $149 - $169 | Center / Island |
| Nuobell Cradle Set | 18" x 10" | 160 lbs (Pair) | $89 - $119 | Under-Bench |
Layout Clearance and Safety Margins
According to facility design principles outlined by Garage Gym Reviews, the most common mistake in home gym layout is placing the rack flush against a wall without accounting for the 'retrieval arc'. When you bend over to pick up a 50-pound dumbbell from the bottom tier, your hips extend backward.
The 36-Inch Rule: Always maintain a minimum 36-inch clearance between the front of your dumbbell rack and any wall, mirror, or secondary equipment. This prevents spinal compression against a wall during heavy deadlift pickups and allows for safe bailing of dropped weights.
Furthermore, if you are integrating a mirror wall for form checking, position the rack at a 45-degree angle to the mirror rather than parallel. This allows you to maintain eye contact with your reflection while retrieving weights, reducing the risk of tripping over the rack's base feet.
The Micro-Space Protocol: Adjustables and Cradles
If your layout simply cannot accommodate a 3-tier rack, adjustable dumbbells are the mandatory pivot. However, storing adjustables requires specific spatial awareness. Models like the Nuobell 80lb or PowerBlock Pro utilize intricate internal mechanisms that are highly sensitive to improper storage.
- The Saddle Rack Hazard: Never place dial-adjustable dumbbells (like Bowflex or Nuobell) into standard curved saddle racks. The curved pressure points will warp the outer casing and jam the selection dial. You must use flat, dedicated cradles.
- Under-Bench Integration: For spaces under 100 square feet, mount a flat cradle system directly to the rear legs of your adjustable bench. This keeps the weights within arm's reach while lying down, effectively reducing your required floor footprint to just the 3x6 foot bench zone.
Sub-Floor Integration and Acoustic Dampening
Dumbbell storage is only half the spatial equation; the floor beneath the rack dictates the longevity of your equipment and your relationship with your neighbors. Dropping a 40-pound urethane dumbbell onto bare concrete generates a high-frequency acoustic shockwave that travels through structural joists.
As detailed in BarBend's comprehensive flooring guide, interlocking EVA foam tiles are insufficient for free weight zones. They compress permanently under the concentrated point-load of a rack's steel feet. Instead, utilize 3/4-inch (19mm) vulcanized rubber horse stall mats.
Pro-Tip for Rack Stability on Rubber Mats: Rubber mats compress over time, which can cause your dumbbell rack to lean slightly forward, altering the center of gravity. To prevent this, cut out the rubber mat where the rack's feet will sit, placing the steel feet directly on the concrete or wood subfloor, then butt the mats flush against the base. This guarantees a 100% level, permanent anchor.Frequently Asked Questions
How much weight can a standard home floor support for a loaded dumbbell rack?
Modern residential floors built to International Residential Code (IRC) standards are designed to support a live load of 40 pounds per square foot. A fully loaded 3-tier rack weighing 600 lbs spread across a 2x2 foot base exerts roughly 150 lbs per square foot. To distribute this safely, place a 4x6 foot sheet of 3/4-inch plywood under your rubber mats to disperse the point-load across multiple floor joists.
Should I store my heaviest dumbbells on the top or bottom tier?
Always store the heaviest pairs (40+ lbs) on the bottom tier. This lowers the rack's center of gravity, drastically reducing the risk of forward tipping during weight retrieval. It also minimizes the biomechanical strain on your lower back when lifting heavy loads from an elevated position.
What is the best layout for a 10x10 foot bedroom gym?
In a 10x10 space, use a single 21-inch wide vertical 3-tier rack tucked into a corner. Place your adjustable bench in the center of the room, angled toward the door or window for natural light. Utilize adjustable dumbbells stored under the bench to eliminate the need for a large rack footprint, preserving the center for dynamic movements like lunges and goblet squats.
More gear to consider
All reviews
Power Rack vs Squat Stand: Beyond Dumbbell Exercises to Lose Belly Fat

1-Arm Dumbbell Row Setup: Barbell Collar and Clamp Types Compared
Barbell Collar Comparison & Dumbbell Overhead Press Machine Setup
Space-Saving Dumbbell Workouts for Triceps Using Loadable Sets
Power Rack vs Squat Rack vs Stand: Dumbbell Goblet Split Squat Guide
