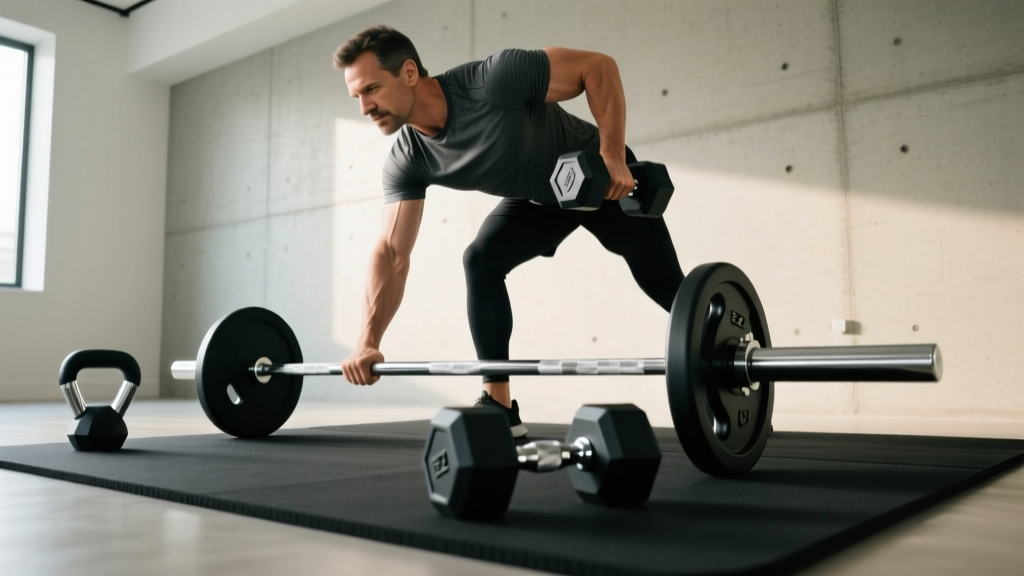
Olympic vs Standard Plates: Setup for Dumbbell Man Makers
Master your home gym setup with our walkthrough on Olympic vs standard plates, optimized for heavy lifts and dumbbell man makers.

The Core Divide: Olympic vs. Standard Plate Dimensions
Setting up a hybrid home gym in 2026 requires bridging the gap between heavy barbell work and high-intensity metabolic conditioning. When building your free weight zone, the foundational decision revolves around weight plate types: Olympic vs standard. This choice dictates not only your barbell rack but also how you configure adjustable dumbbells for complex, full-body movements like dumbbell man makers. The primary difference lies in the center bore diameter and the corresponding sleeve architecture.
Standard Plates (1-Inch Bore)
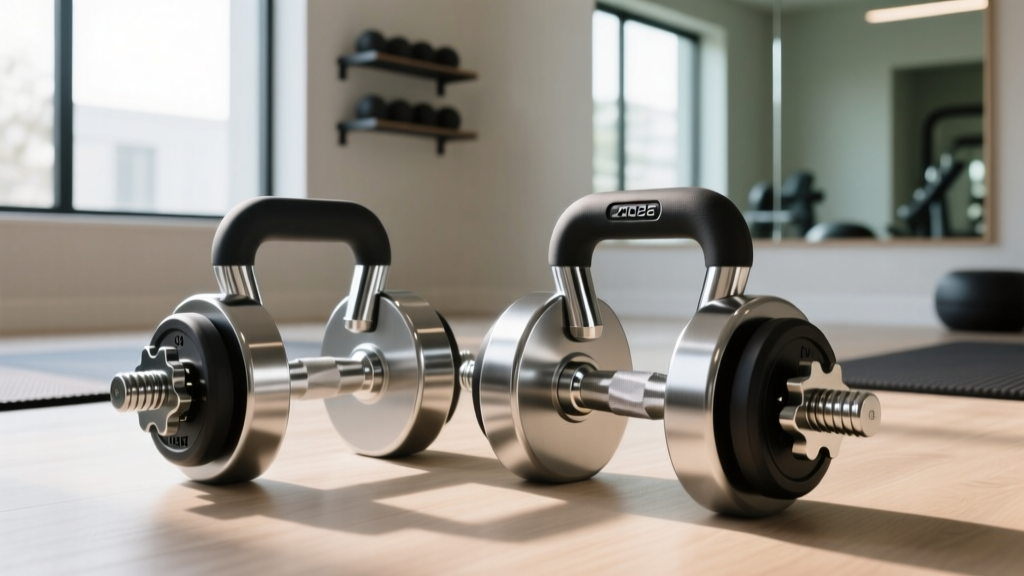
Standard plates feature a 1-inch (25.4mm) center hole. They are typically paired with threaded spinlock dumbbell handles or basic solid-steel barbells. In 2026, standard plates are predominantly manufactured from cast iron or cement-filled vinyl. While highly accessible and budget-friendly, the 1-inch tolerance limits the maximum load capacity per sleeve, usually capping out around 100 to 150 pounds before you run out of physical sleeve space.
Olympic Plates (2-Inch Bore)
Olympic plates feature a 2-inch (50mm) center hole, designed to slide onto smooth, rotating barbell sleeves. According to equipment specifications detailed by Rogue Fitness, Olympic plates are available in a vastly superior range of materials, including machined cast iron, rubber-grip, urethane, and crumb-rubber bumpers. The larger bore allows for heavier loads (up to 1,000+ lbs on competition bars) and seamless integration with modern power racks and loadable Olympic dumbbell handles.
⚠️ Setup Warning: Never attempt to force a standard 1-inch plate onto an Olympic 2-inch sleeve using an adapter collar for dynamic movements. The adapter introduces a secondary point of failure that can slip during explosive cleans or thrusters.Step-by-Step Installation & Storage Walkthrough
Proper installation of your weight plate ecosystem ensures safety and longevity. Follow this walkthrough to configure your storage and dumbbell handles.
- Step 1: Calibrate the Storage Tree. If utilizing a dual-compatible rack, install the 1-inch standard pegs on the upper tier and the 2-inch Olympic pegs on the lower tier. This prevents heavy Olympic plates from toppling the rack and keeps standard plates at eye level for quick dumbbell adjustments.
- Step 2: Prep the Adjustable Dumbbell Handles. For standard 14-inch spinlock handles, thread the star nut completely off, slide on a rubber O-ring (crucial for grip friction), and re-thread. For Olympic loadable dumbbell handles, ensure the internal bushing is lightly lubricated with 3-in-One oil to allow the plates to seat flush against the inner collar.
- Step 3: Sequence the Plates. Always load the largest diameter plates first (closest to the inner collar). For standard plates, this means loading the 10lb or 25lb cast iron plates before the smaller 5lb or 2.5lb fractionals. This stabilizes the center of gravity on the sleeve.
- Step 4: Secure the Collars. Tighten standard spinlock nuts until they physically bite into the outermost plate. For Olympic setups, use heavy-duty spring collars or clamp collars rated for at least 120 lbs of lateral clamping force.
Configuring Weights for Dumbbell Man Makers
The dumbbell man maker is a grueling metabolic complex consisting of a push-up, left renegade row, right renegade row, squat clean, and overhead thruster. According to conditioning frameworks outlined by the National Strength and Conditioning Association (NSCA), complexes require seamless transitions and highly secure implements. This is where your plate choice becomes a critical safety factor.
During the renegade row phase of the man maker, the dumbbell is subjected to intense lateral shear force and rotational torque. If you are using standard plates on a spinlock handle, a loosened nut will cause the plates to shift, creating a dangerous wobble that can severely torque your wrist or cause you to drop the weight on your face.
The 2026 Solution: Olympic Loadable Handles
To safely perform dumbbell man makers with plate-loaded equipment, the industry standard has shifted toward using Olympic loadable dumbbell handles (such as the Titan Fitness 20-inch Olympic Dumbbell Handles). This allows you to utilize your high-quality, precisely machined Olympic plates for the man maker complex, securing them with a spring collar that completely eliminates lateral plate shift. If you must use standard plates, opt exclusively for rubber-coated standard hex plates, as the rubber friction prevents the plates from sliding against one another inside the sleeve.
| Movement Phase | Standard Plate Risk | Olympic Plate Advantage |
|---|---|---|
| Push-Up | Low (Static load) | Stable base, wider handle grip |
| Renegade Row | High (Spinlock nut failure, plate shift) | Zero shift with spring collars |
| Squat Clean | Medium (Sleeve length limits heavy loads) | Accommodates heavier bumper plates |
| Thruster | High (Overhead wobble if unbalanced) | Precision balanced, secure lock |
Cost Analysis and Space Footprint (2026 Market Data)
When budgeting for your free weight zone, understanding the cost-per-pound and spatial requirements of Olympic versus standard plates is essential.
- Standard Cast Iron (100 lb Set): Typically costs between $90 and $130. Requires approximately 2 square feet of floor space on a vertical A-frame tree. Ideal for beginners or those strictly limited by budget and space.
- Olympic Urethane/Iron (300 lb Set): Ranges from $500 to $750 in 2026. Requires a heavy-duty horizontal tiered rack, consuming roughly 4 to 6 square feet. The urethane coating deadens noise and protects flooring, a massive advantage for home gyms.
- Handle Investment: Standard 14-inch spinlock handles cost roughly $35 per pair. Olympic loadable dumbbell handles require a steeper investment of $150 to $220 per pair, but they future-proof your setup for heavy man makers and farmer's carries.
Troubleshooting Common Setup Failures
Even with meticulous installation, hybrid plate setups can present mechanical challenges. Here is how to troubleshoot the most common failure modes identified by equipment specialists at ExRx.net and home gym communities.
Failure Mode 1: Standard Plate Wobble on Spinlock Handles
The Issue: During the clean phase of a man maker, the standard plates rattle and shift, throwing off your center of gravity.
The Fix: Cast iron standard plates often have slight casting imperfections in the center bore. Insert a 1-inch rubber washer between each plate before tightening the spinlock nut. The rubber compresses, filling the microscopic gaps and creating a unified, solid block of weight.
Failure Mode 2: Olympic Bumper Plate Degradation on Concrete
The Issue: Dropping Olympic bumper plates during the thruster or clean phase of a complex onto an unprotected concrete garage floor causes the steel center hubs to punch through the rubber.
The Fix: Install 3/4-inch thick horse stall mats (typically 4x6 feet, costing around $50-$60 each) beneath your lifting zone. Never drop Olympic plates under 45 lbs (like 10lb or 25lb technique bumpers) from overhead, as their thinner rubber profile cannot absorb the shear force of the drop.
Failure Mode 3: Sleeve Space Exhaustion
The Issue: You attempt to load 60 lbs per dumbbell for a heavy man maker variation, but the standard 14-inch sleeve runs out of room before the nut can thread on.
The Fix: Switch to high-density polyurethane standard plates. Urethane standard plates are significantly thinner than cast iron or cement-filled vinyl plates, allowing you to fit up to 30% more weight onto the same length of standard sleeve.
More gear to consider
All reviews
Bumper Plate vs Iron Plate Cost: Cable Fly vs Dumbbell Fly Value
Rubber Hex vs Urethane: Good Morning Exercise With Dumbbells Review
Power Rack vs Squat Rack vs Stand: Back Exercise Using Dumbbell Routines

EZ Curl vs Straight Bar & Alt Dumbbell Bench Press: 2026 Trends
Best Loadable Dumbbells for Deltoids: 2026 Hands-On Review