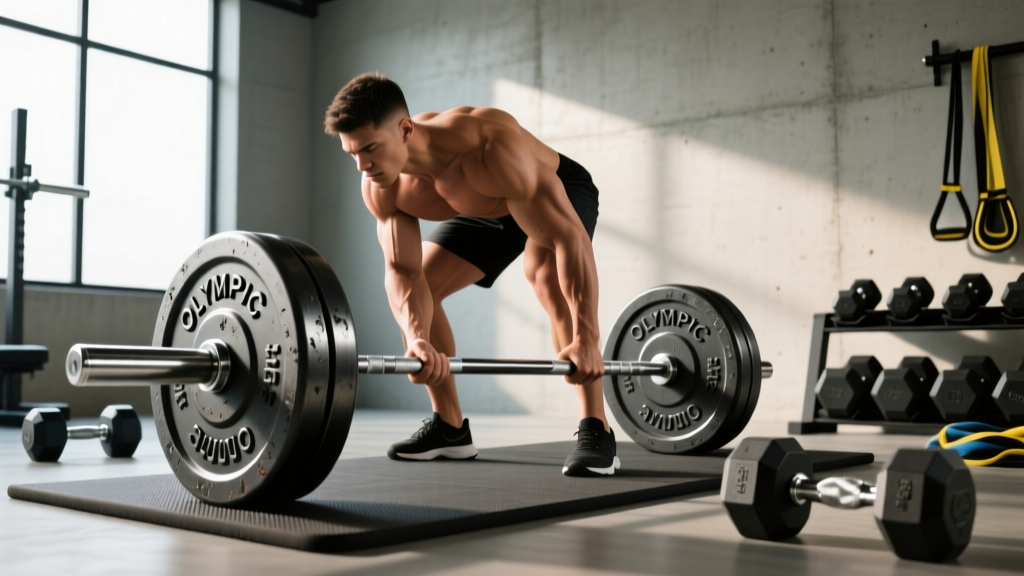
Olympic Barbell Guide: Knurling, Weight & 3 Point Dumbbell Row Tips
Master your free weight setup with our Olympic barbell buying guide on weight and knurling, plus troubleshooting tips for the 3 point dumbbell row.

When outfitting a home or commercial gym in 2026, the foundation of your free weight zone relies on two critical pillars: the structural integrity of your Olympic barbell and the biomechanical precision of your unilateral exercises. Too many lifters and gym owners fall into the trap of prioritizing aesthetics over metallurgy, resulting in bent shafts, torn calluses, and compromised lifting mechanics. Whether you are deadlifting 500 pounds or troubleshooting your 3 point dumbbell row for maximum latissimus dorsi hypertrophy, understanding the nuances of free weight equipment is non-negotiable.
This troubleshooting guide dissects the most common mistakes buyers make regarding Olympic barbell weight tolerances and knurling patterns, while also addressing how your barbell and rack ecosystem directly impacts your dumbbell row mechanics.
The Metallurgy of Mistakes: Barbell Weight and Tensile Strength
The most frequent error in purchasing an Olympic barbell is confusing tensile strength with yield strength, and ignoring weight calibration tolerances. According to the International Powerlifting Federation (IPF) Technical Rules, a standard competition barbell must weigh exactly 20kg (44.09 lbs) and feature a 29mm shaft diameter. However, the budget fitness market is flooded with '45lb' bars that actually weigh 42lbs and possess dangerously low yield thresholds.
Mistake 1: Confusing Tensile vs. Yield Strength
Manufacturers love to advertise tensile strength (the point at which the steel snaps). A budget bar might boast a 165,000 PSI tensile strength. However, the yield strength—the point at which the bar permanently bends and fails to return to a straight line—is often 20% to 30% lower. If you drop a 400lb deadlift from the lockout position onto a bar with a sub-150,000 PSI yield strength, the bar will bend permanently, ruining the sleeve rotation and creating a dangerous wobble during squats.
The Fix: Always look for a minimum tensile strength of 190,000 PSI for multi-purpose bars, and 215,000 PSI for dedicated Olympic weightlifting or elite powerlifting bars. Mid-tier bars in the $245 to $295 range (like the Rep Fitness Colorado Bar or Rogue Ohio Bar) utilize high-grade spring steel that guarantees a yield strength capable of surviving repeated drops.
Mistake 2: Ignoring Weight Tolerances
Cheap barbells are manufactured with a +/- 2% to 5% weight tolerance. This means your '45lb' bar could actually weigh 43lbs, throwing off your progressive overload tracking. Calibrated competition bars hold a +/- 0.1% tolerance, ensuring exact loading.
| Feature | Budget Bar (<$150) | Mid-Tier ($200-$300) | Elite/Competition ($400+) |
|---|---|---|---|
| Tensile Strength | 165,000 PSI | 190,000 - 205,000 PSI | 215,000+ PSI |
| Weight Tolerance | +/- 2% (Often underweight) | +/- 1% (Strict 20kg) | +/- 0.1% (Calibrated) |
| Knurl Type | Hill (Rolled) | Volcano (Machine Cut) | Mountain / Precision Volcano |
| Sleeve Assembly | Low-Grade Bushings | Bronze Bushings | Needle Bearings |
Decoding Knurling: Volcano, Mountain, and Hill Patterns
Knurling is the cross-hatched pattern machined into the steel shaft to provide grip. Choosing the wrong knurl pattern is a primary reason lifters experience grip failure or severe skin tearing.
- Hill Knurling: Found on budget Amazon bars. The peaks are rounded and shallow, created by a rolling process rather than cutting. It feels smooth and becomes virtually useless when your hands sweat, forcing you to rely heavily on chalk or straps.
- Mountain Knurling: Sharp, aggressive, and deeply cut. The peaks come to a distinct point. While excellent for heavy 1-rep max deadlifts, mountain knurling will tear your shins during cleans and destroy your palms during high-rep volume work.
- Volcano Knurling: The gold standard for modern multi-purpose bars. The machine cuts deep grooves, but the very tip of the peak is flattened off. This creates a 'rim' that bites into the skin for a secure grip without piercing the calluses.
Rack Ecosystems and the 3 Point Dumbbell Row
A proper free weight station isn't just about the barbell; it's about how the rack, bench, and barbell ecosystem supports your unilateral dumbbell work. The 3 point dumbbell row is a staple for back development and spinal decompression. According to ExRx.net's biomechanical breakdown of the dumbbell row, maintaining a neutral spine while isolating the lats requires precise bench height and support mechanics. Troubleshooting the 3 point dumbbell row often reveals that the root cause of poor form isn't just the lifter—it's the improper integration of the barbell rack.
Mistake 3: Using the Barbell Sleeve as a Support
One of the most dangerous and common mistakes seen in commercial and garage gyms is using a loaded or unloaded barbell resting in the J-cups of a power rack as the 'third point' of support for a dumbbell row. Never do this.
- Safety Hazard: Barbell sleeves rotate. If your hand slips, the sleeve can spin, causing you to lose your balance and drop a heavy dumbbell on your foot or lower back.
- Knurl Damage: Resting your bare palm or wrist on aggressive barbell knurling while bearing 50% of your body weight will cause severe friction burns and tear your calluses.
- Height Mismatch: Standard J-cups are set at 40+ inches for squats. The American Council on Exercise (ACE) emphasizes that a support surface for a row should be roughly hip-height (around 36-38 inches for the hand, meaning the bench should be 17-18 inches). Using a high barbell forces extreme lateral spinal flexion, shifting the load away from the lats and dangerously onto the lumbar erectors.
Troubleshooting the 3 Point Dumbbell Row Setup
To execute the movement safely and effectively, your equipment must meet specific criteria:
- Bench Height: Ensure your flat utility bench is exactly 17 to 18 inches off the floor. If your bench is a plyo box or a custom high bench, your torso will tilt, ruining the mechanical advantage.
- Clearance: Move the bench completely out of the power rack. Do not attempt to row inside a squat rack where the barbell sleeves or uprights limit your dumbbell's range of motion at the bottom of the stretch.
- Grip and Strap Integration: If your grip fails before your lats, do not compromise your spinal alignment by using a makeshift high support. Instead, use a standard 17-inch bench and wrap a lifting strap around a heavy, stable kettlebell or the base of the bench to secure your non-working hand.
2026 Buying Framework: What to Actually Purchase
When allocating your budget for free weights, prioritize the barbell shaft and knurling over fancy Cerakote colors. A bare steel or hard chrome shaft preserves the integrity of the knurl, whereas thick powder coatings fill in the valleys of the knurl, effectively turning a 'Volcano' pattern into a passive 'Hill'.
For a versatile setup that supports both heavy bilateral squats and provides a safe environment for adjacent dumbbell work like the 3 point dumbbell row, invest in a 190k+ PSI bar with a volcano knurl, pair it with a standard 17-inch flat utility bench, and keep your power rack clear of obstructions during unilateral movements. By respecting the metallurgy of your barbell and the biomechanics of your rows, you will build a resilient, injury-free lifting foundation for years to come.
More gear to consider
All reviews
Cast Iron vs Competition Kettlebells: Beyond 10 lb Dumbbells Five Below

Best Adjustable Dumbbells for Dumbbell Rows in 2026

Single-Arm Dumbbell Row: Urethane vs Rubber Hex 2026 Trends

Olympic Barbell Buying Guide: Knurling & Plasti Dip Dumbbells

Barbell Collar Comparison: Squats to Dumbbell Back Extension
