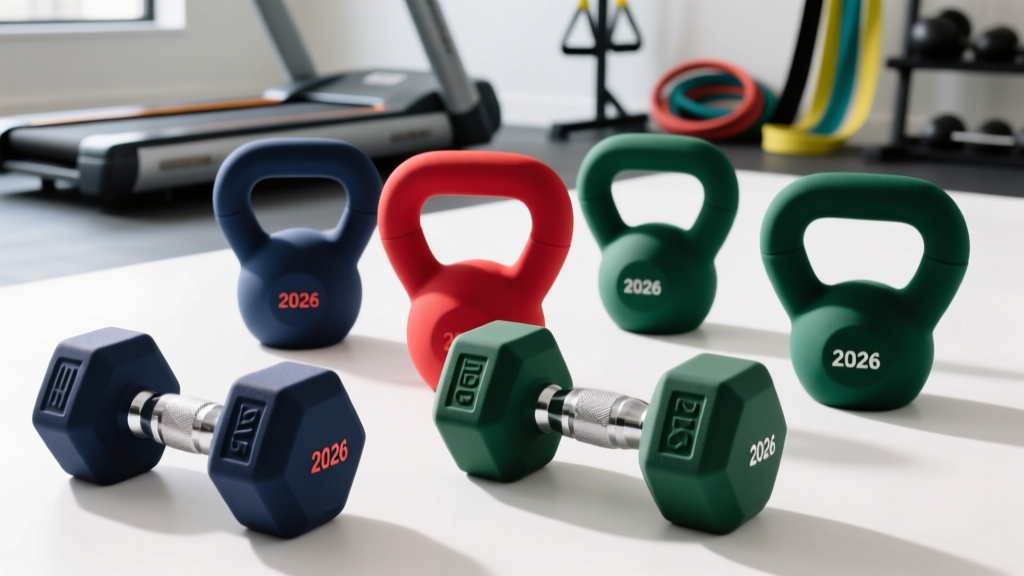
Power Rack vs Squat Rack vs Stand: Standing Dumbbell Crunch Guide
Compare power racks, squat racks, and stands for your 2026 home gym. Plus, master core training with our step-by-step standing dumbbell crunch guide.

Decoding the Steel: Power Rack vs. Squat Rack vs. Squat Stand
Building a home gym in 2026 requires balancing spatial constraints, budget, and long-term versatility. When beginners start shopping for a barbell enclosure, they quickly encounter three distinct categories of steel: the full power rack, the half rack (often colloquially called a squat rack), and the minimalist squat stand. While all three allow you to squat and press safely, their footprints, attachment ecosystems, and safety mechanisms differ drastically.
Before we dive into how to utilize your new equipment's stored dumbbells for core work—specifically the highly effective standing dumbbell crunch—let us break down the hardware. According to comprehensive testing by Garage Gym Reviews, the primary differentiator in modern racks is upright dimension (2x3 vs. 3x3 inches) and hole spacing (Westside vs. standard).
| Equipment Type | 2026 Benchmark Model | Uprights & Gauge | Hole Spacing | Avg. Price |
|---|---|---|---|---|
| Power Rack | Titan Fitness T-3 Series | 4 Uprights (3x3"), 11-Gauge | Westside (1" bench zone) | $749 - $899 |
| Squat Rack (Half Rack) | Rep Fitness PR-4000 | 2 Front, 2 Rear (3x3"), 11-Gauge | Standard (2" spacing) | $699 - $850 |
| Squat Stand | Rogue SML-2C Monster Lite | 2 Independent (3x3"), 11-Gauge | Standard (2" spacing) | $495 - $550 |
The Beginner’s Decision Framework: Space, Budget, and Safety
When to Choose a Squat Stand
Squat stands are two independent uprights with extended bases. They are ideal for garages with low ceilings (under 84 inches) or tight square footage. The trade-off? Safety. Because there is no top crossmember tying the uprights together, a missed rep forward or backward can tip the stands if they are not bolted down or heavily sandbagged. Furthermore, they lack built-in weight storage, meaning your dumbbells and plates will clutter your floor.
When to Upgrade to a Half Rack or Full Power Rack
If you plan to incorporate band work, cable pulley attachments, or heavy barbell cycling, a full power rack or a half rack with rear storage horns is mandatory. The rear storage horns on a half rack not only stabilize the unit but also keep your adjustable dumbbells off the floor, creating a centralized 'hub' for your workouts.
💡 2026 Pro-Tip: The Attachment EcosystemDon't just buy a rack; buy into an ecosystem. In 2026, brands like Titan and Rep Fitness offer functional trainer lat-pulldown attachments that bolt directly onto their 3x3 power racks. If you foresee adding cables to your routine within the next two years, ensure your rack features standard 1-inch hole spacing and 3x3 uprights to guarantee cross-brand attachment compatibility.
Beyond the Barbell: Core Training in Your Rack Environment
When beginners invest in a rack, they often hyper-focus on sagittal plane movements: squats, bench presses, and rack pulls. But a resilient core requires multi-planar loading. The dumbbells you store on your rack’s weight horns are the perfect tools for lateral flexion and anti-rotation work.
This brings us to an essential, often misunderstood movement: the standing dumbbell crunch (frequently categorized in kinesiology as a unilateral standing side bend or lateral crunch). According to Mayo Clinic's core exercise guidelines, training the core in a standing, weight-bearing position translates far better to real-world functional strength and spinal stabilization than traditional supine crunches.
Step-by-Step Guide: Mastering the Standing Dumbbell Crunch
The standing dumbbell crunch primarily targets the internal and external obliques, the quadratus lumborum (QL), and the transverse abdominis. Here is how to execute it flawlessly using the dumbbells stored in your new rack.
- The Setup & Stance: Stand about two feet away from your squat rack (use the upright as a visual cue for posture). Hold a single dumbbell in your right hand using a neutral grip. Let your left arm hang freely or place your left hand lightly behind your ear to cue the neck.
- The Eccentric Phase (Descent):strong> Slowly lower the dumbbell down the side of your right leg. Allow your torso to bend laterally to the right. Crucial: Do not let your hips shift to the left to counterbalance. Keep your hips locked directly under your shoulders.
- The Concentric Crunch (Ascent): This is where the 'crunch' happens. Instead of just standing back up, actively contract your left oblique to pull your ribcage down toward your left hip. Imagine you are trying to crush a walnut between your left ribs and your left pelvis.
- The Isometric Pause: Hold the fully contracted position at the top for a full 1.5 seconds. Exhale sharply to engage the transverse abdominis.
- Volume Prescription: Perform 3 sets of 12-15 reps per side. Beginners should start with a 15 lb to 25 lb dumbbell; the goal is muscular tension, not maximal loading.
Common Form Failures and Edge Cases
Even with the best equipment, poor biomechanics will limit your results. Watch out for these frequent errors:
- Sagittal Plane Leakage: Bending slightly forward or backward instead of strictly to the side. Fix: Stand perpendicular to your power rack's upright and ensure your shoulder, hip, and ankle remain aligned with the vertical steel post throughout the movement.
- Using Momentum: Bouncing the weight at the bottom of the stretch. This removes tension from the obliques and places dangerous shear force on the lumbar discs. Fix: Implement a 2-second pause at the bottom of the eccentric phase.
- Overloading the QL: Using a 50 lb dumbbell before your core is conditioned will cause the Quadratus Lumborum to take over, leading to lower back spasms. Stick to lighter weights and focus on the mind-muscle connection.
Sample 2026 Full-Body Rack & Core Routine
Here is how you integrate your new rack purchase with the standing dumbbell crunch for a highly efficient, 45-minute home gym session.
"Core training should not be an afterthought relegated to the end of a workout when you are already fatigued. Integrating standing, loaded core work between heavy barbell sets ensures high neurological engagement and maximizes your time in the rack."
— Adapted from ACE Fitness Core Stabilization Protocols
- A1. Barbell Back Squats (In Rack): 4 sets x 5-8 reps (Utilize your rack's safety spotter arms)
- B1. Overhead Dumbbell Press (Seated or Standing): 3 sets x 8-10 reps
- C1. Standing Dumbbell Crunch (Unilateral): 3 sets x 12-15 reps per side (Superset with C2)
- C2. Rack Pull-Ups: 3 sets x AMRAP (As many reps as possible)
- D1. Farmer's Carries: 3 sets x 40 yards (Using heavy dumbbells stored on your rack's horns)
By understanding the structural differences between power racks, squat racks, and squat stands, you can make an informed investment that fits your space and safety requirements. More importantly, by viewing your rack as a complete training hub rather than just a barbell holder, you can leverage stored accessories like dumbbells to build a functional, injury-resistant core through movements like the standing dumbbell crunch.
More gear to consider
All reviews
Kettlebell Budget: Cast Iron vs Competition & Walking Dumbbell Lunge

Decline Dumbbell Press Alternative: Picking the Right Rack

Olympic Barbell Buying Guide: Weight, Knurling & Matrix Dumbbells

EZ Curl Bar vs Straight Bar: Trends & Barbell Row Dumbbell Shifts
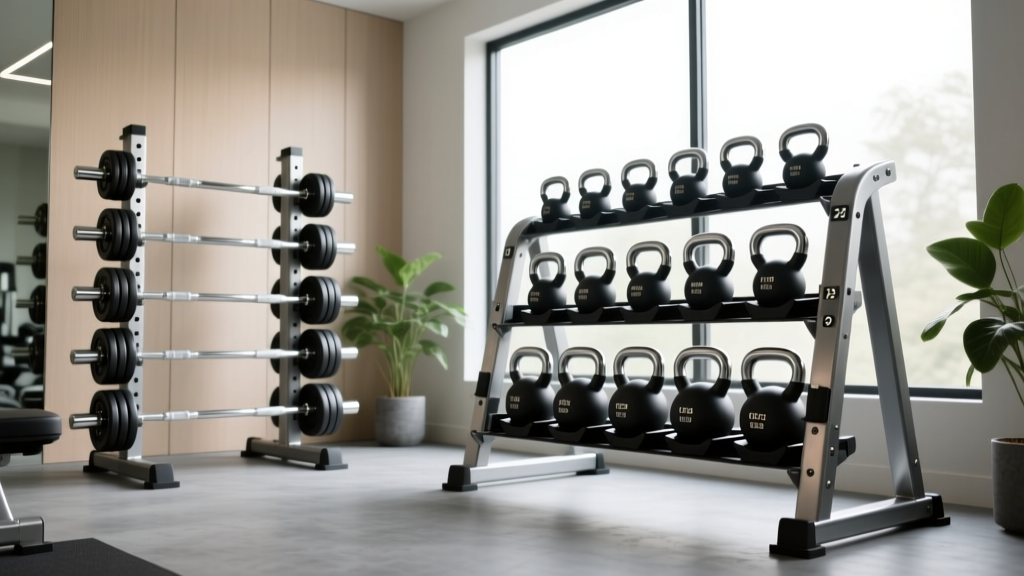
Kettlebell Versus Dumbbell Storage: Top Rack Picks 2026