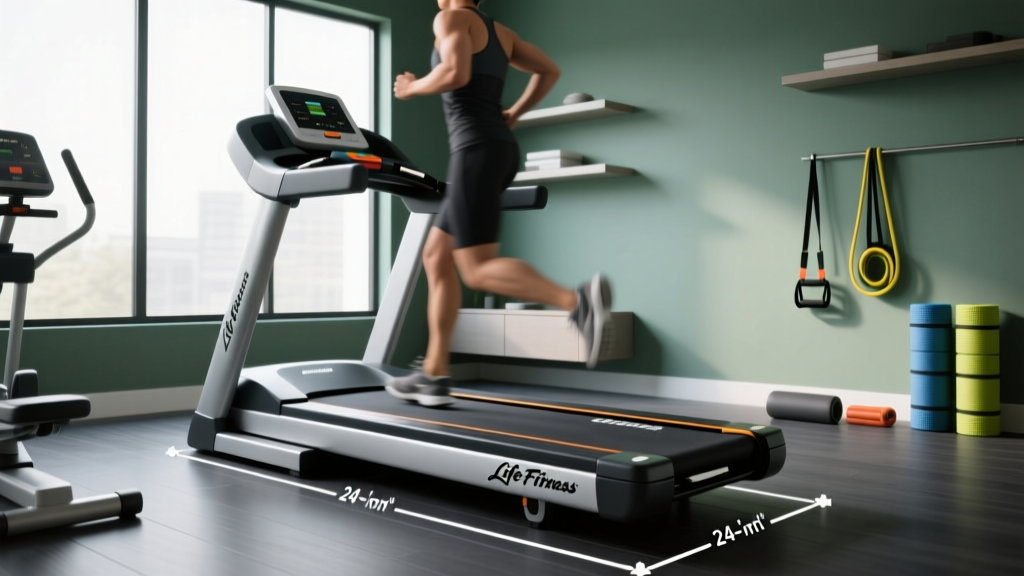
Setup Walkthrough: Matching Motor Size to Your Treadmill Walking Plan
Learn how to verify treadmill motor size, set up electrical circuits, and calibrate your machine to perfectly support your daily treadmill walking plan.

The delivery truck has just pulled away, leaving a 160-pound box in your living room. You are eager to unbox your new cardio machine and start your new fitness regimen. However, before you grab your Allen wrenches and start assembling the uprights, you must perform a critical audit. Verifying that your machine's motor specifications align with your specific treadmill walking plan is the most crucial step in the installation process. A mismatched motor won't just limit your progress; it will lead to premature thermal shutoffs, voided warranties, and burnt-out control boards.
In this comprehensive setup and installation walkthrough, we will guide you through decoding the motor data plate, configuring your home electrical circuits for high-torque demands, and calibrating the belt tension to minimize motor strain. Whether you are undertaking a casual 10,000-step daily routine or a grueling weighted-vest incline regimen, proper installation is the bedrock of equipment longevity.
💡 Expert Insight: The 2026 Motor LandscapeAs of 2026, the industry has largely shifted toward Brushless DC (BLDC) motors for mid-range home treadmills. Unlike older brushed motors, BLDC units require less maintenance and generate less heat. However, they are highly sensitive to voltage fluctuations during the initial setup phase, making proper electrical grounding more important than ever.
Phase 1: The Unboxing Audit (Decoding the Data Plate)
Before assembling the frame, locate the manufacturer's data plate, usually affixed to the front plastic shroud near the power cord receptacle. You are looking for one specific metric: CHP (Continuous Horsepower).
Marketing materials often highlight 'Peak HP,' which only measures the motor's maximum output for a fraction of a second before it overheats. CHP measures the power the motor can sustain indefinitely during your workout. According to Consumer Reports, matching the CHP to your user weight and workout intensity is the single biggest factor in treadmill lifespan.
Matching Motor Size to Your Treadmill Walking Plan
Use the matrix below to verify your unboxed machine meets the minimum requirements for your intended routine. If you ordered a 2.0 CHP machine but plan to do heavy incline intervals, halt assembly and contact the retailer for an exchange.
| Walking Plan Type | Daily Volume & Incline | Max User Weight | Min. CHP Required | 2026 Benchmark Model |
|---|---|---|---|---|
| Casual Stroll | < 3 miles, 0-2% incline | < 150 lbs | 2.0 CHP | XTERRA TR150 ($599) |
| 10K Step Daily | 3-5 miles, 0-5% incline | 150 - 200 lbs | 2.5 CHP | Sole F63 ($1,099) |
| Weighted Vest / Rucking | 5+ miles, 10-15% incline | 200+ lbs (+ gear) | 3.0 CHP | Sole F80 ($1,699) |
| Multi-User Household | 10+ miles combined daily | Varies | 3.5+ CHP | NordicTrack T-Series 10 ($1,299) |
Phase 2: Electrical Setup for High-Torque Motors
The most common point of failure during the first month of ownership is not a mechanical defect, but an electrical one. High-CHP motors draw massive amperage, particularly during the 'startup torque' phase when the belt is under the weight of the user.
Verifying Your Circuit Amperage
For any treadmill equipped with a 2.5 CHP motor or larger, you must verify your wall circuit. Most modern homes feature 15-amp circuits in bedrooms and living rooms. A 3.0 CHP motor pulling a 220-pound user up a 12% incline can spike to 14 amps. If your treadmill shares that 15-amp circuit with a TV, a space heater, or even a high-draw LED lamp, the breaker will trip.
- Test the Outlet: Use a digital multimeter to ensure the outlet reads between 115V and 120V. Readings below 110V will cause the treadmill's PWM (Pulse Width Modulation) board to overcompensate, generating excess heat.
- Check for Dedicated Lines: Plug a high-draw appliance (like a vacuum) into an adjacent outlet. If it cuts power to your treadmill's circuit, they are shared. You must move the treadmill to a dedicated 20-amp circuit, typically found in kitchens or garages.
- Surge Protection: Never plug a BLDC motor directly into the wall without a surge protector. Purchase a unit rated for at least 4,000 Joules with a clamping voltage of 400V or less to protect the sensitive motor controller from grid spikes.
Never use a standard 16-gauge extension cord for a treadmill. The voltage drop over a 16-gauge wire will starve the motor of amperage, causing it to overheat and trigger the internal 105°C thermal limiter. If an extension cord is absolutely unavoidable, you must use a heavy-duty, 12-gauge, grounded cord no longer than 6 feet.
Phase 3: Belt Alignment and Motor Strain Prevention
Once the frame is assembled and the console is mounted, do not immediately step on the belt. A misaligned or over-tensioned belt creates immense friction, forcing the motor to work up to 40% harder than necessary. This is the silent killer of 2.5 CHP motors.
The 2-Lift Tension Test
Manufacturers ship treadmills with the belt tensioned for warehouse transit, which is often too tight for daily use. Perform this calibration before your first American Heart Association recommended walking session:
- Power the machine off and unplug it from the surge protector.
- Stand at the side of the deck and attempt to lift the edge of the walking belt in the middle of the deck.
- You should be able to lift the belt exactly 2 to 3 inches off the wooden deck.
- If it lifts less than 2 inches, the motor will overwork. Use the provided Allen wrench to loosen the left and right rear roller bolts by exactly one-quarter turn counter-clockwise.
- If it lifts more than 3 inches, the belt will slip under your foot during brisk walking intervals, causing a dangerous stuttering effect. Tighten the bolts by one-quarter turn clockwise.
Applying the Factory Lubrication
Many 2026 models arrive 'pre-lubricated,' but the factory application is often minimal. Before your first walking plan session, lift the belt and apply exactly 1 ounce of 100% pure silicone treadmill lubricant in a zig-zag pattern across the center third of the deck. Never use petroleum-based products like WD-40, which will dissolve the belt's cotton underlayer and destroy the motor's wax board.
Phase 4: The 30-Day Break-In Protocol
New treadmill motors and drive belts require a break-in period. The carbon brushes inside the motor (if not BLDC) need to wear down to match the exact curvature of the commutator, and the poly-V drive belt needs to seat into the motor pulley grooves.
"The biggest mistake new owners make is taking their new 3.0 CHP treadmill out of the box and immediately running a 60-minute, 15% incline weighted walking plan. The drive belt hasn't seated, the motor brushes haven't worn in, and the thermal limiter will trip, locking you out of the machine for 45 minutes."
— FitGearPulse Lab Technicians
Your First-Week Setup Schedule
Follow this protocol to ensure your motor adapts to your specific treadmill walking plan safely:
- Day 1 (Unweighted): Run the treadmill empty at 3.0 mph for 10 minutes to distribute the silicone lubricant and seat the drive belt.
- Day 2-3 (Light Load): Walk at a moderate pace (2.5 mph) on a 0% incline for 20 minutes. Listen for high-pitched whining, which indicates belt friction.
- Day 4-7 (Plan Integration): Begin your actual walking plan, but cap the incline at 5% for the first week to allow the motor's internal cooling fan to establish proper airflow patterns without maxing out the amperage draw.
Troubleshooting Motor Hiccups Post-Installation
Even with perfect setup, high-torque walking plans can trigger safety protocols. Here is how to diagnose the two most common motor-related error codes during your first month:
Error: Thermal Shutdown (Sudden Stop, No Error Code)
The Cause: The internal motor temperature reached 105°C, triggering the bi-metallic thermal fuse. This happens during long, slow, high-incline walks where the motor's cooling fan spins too slowly to dissipate the heat generated by high amperage draw.
The Fix: Turn the power switch off, unplug the machine, and wait 45 minutes. For future sessions, increase your walking speed slightly to spin the cooling fan faster, or lower the incline by 2%.
Error: Cal 9 / Speed Sensor Fault
The Cause: The optical speed sensor near the motor flywheel is misaligned or covered in shipping dust. The motor controller thinks the belt has stopped and cuts power to prevent a runaway belt.
The Fix: Remove the front motor hood (usually 6 Phillips-head screws). Locate the small black sensor pointing at the toothed flywheel. Wipe it with a dry microfiber cloth and ensure the gap between the sensor and the flywheel is exactly 3mm.
Final Walkthrough Checklist
Before logging your first mile on your new machine, verify the following:
✅ Data plate CHP matches your walking plan intensity and user weight.
✅ Wall outlet reads 115V-120V and is on a dedicated 15A/20A circuit.
✅ Belt lifts exactly 2-3 inches off the deck.
✅ 1 oz of 100% silicone lubricant has been applied.
✅ 4,000-Joule surge protector is in place.
By treating the setup and installation process as a precision calibration rather than a simple unboxing, you guarantee that your treadmill's motor will efficiently and quietly power your daily walking plan for years to come.
More gear to consider
All reviews
2026 Trends: The Folding Interval Running Workout Treadmill Review

ProForm Crosswalk Advanced 525X Belt Maintenance & Lube Guide
NordicTrack T8.5s Treadmill: 2026 Features Comparison Guide

Stair Climber vs. Arched Treadmill: Home Guide & Mistakes
Is StairMaster or Incline Treadmill Better? Folding Treadmill Care