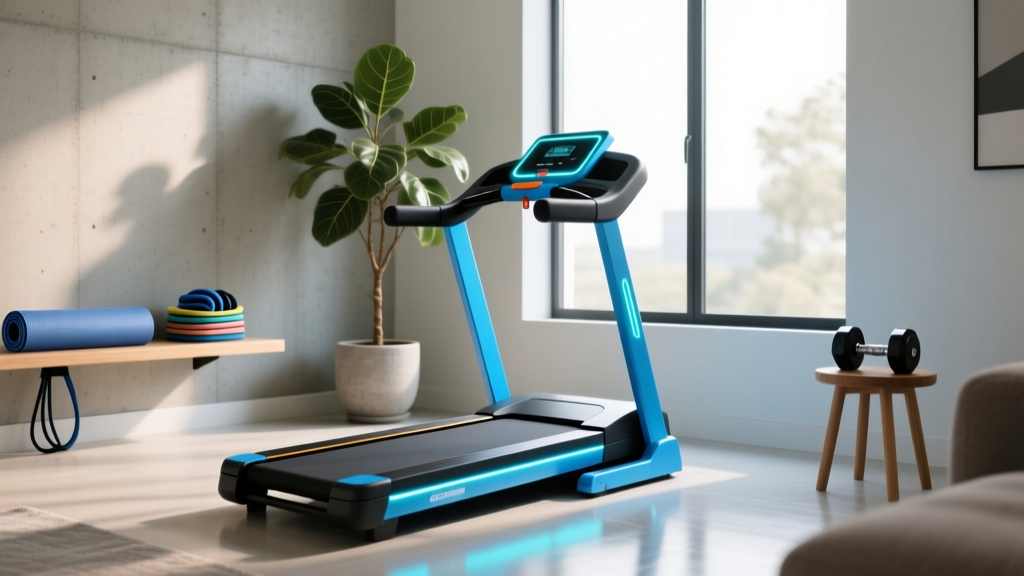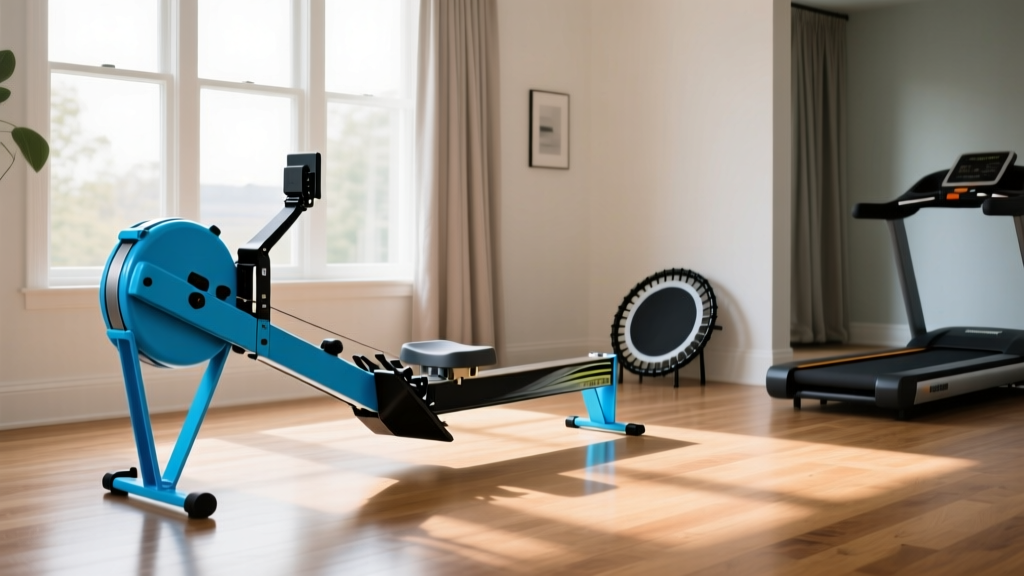
Rebounder vs Treadmill: Why a Rower is the Better Choice
Discover why a rowing machine beats the rebounder vs treadmill debate. Our beginner step-by-step guide covers buying, setup, and flawless rowing technique.

The Cardio Dilemma: Rebounder vs Treadmill vs Rowing
When beginners search for low-impact, high-yield home cardio, the rebounder vs treadmill debate often dominates the forums. Mini-trampolines (rebounders) offer excellent lymphatic drainage and joint preservation, while treadmills provide familiar, weight-bearing calorie burn. However, both fall short in one critical metric: total-body muscle recruitment. According to the American Council on Exercise (ACE), running primarily targets the lower body, and rebounding relies heavily on stabilization. A rowing machine, conversely, engages roughly 86% of your musculature per stroke, combining the cardiovascular demand of a treadmill with the zero-impact joint safety of a rebounder.
If you are transitioning from walking or light bouncing and want a scalable, full-body engine builder, the indoor rower is the ultimate 2026 upgrade. This step-by-step beginner’s guide will walk you through selecting the right machine, setting it up flawlessly, and mastering the biomechanics of the stroke.
Step 1: Selecting Your Machine (2026 Buyer’s Matrix)
Not all rowers feel the same. The resistance mechanism dictates the noise level, the learning curve, and the price tag. Here is how the primary resistance types stack up for beginners this year.
| Resistance Type | Feel & Noise | Top 2026 Beginner Model | Approx. Price |
|---|---|---|---|
| Air | Dynamic, infinite resistance; loud 'whoosh' | Concept2 RowErg (Standard Legs) | $1,095 |
| Magnetic | Smooth, consistent, virtually silent | Sunny Health & Fitness SF-RW5202 | $250 |
| Water | Authentic 'catch' feel, soothing splash | WaterRower Natural (Oak) | $1,699 |
| Hydraulic | Choppy, lacks leg-drive connection | Stamina 1112 Air Rower (Hybrid) | $199 |
Expert Verdict: For pure biomechanical feedback and longevity, air resistance remains the gold standard. The Concept2 RowErg is ubiquitous in cross-training gyms because its flywheel automatically adjusts to your effort—the harder you pull, the more resistance it generates. If you live in an apartment and need strict noise control, opt for a high-quality magnetic rower.
Step 2: Ergonomic Setup & The Damper Myth
Before you take your first stroke, you must configure the machine. The most pervasive beginner mistake is treating the rower like a weight machine and cranking the resistance to the maximum.
Foot Strap Placement
Adjust the footplates so that the strap crosses exactly over the widest part of your foot (the ball of the foot, right at the base of your toes). If the strap is too high (across the ankle), you will restrict dorsiflexion at the 'catch' position. If it is too low (mid-arch), you will lose power transfer during the drive.
The Damper Setting (Crucial E-E-A-T Insight)
The lever on the side of an air rower flywheel is a damper, not a difficulty dial. It controls how much air enters the housing, which affects how quickly the wheel slows down between strokes.
Pro Tip: Do not set the damper to 10. According to Concept2's official training guidelines, a setting of 10 mimics rowing a heavy, sluggish wooden boat, while a setting of 3-5 mimics a sleek, Olympic racing shell. For beginners, a damper setting between 3 and 5 (yielding a drag factor of 100-130) allows for proper cardiovascular pacing without prematurely fatiguing your lower back.
Step 3: Mastering the 4-Phase Rowing Stroke
Rowing is not an arm exercise; it is a horizontal deadlift followed by a lever pull. The British Rowing Association breaks the stroke into four distinct phases. Memorize this sequence.
The 60/20/20 Power Rule
When executing the 'Drive' phase, your power output should be distributed as follows:
60% Legs (Quads and glutes pushing the footplate away)
20% Core (Hips swinging open to transfer power)
20% Arms (Biceps and lats pulling the handle to the sternum)
- The Catch (Start Position): Shins vertical (not compressed past 90 degrees). Arms straight, shoulders relaxed, torso hinged forward at about 11 o'clock. You should feel a loaded stretch in your hamstrings and lats.
- The Drive (Power Phase): Initiate only with the legs. Push the footplate away explosively. Your arms remain completely straight, acting as hooks. Once the legs are nearly extended, swing the hips open (core), and finally, draw the handle into your lower ribs (arms).
- The Finish (End Position): Legs fully extended (soft knees, no locking). Torso leaning back slightly to 1 o'clock. Handle resting just below the pecs, elbows drawn back and wrists flat.
- The Recovery (Return Phase): The exact reverse of the drive. Extend arms straight, hinge forward from the hips (torso to 11 o'clock), and only then bend the knees to slide back to the catch. The recovery should take twice as long as the drive (a 1:2 ratio).
Step 4: Your 4-Week Beginner Progression Plan
To build aerobic capacity without overloading your lumbar spine, follow this step-by-step 4-week adaptation protocol. Focus on Stroke Rate (spm) and Split Time (/500m).
- Week 1: Form Over Speed. 10 minutes total. Row 2 minutes, rest 1 minute. Target 18-20 spm. Focus entirely on the 1:2 drive-to-recovery ratio.
- Week 2: Building the Engine. 15 minutes total. Row 3 minutes, rest 1 minute. Target 20-22 spm. Begin focusing on the 'legs-first' drive sequence.
- Week 3: Aerobic Base. 20 minutes continuous rowing. Target 22-24 spm. Keep your heart rate in Zone 2 (approx. 110-130 BPM depending on age). You should be able to hold a conversation.
- Week 4: Introduction to Intervals. 5-minute warm-up. Then, 4 x 4 minutes at 24-26 spm with 2 minutes of active recovery (light paddling) in between. 5-minute cool-down.
Troubleshooting Common Beginner Failure Modes
Even with the best intentions, neuromuscular misfires happen. Here is how to diagnose and fix the three most common technique breakdowns.
1. 'Shooting the Slide'
The Error: Your legs push the seat backward, but the handle doesn't move. Your torso angle remains unchanged, placing massive shear force on your lumbar spine.
The Fix: Ensure your core is braced at the catch. The handle, chain, and torso must move as a single unit during the first half of the drive. Think about 'hanging' your body weight off the handle before the legs engage.
2. Early Arm Bend
The Error: Bending the elbows during the leg drive. This turns the row into a bicep curl, severely limiting power output and risking tendon strain.
The Fix: Wrap your thumbs over the handle (thumbless grip) to reduce forearm tension. Visualize your arms as rigid steel cables until your hips have fully opened.
3. Rushing the Recovery
The Error: Sliding back to the catch too quickly, resulting in a jarring impact and zero rest time for the muscles.
The Fix: Count in your head. 'One' (arms away), 'Two' (body over), 'Three, Four' (knees bend and slide). Let the flywheel spin down naturally.
Frequently Asked Questions
Will rowing make my legs bulky?
No. Rowing is an endurance-based, aerobic-dominant movement. While it builds muscular endurance and tone in the quads and glutes, it lacks the heavy eccentric overload required for significant hypertrophy (bulk). It yields a lean, athletic physique similar to that of competitive cyclists or cross-country skiers.
Is a rower safer for my knees than a treadmill?
Yes. As noted by the Mayo Clinic's guidelines on aerobic exercise, low-impact activities are vital for joint preservation. Unlike the repetitive ground-reaction forces of running on a treadmill, rowing is a closed-kinetic-chain exercise. There is zero impact on the ankles, knees, or hips, making it ideal for those managing osteoarthritis or recovering from lower-body injuries.
How much space do I need for a rowing machine?
Most standard air and water rowers require a footprint of roughly 8 feet by 2 feet during use. However, models like the Concept2 RowErg can be separated into two pieces for storage, and magnetic rowers often fold vertically, requiring only a 2x2 foot closet footprint when not in use.
More gear to consider
All reviews
Chasing a 7 Minute Mile Pace on Treadmill Desks: Budget Analysis

What Speed Should I Run on a Treadmill? Buyer's Pacing Guide

Wooden Manual Treadmill vs Motorized: Top Mistakes & Fixes

The Euphemism Treadmill: Maintaining Compact Walking Pads for Longevity
Elliptical vs Life Fitness F1 Smart Folding Treadmill for Small Spaces