
Top Home Gym Brand Illinois: Mirror & Lighting Guide
Compare top gym mirror brands and lighting setups for your Illinois home gym. Expert placement guides, exact measurements, and moisture-proofing tips.

The Environmental Reality: Why Glass Quality Matters
Choosing the right home gym brand Illinois residents trust requires looking beyond the power racks and barbells to the actual environment. Illinois is notorious for extreme seasonal humidity shifts. Summers bring oppressive moisture that seeps into unsealed basements, while winters create dry, freezing conditions in uninsulated garages. These fluctuations are the primary enemy of standard mirrors, leading to desilvering—the oxidation of the silver nitrate backing that manifests as ugly black edges and structural weakening.
According to the Glass Association of North America (GANA), moisture intrusion is the leading cause of mirror degradation in non-climate-controlled spaces. If you are setting up a gym in a Chicago suburb basement or a detached garage in Peoria, standard big-box store mirrors will fail within 18 to 24 months. You need safety-backed, moisture-sealed annealed glass. Below, we break down the top mirror solutions and lighting configurations to ensure your form-checking setup is safe, accurate, and built to last.
Head-to-Head: Top 3 Gym Mirror Brands Compared
Not all mirrors are created equal. We tested three primary categories of gym mirrors, evaluating them on glass thickness, safety backing, optical clarity, and resistance to humidity.
| Brand / Type | Thickness | Safety Backing | Price (per sq. ft.) | Best Application |
|---|---|---|---|---|
| Gym Mirror Depot (Pro Series) | 1/4" (6mm) | CAT I Shatterproof | $14.00 - $16.00 | Heavy lifting zones, garage gyms |
| FAB Glass and Mirror (Custom) | 1/4" (6mm) | Standard Vinyl | $18.00 - $22.00 | Finished basements, custom walls |
| Big Box Pre-Framed (Budget) | 1/8" (3mm) | None | $5.00 - $7.00 | Light cardio rooms (Not recommended) |
1. Gym Mirror Depot (The Heavy-Duty Winner)
Gym Mirror Depot supplies 1/4-inch thick annealed glass with a woven safety backing. If a 45-pound bumper plate grazes the wall, the glass may crack, but the safety film holds the shards in place, preventing catastrophic lacerations. Their J-channel mounting system allows for a 1/8-inch expansion gap between panels, which is critical for Illinois basements where foundation shifting occurs during the spring thaw.
2. FAB Glass and Mirror (The Aesthetic Choice)
FAB offers exceptional optical clarity with low-iron glass options that eliminate the slight green tint found in standard mirrors. However, their standard vinyl backing is less robust against direct moisture. If using FAB in an Illinois garage, you must apply a secondary liquid moisture barrier to the rear before installation.
3. Big Box Store Pre-Framed Mirrors (The Hazard)
At 1/8-inch thick, these mirrors suffer from "funhouse" warping when mounted on drywall that isn't perfectly plumb. More importantly, they lack safety backing. A dropped dumbbell will shatter them into dangerous, razor-sharp projectiles. Avoid these for free-weight zones.
Strategic Mirror Placement: Exact Measurements
Proper placement is dictated by biomechanics, not just interior design. The American Council on Exercise (ACE) emphasizes that visual feedback is crucial for maintaining spinal neutrality during hinged movements. Here are the exact measurements you need to follow:
- Bottom Clearance (18 to 22 inches): The bottom edge of the mirror must be at least 18 inches off the floor. A standard Olympic barbell sits at 8.75 inches. Adding plate compression, foot angle, and platform height means a 20-inch clearance allows you to watch the bar path and your lumbar spine during conventional deadlifts without the mirror being obstructed by equipment.
- Panel Gaps (1/8 inch): Never butt glass panels directly against each other. Leave a 1/8-inch gap filled with clear, flexible silicone to absorb acoustic vibrations from dropped weights and minor structural settling.
- Outlet Avoidance (6 inches): Map your wall outlets before ordering. Mirrors should stop at least 6 inches short of electrical boxes to avoid the need for complex, hazardous glass cutouts.
- The "Strike Zone": Ensure the primary lifting area (where you squat and deadlift) is centered on a continuous panel seam, rather than having a seam run directly down the middle of your reflection, which distorts depth perception.
Lighting Showdown: Overhead vs. Vertical Illumination
A mirror is only as useful as the light reflecting off it. Poor lighting creates shadows that hide spinal flexion or asymmetrical knee tracking. When designing your layout, you must choose between overhead paneling and vertical strip lighting.
Overhead LED Panels (The Garage Standard)
Overhead lighting, such as the Barrina LED T5 Integrated Single Fixture (5000K Daylight), provides broad, even coverage. Pros: Excellent for general visibility; 5000K color temperature mimics natural daylight, keeping you alert. Cons: Creates harsh downward shadows under the chin, chest, and knees, which can obscure form details during squats.
Vertical Vanity Strips (The Biomechanics Upgrade)
Mounting vertical LED strips on the left and right edges of your mirror wall eliminates facial and torso shadows. Pros: Flattering, shadow-free illumination that highlights muscle engagement and joint alignment. Cons: Requires custom wiring and diffusers to prevent glare.
"For optimal form checking, the Illuminating Engineering Society (IES) recommends a high Color Rendering Index (CRI). A CRI of 90 or above ensures that skin tones and subtle bruising or vascular changes are accurately visible, which is a vital safety metric for heavy lifters monitoring exertion and recovery." — Illuminating Engineering Society Guidelines
Step-by-Step Installation for Illinois Basements
If you are installing in a below-grade Illinois basement, moisture mitigation is your first step. Follow this exact sequence:
- Moisture Test: Tape a 2x2 foot square of clear plastic sheeting to the drywall or concrete. Wait 48 hours. If condensation forms underneath, you must apply a waterproofing primer like Drylok Extreme before proceeding.
- Layout & J-Channel: Screw the bottom aluminum J-channel into the wall studs (not just the drywall) using 2-inch wood screws. Ensure it is perfectly level using a 4-foot torpedo level.
- Mastic Application: Apply the LN-930 Mirror Adhesive in vertical ribbons every 12 inches. Do not use horizontal lines, as they can trap water behind the glass.
- Seating the Glass: Press the 1/4-inch mirror into the J-channel and against the adhesive. Use a wooden block and a rubber mallet to tap it gently into place.
- Edge Sealing: Once all panels are set, run a bead of 100% silicone caulk along the top edge and the bottom J-channel lip to prevent humid summer air from migrating behind the glass.
Frequently Asked Questions
Can I mount mirrors directly to concrete block walls?
No. Concrete blocks are porous and weep moisture, especially during the Midwestern spring. You must first frame the wall with pressure-treated 2x4s and hang moisture-resistant drywall (green board) or cement backer board before mounting mirrors.
How do I clean gym mirrors without damaging the safety backing?
Avoid ammonia-based cleaners like Windex. Ammonia degrades the protective safety film and can seep into the edges, causing desilvering. Use a 50/50 mix of distilled white vinegar and water, applied to a microfiber cloth—not sprayed directly onto the glass.
What is the maximum width for a single gym mirror panel?
For 1/4-inch thick glass, the maximum safe width for a single panel is 72 inches. Anything wider becomes excessively heavy (over 100 lbs) and highly susceptible to snapping under its own weight if the wall has even a slight bow.
More gear to consider
All reviews
Complete Home Gym Setup & Floor Plans: Best Home Gym Shelf Picks

How Big Should a Home Gym Be in a Rental Apartment?
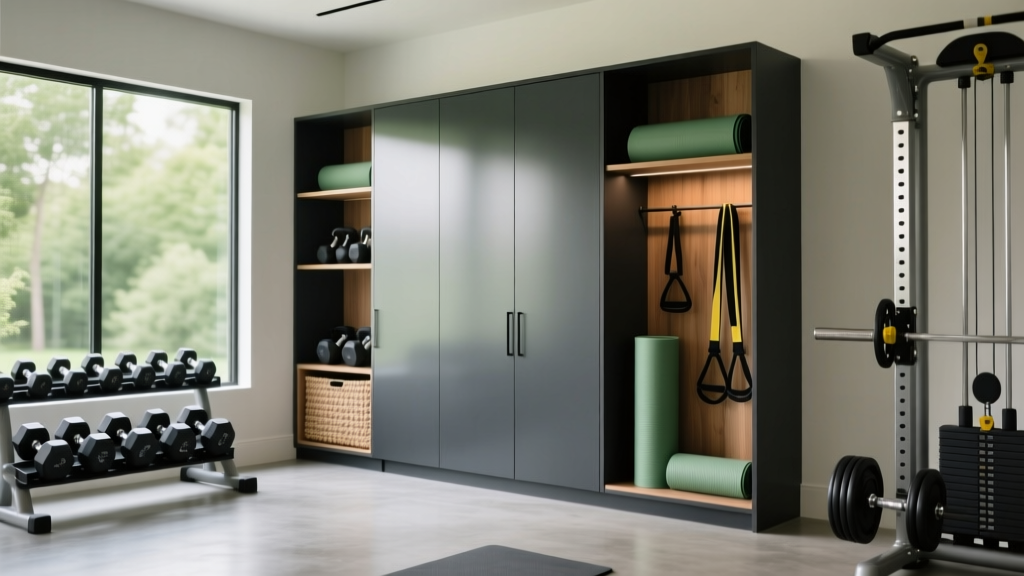
2026 Home Gym Renovation Costs: Are Home Gym Cabinets Worth It?

Designing Gym Rooms at Home for Couples: Step-by-Step

Vectra Home Gym Weight Selection: How Much Stack Do You Need?
