
Designing a Home Gym for Small Apartments: Setup Walkthrough
Learn the step-by-step process for designing a home gym in small spaces and apartments. Maximize square footage with smart equipment and layout tips.

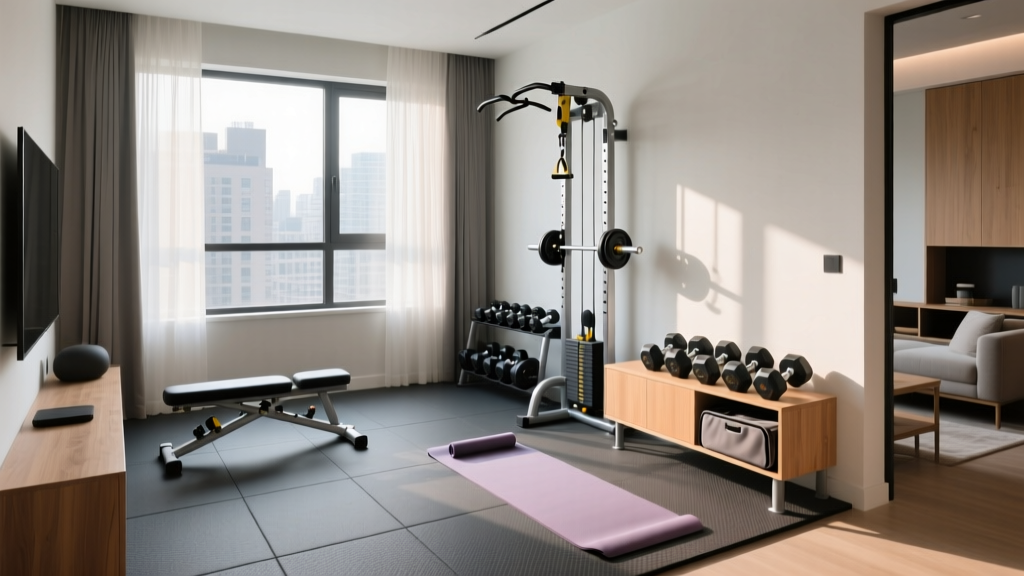
When you are designing a home gym in a compact apartment or a small spare bedroom, every square inch is premium real estate. You cannot simply replicate a commercial garage gym layout; instead, you must engineer a high-density training environment that respects structural limits, acoustic boundaries, and spatial constraints. A standard apartment bedroom offers roughly 120 square feet (10x12 feet) of usable space. To transform this into a fully functional strength and conditioning facility requires ruthless prioritization and precise installation techniques.
This complete setup and installation walkthrough will guide you through the exact phases of building a micro-gym, from calculating floor load capacities to installing acoustic decoupling layers and mounting vertical storage systems.
The Reality of Apartment Fitness: Space vs. Function
The primary failure mode for small-space home gyms is attempting to fit traditional, footprint-heavy equipment into a room designed for sleeping, not deadlifting. A standard power rack measures 48x48 inches and requires an additional 36 inches of clearance on all sides for loading plates and performing barbell movements. In a 10x12 room, this single piece of equipment consumes nearly 40% of your total floor space, leaving virtually no room for dumbbell work, kettlebell swings, or cardiovascular conditioning.
Designing a home gym for small spaces requires a paradigm shift from dedicated stations to modular, multi-axis equipment. Furthermore, apartment dwellers must navigate strict lease agreements regarding noise transmission and structural modifications, making the installation phase just as critical as the equipment selection.
Phase 1: Spatial Mapping and Load-Bearing Checks
Before purchasing a single piece of rubber flooring, you must understand the structural limits of your apartment floor. Standard residential building codes mandate a minimum uniform live load capacity of 40 pounds per square foot (PSF) for living spaces and bedrooms. However, lifting heavy weights creates concentrated point loads that drastically exceed this uniform distribution.
⚠️ Structural Warning: Point Load LimitsA 200 lb lifter holding a 300 lb barbell while standing on two feet (roughly 1 sq ft of contact area) generates a point load of 500 PSF. While floor joists can handle brief dynamic spikes, dropping bumper plates in an upstairs apartment can cause catastrophic drywall cracking on the floor below or, in extreme cases, structural fatigue over time. Never drop weights from overhead or shoulder height in a multi-story apartment without specialized acoustic dampening.
According to structural guidelines detailed by home improvement and engineering experts at Bob Vila's residential span and load resources, the spacing of your floor joists (typically 16 inches on center) dictates where you should place your heaviest equipment. Always align your lifting platform or heavy dumbbell rack directly over a load-bearing wall or perpendicular to the joists to distribute the force across multiple supports.
Phase 2: Selecting High-Density Equipment
To maximize utility per square foot, we utilize a modular equipment matrix. The following setup replaces a traditional rack, barbell, and dumbbell set, saving approximately 35 square feet of floor space while maintaining 90% of the exercise variety.
| Equipment Model | Footprint (L x W) | Est. Price (2026) | Acoustic Profile |
|---|---|---|---|
| PRx Performance Profile ONE (Wall-Mount Folding Rack) | 48" x 4" (Folded) | $399 | Low (No base impact) |
| Nuobell Adjustable Dumbbells (5-80 lbs pair) | 17" x 8" (On cradle) | $850 | Medium (Metal clink) |
| Echelon Stride-S (Folding Smart Treadmill) | 20" x 53" (Active) | $1,599 | High (Motor/footfall) |
| Rogue Adjustable Bench 3.0 | 53" x 18" | $545 | Low |
By utilizing a wall-mounted folding rack like the PRx Profile ONE, you reclaim the center of the room for kettlebell swings, yoga, or bodyweight gymnastics when the rack is folded against the wall. The Nuobell dumbbells replace an entire 10-pair dumbbell rack, condensing 800 lbs of iron into a footprint smaller than a standard microwave.
Phase 3: Acoustic Decoupling and Flooring Installation
In an apartment, flooring is not just about protecting the subfloor; it is about preserving your relationship with your downstairs neighbors. Impact noise (structure-borne sound) travels through solid joists much faster than airborne noise. To solve this, you must build a 'floating floor' system using acoustic decoupling.
According to acoustic treatment specialists at Soundproof Cow, separating the hard rubber surface from the subfloor with a resilient, low-density layer is the most effective way to dampen low-frequency impact vibrations from dropped weights.
The Apartment Floating Floor Blueprint:
- Layer 1 (Base): 1/2-inch high-density EVA foam interlocking tiles. This acts as the acoustic decoupling layer, absorbing kinetic energy before it reaches the wood or concrete subfloor.
- Layer 2 (Surface): 3/4-inch vulcanized rubber stall mats (e.g., Rogue Mats or Horse Stall Mats from Tractor Supply). Vulcanized rubber is non-porous, meaning it will not absorb sweat and breed bacteria like standard crumb-rubber tiles.
- Seam Treatment: Use heavy-duty double-sided carpet tape between the rubber mats to prevent tripping hazards and stop sweat from seeping into the EVA foam layer below.
Cost Breakdown: For a 6x8 foot lifting zone (48 sq ft), expect to spend roughly $60 on EVA foam and $250 on vulcanized rubber mats, totaling about $6.45 per square foot for commercial-grade acoustic flooring.
Phase 4: Vertical Storage and Wall-Mounting Installation
When floor space is exhausted, you must build up. Wall-mounted plate storage and folding racks require secure anchoring into wooden studs. Drywall anchors will rip out under the dynamic load of racking a heavy barbell.
- Locate the Studs: Use a magnetic or electronic stud finder to locate the center of the wooden studs. In standard apartment construction, studs are spaced 16 inches on center (OC).
- Mark and Drill Pilot Holes: Mark your mounting points on the rack's stringers. Drill 7/32-inch pilot holes directly into the center of the stud to prevent the wood from splitting when the lag bolts are driven in.
- Secure with Lag Screws: Use 3/8-inch x 3-inch hex lag screws with steel washers. Drive them in using an impact driver or socket wrench until the washer is flush and bites slightly into the steel bracket. Do not overtighten to the point of stripping the wood threads.
- Test the Load: Hang your body weight from the pull-up bar before loading any barbell weight onto the J-cups to verify the sheer strength of the mount.
Phase 5: Micro-Climate Ventilation
A 10x12 room with a closed door will experience a rapid spike in Carbon Dioxide (CO2) and humidity during intense conditioning sessions. Elevated CO2 levels (above 1,000 PPM) have been clinically shown to increase perceived exertion and reduce cognitive focus during complex lifts. The EPA guidelines on indoor air quality emphasize that mechanical air circulation is vital in small, enclosed spaces where human respiration quickly alters the atmospheric balance.
Install a Vornado Energy Smart air circulator in the corner of the room, angled upward to create a vortex that mixes the air and prevents stagnant, humid pockets from forming near the ceiling. If your apartment allows, mount a small, 12-inch exhaust fan in the window frame to actively pull humid air out of the room, preventing drywall mold and mirror fogging.
Real-World Troubleshooting: Edge Cases in Micro-Gyms
The Mirror Glare Problem: Many apartment gyms use large wall mirrors to open up the space visually. However, placing a mirror directly opposite a south-facing window will create severe glare on smart equipment screens (like the Echelon or Peloton monitors). Always mount mirrors on walls perpendicular to your primary light source, or apply a matte anti-glare window film to your blinds.
Sweat Corrosion on Baseboards: In small spaces, your exercise bike or treadmill is often pushed within inches of the wall. The micro-spray of sweat from high-cadence cycling will coat your drywall and wooden baseboards, eventually causing the paint to peel and the wood to warp. Install a clear, acrylic splash guard (available in 24x36 inch sheets at hardware stores) on the wall directly behind your cardio equipment to protect your security deposit.
Designing a home gym in a small apartment is an exercise in spatial engineering. By respecting structural load limits, investing in acoustic decoupling, and utilizing modular, wall-mounted equipment, you can build a world-class training facility in less than 120 square feet without sacrificing performance or your lease agreement.
More gear to consider
All reviews
Smart Gifts for Home Gym: Mirror & Lighting Budget Guide
Making a Home Gym in a Small Apartment: Setup Guide

Vectra 1800 Home Gym Layout: A Beginner's Design Guide

Outside Home Gym Design: Expert Layout & Setup Guide 2026
Hack Squat Alternative Home Gym: Complete Setup Guide
