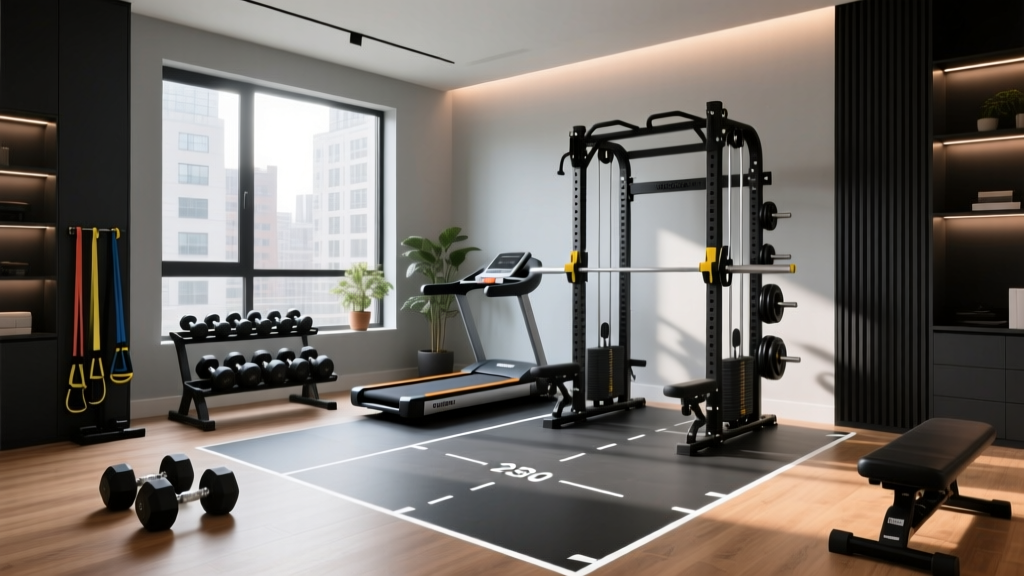
At Home Gym Essentials for Small Spaces: Beginner Layout Guide
Discover space-saving at home gym essentials for beginners. Learn layout strategies, exact gear dimensions, and floor plans for small rooms or apartments.

Building a workout space in a spare bedroom, apartment corner, or single garage bay requires more than just buying equipment; it demands strategic spatial planning. For beginners, the sheer volume of fitness gear on the market is overwhelming, and purchasing the wrong footprint can quickly render a small room unusable. According to the Centers for Disease Control and Prevention (CDC), consistency is the primary driver of fitness outcomes, meaning your setup must be frictionless and permanently accessible, not a clutter hazard you have to assemble before every workout.
This guide breaks down the exact at home gym essentials required for a beginner, analyzed strictly through the lens of space optimization and layout design. We will cover precise equipment dimensions, structural clearances, and actionable floor plans to maximize a micro-gym footprint.
The 4x8 Foot Rule: Mapping Your Micro-Gym
Before purchasing any gear, identify a 4-foot by 8-foot (32 square feet) continuous floor area. This is the universal baseline for a functional beginner home gym. A standard sheet of plywood measures 4x8 feet; if you can lay one down in your target room, you have enough space for a bench, dumbbell work, and bodyweight movements.
Clearance Protocol: Always measure 'dynamic space,' not just static space. A bench is 18 inches wide, but a user performing a dumbbell chest press requires an additional 36 inches of lateral clearance on both sides for arm extension.Curating Your Space-Optimized Starter Kit
When selecting your at home gym essentials, prioritize 'footprint-to-utility ratio.' Every piece of equipment must serve multiple movement patterns while occupying minimal square footage.
1. Adjustable Dumbbells: The Footprint Winners
A full 5-pair dumbbell rack requires roughly 12 square feet of floor space and costs upwards of $800. Adjustable dumbbells collapse this footprint into less than 1.5 square feet.
- Nuobell 552 (5-50 lbs): Retailing around $399, these mimic the feel of traditional hex dumbbells. Footprint: 15.7" L x 8.3" W. Failure Mode: The dial mechanism contains internal plastic gears. Dropping these from shoulder height during a fatigued set will shatter the handle. They must be placed gently on the bench or floor.
- PowerBlock Elite USA (5-50 lbs): Priced near $369, these feature a welded steel cage and pin-lock selector. Footprint: 12" L x 6.5" W. Advantage: Virtually indestructible. You can drop them safely, making them the superior choice for high-intensity interval training (HIIT) where rapid weight changes and fatigue-induced drops occur.
2. The Foldable Flat/Incline Bench
Standard weight benches are notoriously difficult to store. For small spaces, you need a bench that folds flat and stands vertically or slides under a bed.
The Rep Fitness FB-5000 2.0 (approx. $299) is the gold standard for compact spaces. It features a 17.5-inch width (ideal for shoulder stability) and folds completely flat in seconds. When folded, it measures just 7 inches thick, allowing you to slide it into a closet or stand it in a corner, reclaiming 8 square feet of walking space immediately after your workout.
3. Vertical Tension: Suspension Trainers
Cable machines cost thousands and require 15+ square feet. A TRX Home2 System ($199) provides hundreds of resistance-based exercises using your body weight and gravity. Installation Warning: Never anchor a suspension trainer to standard drywall using toggle bolts; dynamic movements like pikes will rip the drywall out. You must anchor the carabiner directly into a ceiling joist using a heavy-duty eye lag screw (minimum 3/8" diameter, 4" length), or use the included door anchor on a solid-core interior door.
Layout Matrix: 3 Beginner Floor Plans
How you arrange your at home gym essentials dictates the flow of your workout. Below are three optimized layouts based on common residential constraints, verified against equipment safety guidelines outlined in the Consumer Reports Exercise Equipment Buying Guide.
| Layout Name | Dimensions | Gear Placement Strategy | Best For |
|---|---|---|---|
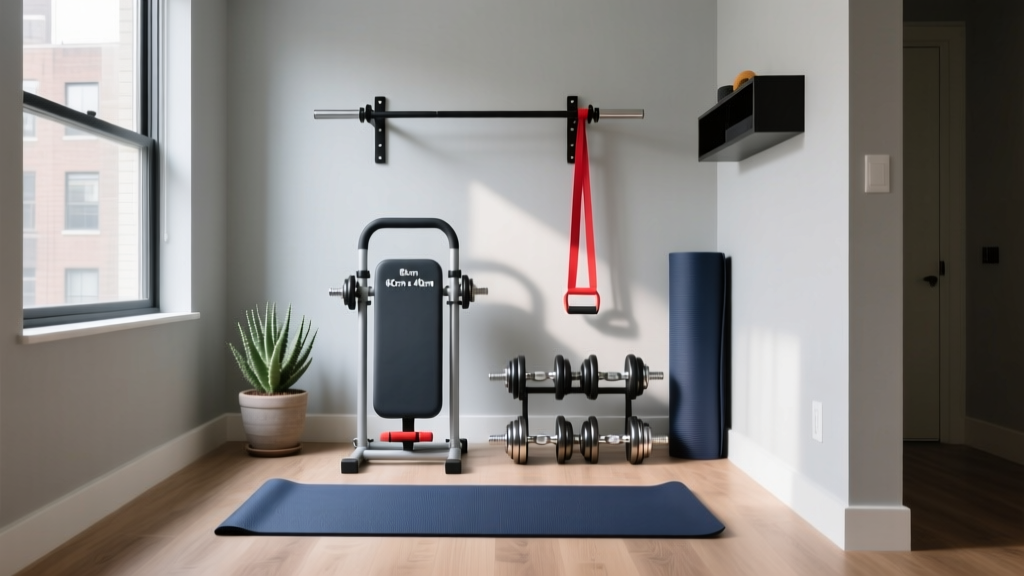
| The Corner Tuck | 4' x 6' (Bedroom) | Bench angled at 45° into the corner. Dumbbells stored on a 2-tier vertical rack against the wall. TRX anchored to the corner ceiling joist. | Apartments, spare bedrooms |
| The Garage Bay | 8' x 10' (Concrete) | Bench centered on a 4x6 horse stall mat. Dumbbells on the floor beside the bench. Ample room for kettlebell swings and lunges. | Garages, basements |
| The Closet Conversion | 3' x 5' (Alcove) | No bench. Relies entirely on adjustable dumbbells and TRX. Foldable mat stored on a wall-mounted hook. Gear lives on a single heavy-duty wire shelving unit. | Studio apartments, walk-in closets |
Flooring and Flow: Protecting Your Space
In a multi-use room, flooring serves two purposes: protecting your subfloor from impact and defining the psychological boundary of your 'gym zone.'
Avoid: Interlocking EVA foam puzzle tiles. While cheap ($1.50/sq ft), they compress unevenly under heavy dumbbells, creating a stability hazard during overhead presses, and they trap sweat, leading to mold growth on hardwood subfloors.
Buy: 3/4-inch thick vulcanized rubber horse stall mats (available at agricultural supply stores for roughly $55 per 4x6 ft mat). Pro-Tip for Small Spaces: A full 4x6 mat might dominate a small bedroom. Instead, buy a single 4x6 mat and cut it in half with a utility knife to create two 3x4 ft pads. Place one under your bench and dumbbell rack, and use the second as a standing platform for lateral movements. This leaves a visual gap that makes the room feel larger while protecting the high-impact zones.
Critical Layout Failures to Avoid
When designing your layout, beginners frequently make spatial errors that result in injury or property damage. Cross-reference your floor plan against these common failure modes:
- The Ceiling Height Trap: Standard residential ceilings are 8 feet (96 inches). If you are 6'0" tall, your arms extended overhead add another 24 inches. Attempting a standing barbell or tall dumbbell overhead press will result in striking the ceiling or drywall. Solution: Perform all overhead pressing seated on your adjustable bench to reduce your vertical profile by roughly 18 inches.
- HVAC and Ventilation Blocking: Placing a tall dumbbell rack or folding squat stand directly in front of a wall HVAC return vent restricts airflow, causing your micro-gym to become a heat trap during intense sessions. Maintain a minimum 24-inch clearance in front of all air returns.
- Mirror Placement Errors: Mounting a mirror directly behind your bench seems logical for form checking, but it creates a blind spot when you are racking heavy dumbbells. Mount mirrors on the lateral walls (left or right of the bench) so you can check spinal alignment during presses without craning your neck backward.
Final Thoughts on Spatial Efficiency
Building an effective beginner workout space isn't about buying the most equipment; it's about buying the right equipment and placing it with architectural intent. By adhering to the 4x8 foot rule, investing in high-density adjustable gear like the PowerBlock Elites and Rep FB-5000, and utilizing vertical suspension systems, your at home gym essentials will seamlessly integrate into your living space. Measure twice, map your dynamic clearances, and enjoy the frictionless consistency that a well-designed micro-gym provides.
More gear to consider
All reviews
Parabody 350 Home Gym: Expert Review & Layout Guide

Bowflex Xceed Home Gym Setup: Complete Floor Plan & Layout Guide
Selecting Good Equipment for Home Gym: How Much Weight You Need
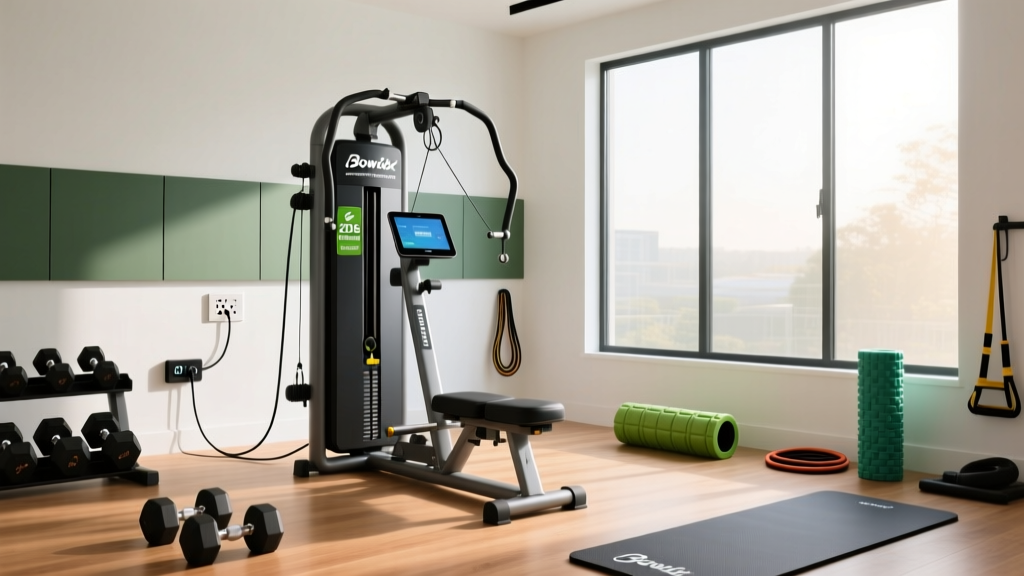
2026 Electrical Safety for Bowflex Home Gym Exercises

Space-Saving Home Gym Tips: Best Foldable Setups 2026