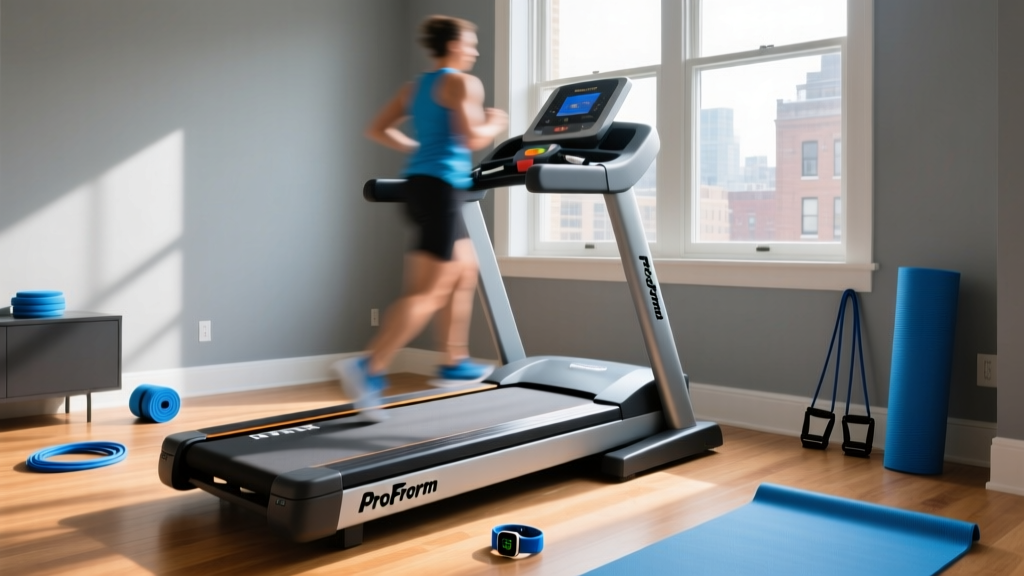
Curved vs Motorized: Setup for a Fat Loss Interval Training Treadmill
Master the setup and installation of your fat loss interval training treadmill. We compare curved manual vs. motorized assembly, flooring, and calibration.

Introduction: Building the Ultimate Fat Loss Interval Training Treadmill
When configuring a home gym for high-intensity interval training (HIIT), the hardware you choose dictates the ceiling of your performance. As of 2026, the debate between curved manual treadmills (like the AssaultRunner Pro or TrueForm Runner) and premium motorized models (like the NordicTrack Commercial 1750) remains fierce. Both can serve as an exceptional fat loss interval training treadmill, but their installation, spatial requirements, and calibration processes are fundamentally different.
According to the Mayo Clinic, HIIT protocols require rapid transitions between peak exertion and active recovery. If your treadmill is improperly installed, belt lag or structural wobble during a 12 MPH sprint can derail your workout and increase injury risk. This comprehensive walkthrough details the exact setup procedures for both machine types, ensuring your equipment is safely anchored, perfectly calibrated, and ready for intense metabolic conditioning.
Expert Insight: The American Heart Association notes that interval training significantly improves cardiovascular health and metabolic rate. However, the biomechanical load on your joints during sprint intervals is massive. Proper flooring and machine leveling are not optional; they are critical safety prerequisites.Pre-Installation: Space, Power, and Flooring Prerequisites
Before unboxing, you must prepare the installation zone. The physical footprint and environmental needs of curved versus motorized treadmills vary significantly.
Spatial and Ceiling Requirements
- Motorized Treadmills: Require a footprint of roughly 78" L x 35" W. Crucially, because motorized models feature powered incline mechanisms (up to 15% grade), you must add 12 to 15 inches to the machine's base height (usually 65") to calculate ceiling clearance. An 8-foot ceiling is the absolute minimum for safe incline sprinting.
- Curved Manual Treadmills: Typically measure 70" L x 33" W x 62" H. Because the user's weight naturally creates the curve's depression and there is no motorized incline lift, standard 8-foot ceilings are perfectly adequate. You also do not need to leave a 30" rear clearance zone for a motorized safety key fallback, though a 12" buffer is recommended for airflow.
Electrical and Flooring Specifications
Motorized treadmills draw significant current, especially during the acceleration phase of a sprint interval. A 3.5 CHP motor can spike to 12-15 Amps. You must plug a motorized treadmill into a dedicated 15-Amp or 20-Amp, 120V circuit. Sharing the circuit with a space heater or air conditioner will trip the breaker mid-sprint. Curved treadmills, lacking a drive motor, require zero electrical setup (though their Bluetooth consoles may need an occasional USB charge).
For flooring, both machines require high-density vulcanized rubber mats (at least 3/8" thick, such as standard horse stall mats or specialized fitness flooring). This absorbs the acoustic shock of foot strikes and prevents the machine's leveling feet from cracking hardwood or tile.
Phase 1: Unboxing and Heavy Lifting
Both machine types arrive on wooden pallets and weigh between 280 lbs (AssaultRunner Pro) and 340 lbs (NordicTrack 1750). Do not attempt to lift the main chassis alone.
- Remove the Pallet: Use a reciprocating saw or pry bar to dismantle the wooden pallet base. Leave the machine on its cardboard base to allow for sliding.
- Positioning: With the help of a second person, tilt the machine backward onto its rear transport wheels (motorized) or rear frame glides (curved). Roll it to the center of your prepared rubber matting.
- Leveling: Use a 24-inch machinist's level across the side rails. Adjust the threaded leveling feet on the front and rear corners until the bubble is perfectly centered. An unlevel treadmill causes uneven belt wear and alters the biomechanics of your fat loss interval training treadmill sessions.
Phase 2: Assembly and Hardware Torque Specifications
While curved treadmills often arrive 90% pre-assembled (requiring only the attachment of the upright handles and console mast), motorized treadmills require full upright and console assembly.
Warning: When attaching the uprights on a motorized treadmill, the internal wiring harness must be guided through the steel tubing using the provided fish tape. Pinching the console data cable between the steel frame and the bolt washer will result in immediate console failure.Essential Tool Kit
- 19mm and 14mm socket wrenches with torque extensions
- Metric Allen key set (4mm, 5mm, 6mm)
- Phillips #2 screwdriver (magnetic tip preferred)
- Dielectric grease (for motorized electrical connections)
For motorized models, tighten the main upright carriage bolts to the manufacturer's specified torque (typically 40-50 Nm). Overtightening can strip the welded nuts inside the frame; undertightening will cause the console to sway violently during high-cadence interval sprints.
Phase 3: Calibration and Belt Tensioning
This is the most critical step for optimizing your machine as a fat loss interval training treadmill. Sprint intervals demand instant acceleration and precise speed tracking.
Motorized: Incline and Speed Calibration
Out of the box, the incline motor and speed sensor are not synchronized with the console. To calibrate a standard motorized treadmill:
- Remove the safety magnetic key, then re-insert it while simultaneously holding the "Incline Up" and "Speed Up" buttons to enter Engineering Mode.
- Navigate to the "Auto-Calibration" menu. The machine will automatically drive the incline from 0% to 15% and back down, setting the physical limit switches.
- Next, the belt will accelerate to top speed (usually 12 MPH). Stand on the side rails during this test. The console will measure the motor's RPM against the optical sensor to calibrate the speed readout.
Curved: Slat Belt Deflection Testing
Curved treadmills use a slat belt running on guide rails. If the belt is too loose, it will slip during explosive starts; if it is too tight, it will create massive friction, making the treadmill feel like you are running in sand.
"The ideal tension for a curved slat belt is a 3mm to 5mm deflection when applying roughly 2 pounds of downward thumb pressure at the exact center of the belt's flat running zone. Always adjust the left and right rear tensioner bolts in exact quarter-turn increments to keep the belt tracking perfectly straight."
Apply a specialized PTFE (Teflon) dry lubricant to the curved guide rails every 3 months to maintain the frictionless glide required for rapid interval transitions.
Setup Comparison Matrix: Curved vs. Motorized
| Setup Metric | Curved Manual Treadmill | Motorized Treadmill |
|---|---|---|
| Average Assembly Time | 45 - 60 Minutes | 90 - 120 Minutes |
| Electrical Requirement | None (100% Self-Powered) | Dedicated 15A / 20A 120V Circuit |
| Calibration Needs | Manual Belt Tension & Tracking | Software Incline & Speed Sync |
| Rear Clearance Needed | 12 Inches (Airflow) | 30+ Inches (Safety Fallback Zone) |
| Interval Acceleration Lag | 0.0 Seconds (Instant User Response) | 1.5 - 3.0 Seconds (Motor Spool-Up) |
Safety Tether and Emergency Stop Validation
Before stepping onto the belt for your first fat loss interval training treadmill session, you must validate the emergency stop mechanisms. For motorized treadmills, clip the magnetic safety lanyard to your waistband. Start the belt at 3 MPH and intentionally pull the lanyard away from the console. The belt must initiate a hard brake within 0.5 seconds. For curved treadmills, test the magnetic brake lever (if equipped on your specific model) by engaging it while walking at a moderate pace to ensure the resistance pads clamp down on the flywheel smoothly without jerking the chassis.
First Test Run: Validating Your Setup
Your installation is complete. To validate the structural integrity and calibration of your new machine, perform a standard 4x4 interval protocol: 4 minutes of hard running (around 85% of your max heart rate) followed by 3 minutes of active recovery walking, repeated four times. Pay close attention to any lateral belt drift, console vibration, or unusual acoustic friction from the motor housing. A properly installed treadmill will feel like an extension of the track—stable, responsive, and entirely focused on your metabolic output.
More gear to consider
All reviews
Stair Climber Guide: Proper Running Form on Treadmill Compared

WalkingPad A1 Pro Folding Treadmill: Small Space Budget Review

Is Walking on a Treadmill Good for Weight Loss? Feature Buying Guide

Elliptical vs Treadmill Upkeep: Body Weight Supported Treadmill Care
Under Desk Treadmill Review: Office & VR Treadmill Quest 3