
Rowing Machine Setup vs Treadmill Calorie Burning Guide
Master your home gym with our rowing machine buying guide, setup walkthrough, and technique tips, comparing it to treadmill calorie burning metrics.

The Great Cardio Debate: Rowing Ergometer vs. Treadmill Calorie Burning
When designing a high-performance home gym in 2026, buyers often fixate on treadmill calorie burning metrics, assuming that running or walking on a motorized belt is the undisputed king of metabolic output. However, the indoor rowing machine (ergometer) presents a compelling, space-efficient alternative that engages 86% of the body's musculature per stroke. While a treadmill primarily targets the lower body and cardiovascular system, a rower demands synchronized power from the legs, core, back, and arms.
According to data from Harvard Health Publishing, a 155-pound individual burns approximately 252 calories in 30 minutes of moderate stationary rowing, compared to 240 calories walking at a brisk 3.5 mph on a treadmill. When you factor in the spatial footprint, electrical requirements, and noise pollution, the rowing machine often emerges as the superior choice for multi-family homes and compact spaces. This comprehensive guide will walk you through selecting, installing, and mastering the rowing machine, while directly contrasting the setup process with traditional treadmill installations.
Rowing Machine Buying Guide: Selecting Your Ergometer
Before unboxing, you must select a machine that aligns with your spatial constraints and technological preferences. The 2026 market is dominated by three distinct resistance profiles: air, magnetic, and water. Here is a breakdown of the top-tier models currently defining the home fitness space.
| Model | Resistance Type | Price Range (2026) | Footprint (In Use) | Best For |
|---|---|---|---|---|
| Concept2 RowErg | Air | $1,100 - $1,250 | 9' x 4' | Purists, CrossFit, Data Tracking |
| Hydrow T-200 | Magnetic | $1,495 - $1,600 | 8'6' x 3'5' | Immersive Screen, Quiet Operation |
| NordicTrack RW900 | Magnetic | $1,699 - $1,899 | 8'8' x 3'8' | iFIT Integration, Incline Rowing |
| WaterRower Natural | Water | $1,500 - $1,700 | 7' x 2' | Aesthetics, Living Room Placement |
Complete Installation Walkthrough: Setting Up Your Rower
Setting up a rowing machine is generally less mechanically complex than assembling a motorized treadmill, but it requires precise attention to floor protection and rail alignment. Follow this step-by-step walkthrough to ensure a safe, calibrated installation.
Phase 1: Spatial Planning and Electrical Routing
- Clearance: Measure exactly 9 feet in length and 4 feet in width. While the machine itself may only be 8 feet long, you need an extra 12 inches behind the fan cage for air exhaust and handle clearance.
- Ceiling Height: Unlike treadmills that add 8-10 inches to your standing height, rowers keep you close to the ground. A standard 8-foot ceiling is perfectly adequate, making rowers ideal for basement gyms.
- Power Supply: If you chose a magnetic rower (Hydrow, NordicTrack), route a 120V surge protector to the front stabilizer. Air and water rowers (Concept2, WaterRower) are self-generating or use AA batteries, eliminating trip hazards from power cords—a massive advantage over treadmill installations which often require dedicated 15-amp circuits.
Phase 2: Unboxing and Rail Assembly
- Base Stabilization: Place the front stabilizer foot on your protective mat. Do not fully tighten the M10 hex bolts until the rear rail is attached to ensure the frame remains square.
- Rail Connection: Slide the monorail into the front cage. For the Concept2 RowErg, you must align the quick-release friction pins perfectly. A misaligned rail will cause the seat carriage to stutter, ruining your drive phase.
- Chain/Belt Inspection: Before your first stroke, inspect the drivetrain. Air rowers use nickel-plated steel chains; magnetic rowers use braided Kevlar belts. Ensure there is no factory grease residue on magnetic belts, as this attracts dust.
- Monitor Mounting: Snap the performance monitor (e.g., PM5 or touchscreen) into the pivoting arm. Route the cable through the designated channel to prevent it from snagging on the handle during the recovery phase.
Phase 3: Floor Protection Protocol
Never place a rowing machine directly on hardwood or luxury vinyl plank (LVP). The repetitive forward-and-backward motion of the 20-pound seat carriage, combined with the downward force of your drive phase, creates micro-vibrations that can scratch floors and transmit noise to rooms below. Invest in an 8mm thick, high-density PVC equipment mat measuring at least 10 feet by 4 feet. This also catches the sweat that inevitably drips from the handle and seat.
Mastering the Technique: The 4-Phase Rowing Stroke
Proper installation is only half the battle. To rival the treadmill calorie burning output, you must execute the rowing stroke with biomechanical efficiency. The American Heart Association recommends at least 150 minutes of moderate-intensity aerobic activity per week; a properly executed rowing stroke fulfills this while simultaneously building muscular endurance.
The stroke is divided into four distinct phases. The power distribution should always follow the 60-20-20 rule: 60% legs, 20% core, 20% arms.
1. The Catch (Starting Position)
Shins should be vertical (not compressed past 90 degrees, which strains the knees and lower back). Arms are fully extended, lats engaged, and shoulders relaxed. Your torso should be hinged forward at roughly 11 o'clock.
2. The Drive (Power Phase)
Initiate the movement by pushing explosively with your legs. Do not pull with your arms yet. Once the legs are nearly fully extended, hinge the torso backward to the 1 o'clock position using your core. Finally, draw the handle to your lower sternum using your biceps and back muscles.
3. The Finish
Legs are fully extended, torso leaned back slightly, and the handle is resting just below the chest. This is a momentary pause—do not linger here, as it kills your momentum and stroke rate.
4. The Recovery
The recovery is the exact reverse of the drive and should take twice as long. Extend the arms, hinge the torso forward past vertical, and only then bend the knees to slide back to the catch. A rushed recovery is the most common failure mode for beginners, leading to lower back fatigue and drastically reduced calorie expenditure.
Maintenance & Edge Cases: Preventing Rail Dust and Chain Slack
Rowing machines require specific maintenance routines that differ vastly from treadmill belt lubrication.
Routine Maintenance Checklist
- Rail Cleaning (Weekly): The seat rollers pick up microscopic dust, creating a black 'rail dust' that transfers to your hands and clothes. Wipe the stainless steel monorail with a damp paper towel and a non-abrasive glass cleaner. Never use steel wool.
- Chain Lubrication (Every 50 Hours): For air rowers like the Concept2 RowErg, apply 1-2 teaspoons of purified mineral oil or 20W motor oil to a paper towel and pull it along the chain. Wipe off excess to prevent fling.
- Handle Bungee Check (Annually): If the handle does not retract quickly to the cage, the internal elastic bungee cord has lost tension. This requires removing the fan cage cover and adjusting the bungee tension screw.
FAQ: Setup and Calorie Tracking
Do rowing machines calculate calories the same way treadmills do?
No. Treadmills estimate calorie burn based on belt speed, incline, and user weight. Rowing ergometers (specifically air and water models) measure actual work output in watts. The Concept2 PM5 monitor calculates calories based on the literal force you apply to the fan flywheel, making it a much more accurate reflection of true mechanical work and metabolic demand than a standard treadmill algorithm.
Can I store the rower upright to save space?
Water rowers can be stood upright on their end stabilizer, taking up just 2 square feet of floor space. Magnetic rowers like the Hydrow can be tilted and secured to a wall anchor. Air rowers separate into two pieces but should be stored horizontally against a wall or on a dedicated vertical storage stand to prevent damage to the monitor arm and chain housing.
Is a rower better than a treadmill for joint health?
Yes. Rowing is a zero-impact, closed-chain kinetic exercise. Because your feet remain strapped to the footboards and there is no repetitive ground-reaction force (unlike the heel-strike impact of running on a treadmill), rowing is highly recommended for individuals managing knee osteoarthritis or recovering from lower-body impact injuries, provided the catch position does not exceed a 90-degree knee flexion.
More gear to consider
All reviews
What Muscles Does the Treadmill Work? Setup, Noise & Installation

Curved vs Motorized: 30 Minute Walking Treadmill Workout Showdown

Hitting 6 mph on a Treadmill: Top Folding Picks for Small Spaces
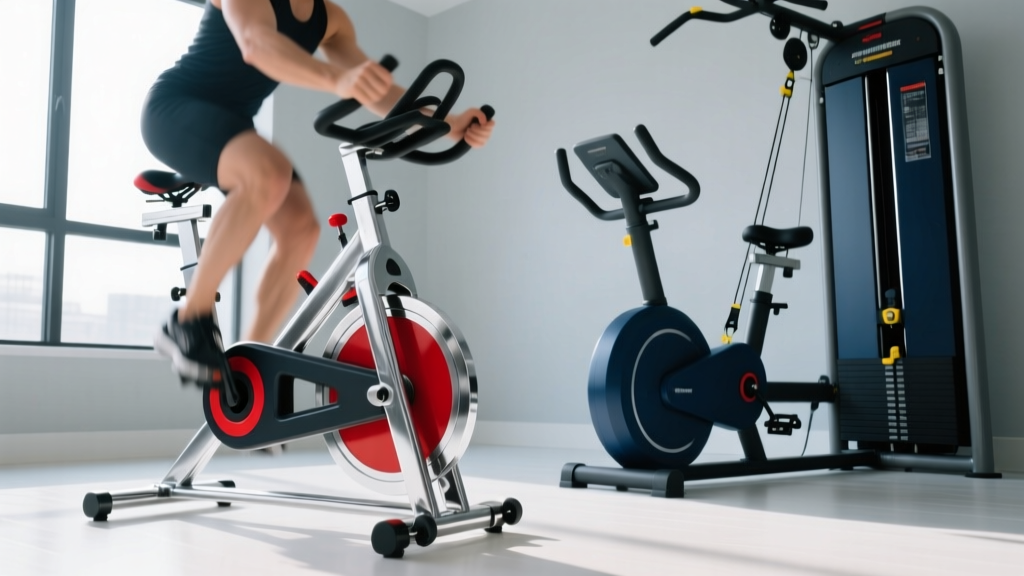
Beyond Treadmill vs Elliptical for Cardio: Air Bike vs Assault Bike

Is a Walking Pad the Same as a Treadmill? 2026 Market Trends
