Olympic vs Standard Plates & Alternating Incline Dumbbell Press
Discover the key differences between Olympic and standard weight plates, plus a step-by-step guide to the alternating incline dumbbell press.

Building a functional, future-proof home gym requires mastering two distinct skill sets: selecting the right foundational iron and executing biomechanically sound movements. For beginners in 2026, the equipment market can be overwhelming. You are immediately faced with the 'Olympic vs standard' weight plate dilemma for your barbell setup, while simultaneously trying to build a balanced physique using dumbbells. This comprehensive guide bridges that gap. We will break down the exact specifications, pricing, and use-cases for Olympic and standard weight plates, before transitioning into a masterclass on one of the most effective upper-body builders you can do with dumbbells: the alternating incline dumbbell press.
The Iron Foundation: Olympic vs Standard Weight Plates
Before you can load a barbell, you need to understand the hardware. The fitness industry categorizes weight plates primarily by the diameter of the center hole, which dictates the type of barbell sleeve they fit onto. Choosing incorrectly can lead to wasted money, incompatible equipment, and even severe safety hazards.
Standard Weight Plates (1-Inch Hole)
Standard plates feature a 1-inch (25.4mm) center hole. They are typically paired with entry-level, one-piece solid steel barbells. In 2026, standard cast iron plates generally cost between $1.00 and $1.50 per pound. While they are budget-friendly and widely available at big-box sporting goods stores, they come with a hard ceiling. Most standard barbells will begin to warp, bend, or suffer from dangerous 'whip' when loaded past 200 to 250 pounds. If your goal is casual maintenance or light circuit training, standard plates suffice. If you plan to progressively overload your squats, deadlifts, or bench press, they are a dead end.
Olympic Weight Plates (2-Inch Hole)
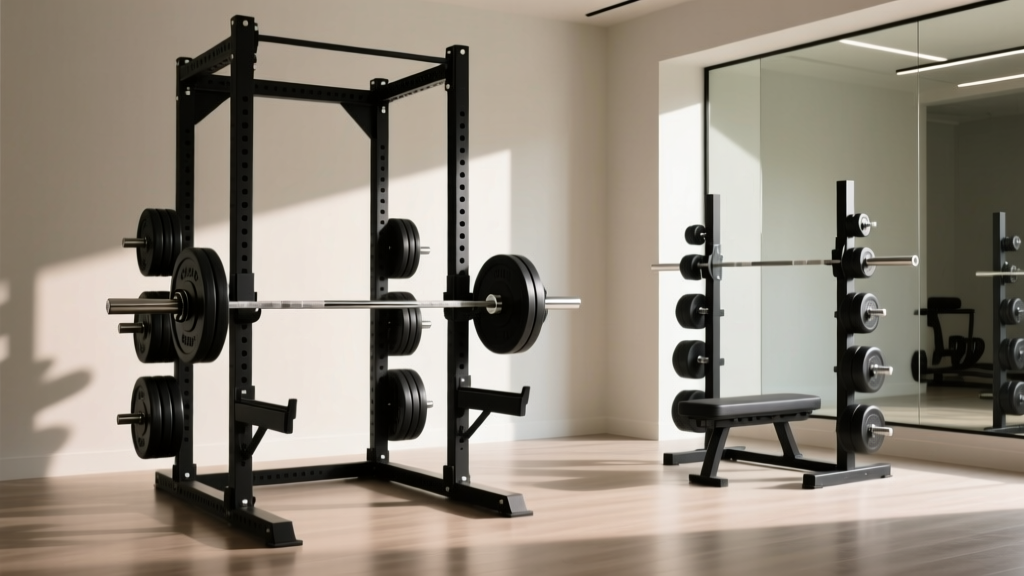
Olympic plates feature a 2-inch (50.8mm) center hole, designed to slide onto the rotating, heavy-duty sleeves of Olympic barbells. According to BarBend's comprehensive equipment analysis, Olympic plates are the undisputed standard for commercial gyms, powerlifting, and serious home garages. Full-size Olympic plates (like the 45lb/20kg bumpers) measure exactly 450mm in diameter, ensuring your barbell is always at the correct starting height off the floor. Pricing in 2026 ranges from $1.50 per pound for basic cast iron to $3.50+ per pound for competition-grade urethane or calibrated steel.
📊 Quick Comparison Matrix: Olympic vs Standard
| Feature | Standard Plates | Olympic Plates |
|---|---|---|
| Hole Diameter | 1 inch (25.4mm) | 2 inches (50.8mm) |
| Max Safe Load | ~250 lbs | 500 - 1,500+ lbs |
| Avg. Cost (2026) | $1.00 - $1.50 / lb | $1.50 - $3.50 / lb |
| Resale Value | Low | High (Holds Value) |
The Movement: Mastering the Alternating Incline Dumbbell Press
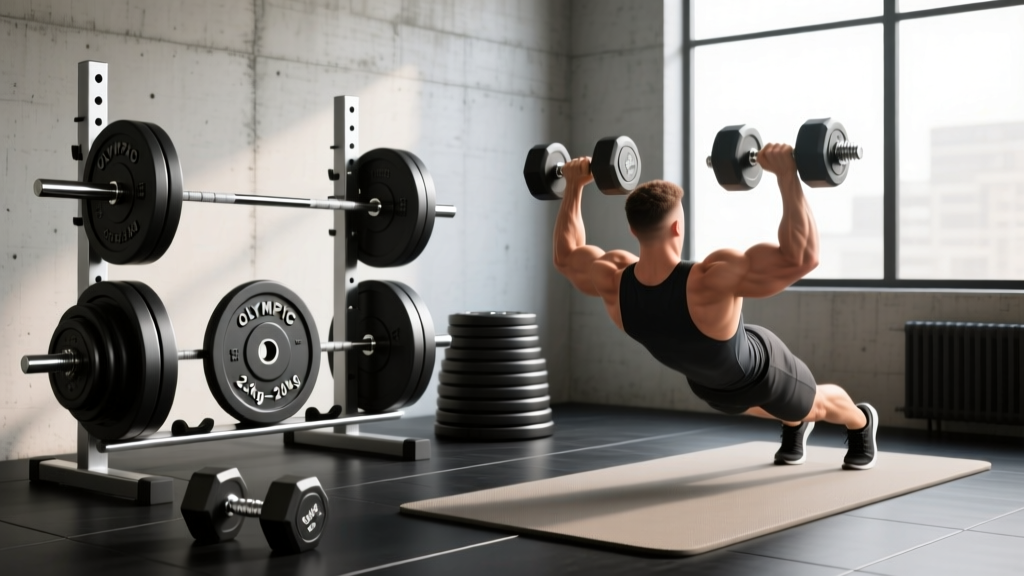
Once your gym foundation is set, you need to utilize versatile tools like adjustable dumbbells to build a balanced physique. The alternating incline dumbbell press is a staple for upper-chest (clavicular pectoralis) hypertrophy. Unlike a bilateral barbell press, the alternating unilateral variation forces your core to resist rotational forces, fixing left-to-right strength imbalances while providing a deeper stretch at the bottom of the movement.
Step 1: Bench Setup and Angle Optimization
The incline angle dictates muscle recruitment. A bench set too high (60 degrees or more) shifts the primary load to the anterior deltoids (front shoulders). For optimal upper-chest targeting, set your adjustable bench (such as the Rep Fitness AB-3100 or similar FID bench) to a 30 to 45-degree angle. Plant your feet flat on the floor, slightly wider than shoulder-width, to create a stable base.
Step 2: The Kick-Up and Scapular Retraction
Do not curl heavy dumbbells up to your shoulders. Rest the dumbbells on your thighs just above the knees. Use a slight hip hinge and leg drive to 'kick' the weights up to your shoulders as you lean back onto the bench. Once settled, pinch your shoulder blades together and down (scapular retraction and depression). This creates a stable shelf for your shoulders and protects the rotator cuff.
Step 3: The Alternating Press Mechanics
According to biomechanical data cataloged by ExRx.net, the dumbbell incline press allows for a greater range of motion than a barbell. Here is the exact step-by-step execution for the alternating variation:
- The Anchor: Start with both dumbbells pressed up over your collarbone, palms facing forward. Keep your non-working arm locked out or slightly bent at the top to act as a stabilizer.
- The Descent (Eccentric): Lower the right dumbbell under control for a 2-to-3 second count. Stop when the dumbbell is level with your upper chest, feeling a deep stretch in the pectoral fibers. Your elbow should tuck at roughly a 45-degree angle to your torso, not flared out at 90 degrees.
- The Press (Concentric): Drive the right dumbbell back up to the starting position, exhaling sharply at the top.
- The Switch: Once the right arm is stabilized at the top, repeat the exact same 3-second descent and explosive press with the left arm. That completes one full repetition.
Step 4: Bracing and Anti-Rotation
Because you are only moving one side of the load at a time, your body will naturally want to twist toward the side holding the heavy dumbbell. You must actively brace your core and squeeze your glutes to keep your torso perfectly flush against the bench pad. This 'anti-rotation' demand turns a simple chest exercise into a highly effective core stabilizer.
💡 Pro-Tip for Hypertrophy: To maximize muscle damage and growth, implement a 1-second isometric pause at the bottom of the stretch before pressing up. This eliminates the stretch reflex and forces the clavicular pecs to initiate the concentric phase from a dead stop.Common Failure Modes and Troubleshooting
Even with perfect setup, beginners often encounter specific roadblocks. Here is how to troubleshoot the most common issues:
- Shoulder Impingement at the Bottom: If you feel a pinching sensation in the front of your shoulder, your elbows are likely flared out too wide. Tuck your elbows closer to your ribcage (the 45-degree rule) and ensure your shoulder blades remain retracted.
- Ego Lifting and Shortened ROM: Using dumbbells that are too heavy will cause you to cut the bottom half of the movement short. Drop the weight by 15-20%. The bottom stretch is where the most hypertrophic stimulus occurs.
- Uneven Lockout: If your dominant arm locks out easily while your non-dominant arm struggles, the alternating variation will expose this immediately. Do not rush the weak side; maintain the exact same tempo on both arms to force neuromuscular adaptation.
Programming for Your 2026 Routine
How you program the alternating incline dumbbell press depends on your primary goal. If you are focused on hypertrophy (muscle growth), aim for 3 to 4 sets of 8 to 12 repetitions per arm, utilizing a 3-second eccentric phase and leaving 1-2 reps in the tank (RIR). If your goal is muscular endurance and metabolic stress, drop the weight, set the bench to 30 degrees, and perform 2 to 3 sets of 15 to 20 reps per arm with strict 60-second rest periods.
By pairing a high-quality Olympic plate setup for your heavy compound barbell lifts with precise, unilateral dumbbell movements like the alternating incline press, you guarantee a balanced, injury-resistant, and highly effective training regimen for years to come.
More gear to consider
All reviews
Bumper vs Iron Plates: Layouts & Dumbbell Exercises for Lower Pecs

Olympic vs Standard Plates: Setup for Inclined Dumbbell Curls

RDL with One Dumbbell to Barbell: Beginner Guide to Weight & Knurling

Overhead Dumbbell Squat Errors & Barbell Collar Types

Bar Care for Your At Home Workout Plan With Dumbbells: EZ vs Straight