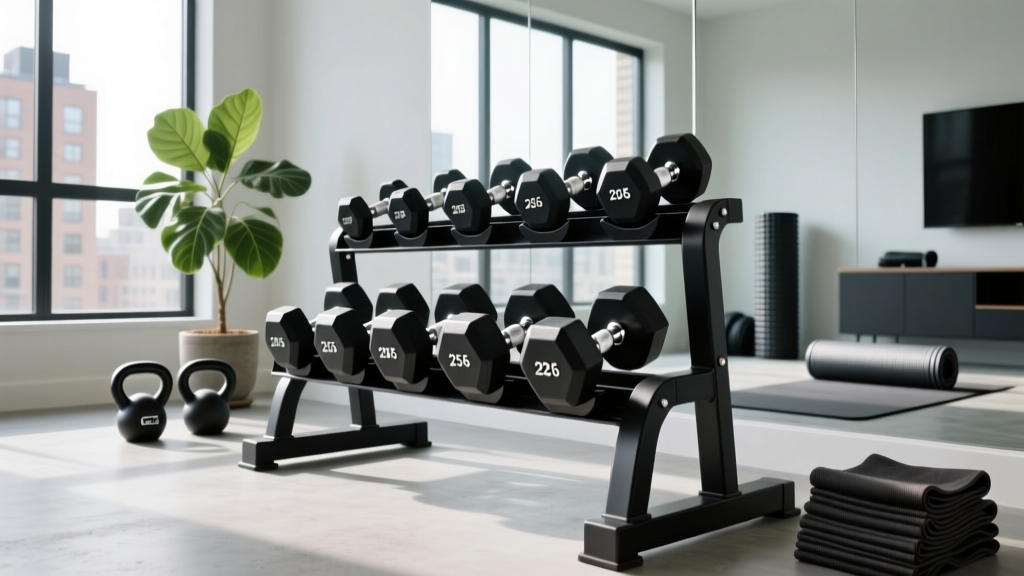
2026 Adjustable Dumbbell Setup & 4 Day Dumbbell Workout PDF Guide
Master your home gym with our 2026 adjustable dumbbell setup walkthrough, top model reviews, and space planning for your 4 day dumbbell workout pdf.

The Architecture of a 2026 Home Gym: Matching Equipment to Programming
Building a functional home gym in 2026 goes far beyond simply purchasing a pair of weights and clearing out a corner of the garage. True fitness engineering requires aligning your physical space, your equipment's mechanical tolerances, and your specific programming. For the vast majority of intermediate lifters, the holy grail of home training is the adjustable dumbbell paired with a structured, high-frequency routine. When you download a comprehensive 4 day dumbbell workout pdf, you are typically committing to an Upper/Lower or Push/Pull split that demands rapid weight transitions, precise loading, and a dedicated physical footprint. If your equipment setup is flawed, your rest periods will stretch, your central nervous system will cool down, and the efficacy of your program will plummet.
This complete setup and installation walkthrough will guide you through spatial planning, unboxing, mechanical calibration, and the integration of premium adjustable dumbbells to ensure your training environment is optimized for maximum hypertrophy and strength gains.
Phase 1: Spatial Planning and Flooring Installation
Before your adjustable dumbbells even arrive, you must prepare the installation zone. Adjustable dumbbells are precision instruments; dropping them on bare concrete or cheap laminate flooring will destroy the internal selector pins and void your warranty. Furthermore, executing a 4 day dumbbell workout pdf requires enough clearance for lateral movements, lunges, and floor-based presses without spatial anxiety.
Calculating the Footprint
- Primary Training Zone: You need a minimum 6-foot by 8-foot cleared area. This allows for a standard 48-inch flat bench, plus 36 inches of clearance on the left and right for exercises like dumbbell flyes and goblet squats.
- Equipment Staging: Allocate a 2-foot by 4-foot rectangle against a load-bearing wall for your dumbbell storage tray or rack. Never place adjustable dumbbell cradles on uneven surfaces, as this misaligns the internal weight stacks.
Flooring Installation Walkthrough
Skip the interlocking foam puzzle mats—they compress too much under heavy loads and degrade quickly. Instead, install 3/8-inch thick vulcanized rubber horse stall mats (typically 4x6 feet, costing around $50 to $75 per mat from agricultural supply stores). These provide the exact density required to absorb the kinetic energy of a dropped 60-pound dumbbell without transferring destructive shockwaves to the adjustable mechanism. Lay the mats over a vapor barrier if your gym is in a basement to prevent moisture from rusting the steel plates inside the dumbbell housings.
Phase 2: 2026 Adjustable Dumbbell Comparison Matrix
Choosing the right model is critical for the specific demands of a high-volume split. Below is our expert comparison of the top three market leaders in 2026, evaluated on mechanism durability, physical dimensions, and suitability for rapid-change routines.
| Model | Weight Range | Selector Mechanism | Plate Material | Approx. Price (Pair) | Best For |
|---|---|---|---|---|---|
| Nuobell 80 | 5 - 80 lbs | Twist Handle | Steel / Polyurethane | $429 | Traditional feel, heavy lifters |
| Bowflex SelectTech 552 | 5 - 52.5 lbs | Dial Cradle | Steel / ABS Plastic | $399 | Beginners, micro-loading |
| PowerBlock Elite EXP | 5 - 50 lbs (Expandable) | Magnetic Pin | Steel / Urethane | $359 | Compact spaces, drop sets |
Phase 3: Unboxing, Assembly, and Calibration Walkthrough
Adjustable dumbbells arrive heavily packed with anti-corrosion oils and protective foams. Follow this exact installation sequence to prevent mechanical failure on day one.
Step 1: Cradle and Tray Leveling
Remove the storage trays from the packaging. Place them on your rubber matting against the wall. Use a standard 24-inch carpenter's level across the top edges of the trays. If the floor is uneven, use composite shims beneath the tray base. Why this matters: If the Bowflex or Nuobell cradle sits at even a 3-degree angle, the internal weight plates will bind against the guide rods, causing the selector dial to jam when you try to lift the weight.
Step 2: Degreasing and Inspection
Using a lint-free microfiber cloth and a mild, non-abrasive degreaser (like Simple Green), wipe down the steel plates and the guide rods. Factory-applied oils will attract metallic dust and household dirt, eventually creating a sludge that prevents the magnetic pins or dial teeth from seating properly.
Step 3: The 'Zero-Weight' Calibration Test
Before lifting, perform a calibration check. Set both dumbbells to their lowest weight setting (usually 5 lbs). Lift them out of the cradle and visually inspect the housing to ensure no stray plates are being dragged. Next, place them back into the cradle, ensuring you hear the distinct 'click' of the base plate seating into the cradle's alignment grooves. Turn the dials or twist the handles to 10 lbs, and repeat. Do this up to 25 lbs to verify the internal tracks are smooth.
Phase 4: Integrating Your 4 Day Dumbbell Workout PDF
According to the U.S. Department of Health and Human Services, adults should engage in muscle-strengthening activities of moderate or greater intensity that involve all major muscle groups on 2 or more days a week. However, a dedicated 4 day dumbbell workout pdf takes this a step further, utilizing an Upper/Lower split to hit muscle groups twice a week, optimizing protein synthesis windows.
To physically set up your space for this specific PDF routine, implement the following staging protocols:
- The 'Active Stack' Zone: Most 4-day splits utilize compound movements (e.g., Dumbbell Bench Press, Dumbbell Rows) paired with isolation movements (e.g., Lateral Raises, Tricep Extensions). Keep your adjustable dumbbells in their cradle, but position the cradle exactly 18 inches from the head of your bench. This allows you to perform drop-sets or transition between compound and isolation exercises in under 10 seconds without breaking your heart rate zone.
- Micro-Loading Strategy: If your PDF program dictates progressive overload in 2.5 lb increments, the Bowflex 552 is superior due to its 2.5 lb micro-jump capability between 5 and 25 lbs. For Nuobell users, you will need to purchase a separate set of micro-load wrist weights or magnetic add-on weights to perfectly match the PDF's prescribed 2.5 lb jumps in the lower weight ranges.
- Rest Period Positioning: The Mayo Clinic notes that proper rest intervals are vital for muscle recovery and strength gains. Position a digital interval timer on a wall mount directly above your dumbbell cradle so you can monitor your 90-second hypertrophy rest periods while re-racking and adjusting your dials for the next set.
Expert Troubleshooting & Maintenance Callouts
Even the best-engineered adjustable dumbbells will fail if subjected to real-world abuse. Here are the most common failure modes and how to troubleshoot them during your installation and ongoing maintenance.
Warning: The 'Cradle Rule'Never turn the selector dial or twist the handle while the dumbbell is outside of the cradle. Doing so will misalign the internal weight stack and cause the plastic retaining clips to snap. If this happens, the dumbbell will drop plates mid-rep, posing a severe crush hazard.
Dealing with Magnetic Dust Accumulation
Both the PowerBlock and Nuobell utilize magnetic or friction-based pins that interact with steel plates. Over 6 to 12 months, microscopic steel dust will accumulate on the selector pins. Every 90 days, remove the dumbbells from the cradle, use a can of compressed air to blow out the internal cavities, and wipe the selector pins with a dry cloth. Do not use liquid lubricants like WD-40, as they will attract more dust and create a binding paste.
Fixing a Stuck Bowflex Dial
If your Bowflex 552 dial refuses to turn, do not force it. Forcing it will strip the internal plastic gears. Instead, place the dumbbell back into the cradle, press down firmly on the handle to compress the internal springs, and gently wiggle the dial back to the 5 lb position. Once it resets, cycle through the weights to clear the obstruction.
Final Thoughts on Your Setup
Executing a rigorous 4 day dumbbell workout pdf is a test of consistency, discipline, and physical adaptation. By investing the time to properly level your flooring, select an adjustable dumbbell model that matches your strength ceiling, and meticulously calibrate the mechanical components, you eliminate the friction between your programming and your execution. A well-engineered home gym setup doesn't just look professional; it actively facilitates progressive overload, keeps your rest periods strict, and ensures your equipment survives the demands of a 2026 high-volume hypertrophy block.
More gear to consider
All reviews
How to Grip Dumbbells vs Barbells: Olympic Barbell Knurling Guide
EZ Bar vs Straight Bar: Better Than a Biceps Exercise With Dumbbells?

Dumbbell Around the World Muscles Worked: 2026 Adjustable Dumbbell Guide

Best Adjustable Dumbbells for the Seated Dumbbell Fly: 2026 Review

Olympic vs Standard Plates for Tricep Exercises with Dumbbells
