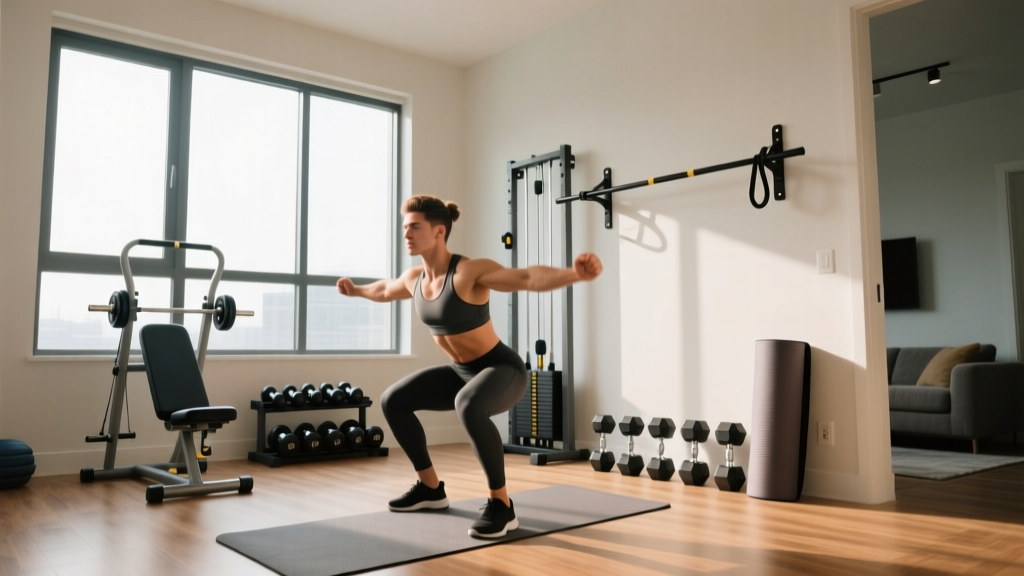
Studio Apartment Gym Design: How to Find Affordable Sports Equipment
Master studio apartment workout space design. Learn how to find affordable sports equipment, optimize layout, and install a compact home gym on a budget.

The Studio Apartment Dilemma: Space vs. Functionality
Designing a functional workout space in a studio apartment requires a radical shift in how you view square footage. When your living room, bedroom, and kitchen occupy the same 400 to 600 square feet, dedicating a massive footprint to a traditional power rack is impossible. However, with precise spatial mapping and strategic gear selection, you can build a high-performance training environment in as little as 48 square feet (a 6x8-foot corner).
This complete setup and installation walkthrough will guide you through structural assessments, spatial design, and the exact hardware required to build a safe, neighbor-friendly studio gym. As of 2026, the direct-to-consumer fitness market has matured, making it easier than ever to source commercial-grade, space-saving gear without paying premium boutique prices.
Phase 1: Spatial Mapping and Structural Limits
Before purchasing a single piece of iron, you must evaluate your apartment's physical constraints. The most overlooked factor in home gym design is point load deflection. Standard residential floors are engineered for a live load of 30 to 40 pounds per square foot (PSF). A loaded barbell and rack concentrated on four small feet can easily exceed 150 PSF, risking floor sagging or, in extreme cases, structural failure.
⚠️ Structural Warning: Never place a heavily loaded squat rack in the center of a floor span. Always position your lifting zone against a load-bearing exterior wall or directly over a primary floor joist. Use a stud finder that features deep-scan joist detection to map your subfloor before laying down mats.To mitigate point loads and dampen impact noise (crucial for keeping downstairs neighbors happy), you need a layered flooring system. Skip the cheap interlocking EVA foam puzzle mats; they compress under heavy loads and ruin your lifting stability. Instead, opt for a two-layer system:
- Base Layer: 3/4-inch thick vulcanized rubber horse stall mats (typically 4x6 feet, costing around $55 each from agricultural supply stores).
- Decoupling Layer: 1/2-inch high-density acoustic underlayment or specialized Sorbothane pads placed directly under the rack feet to isolate low-frequency vibrations.
Phase 2: How to Find Affordable Sports Equipment for Micro-Spaces
Figuring out how to find affordable sports equipment that doesn't sacrifice durability or safety is the crux of budget studio design. The secret in 2026 is bypassing legacy big-box brands and targeting direct-to-consumer manufacturers that specialize in modular, wall-mounted, and adjustable gear. Brands like Bells of Steel, Rep Fitness, and PRx Performance offer commercial-grade steel at a fraction of the cost of premium boutique brands.
Additionally, scouring B-stock sections on manufacturer websites and monitoring local commercial gym liquidation sales on platforms like Facebook Marketplace can yield massive savings on adjustable dumbbells and folding benches.
The 48-Square-Foot Studio Arsenal
| Equipment Type | Recommended Model | Footprint / Storage | Est. Price |
|---|---|---|---|
| Wall-Mount Rack | PRx Performance Profile Squat Rack | Folds to 4 inches from wall | $495 |
| Adjustable Dumbbells | Nuobell 80lb Adjustable Set | Replaces 15 pairs; 16" long | $329 |
| Folding Bench | Rogue Fold-Up Utility Bench 2.0 | Folds flat to 8 inches | $215 |
| Smart Resistance | Speediance Gym Monster 2 (Base only) | 2.5 sq ft; digital weight | $1,499 |
Phase 3: Step-by-Step Installation Walkthrough
Installing a wall-mounted folding rack in a rental studio requires precision to ensure safety while minimizing permanent damage to the drywall. Never use drywall anchors for dynamic loading (like kipping pull-ups or heavy barbell racking). You must anchor directly into the wooden or metal studs.
- Locate and Mark Studs: Use a magnetic stud finder to locate the center of two adjacent wooden studs, which are standardly spaced 16 inches on-center (OC). Mark the vertical centerlines with a pencil.
- Pre-Drill Pilot Holes: Using a 7/32-inch drill bit, pre-drill holes through the drywall and into the studs at the mounting bracket heights specified by the manufacturer. This prevents the wood from splitting when driving the lag bolts.
- Drive the Lag Bolts: Use 3/8-inch by 3-inch structural lag screws (such as GRK Fasteners RSS). Drive them through the rack's mounting plate, through the drywall, and deep into the stud using a socket wrench. Torque them until the bracket is flush and immovable, but avoid over-torquing, which can strip the wood threads.
- Test Static and Dynamic Loads: Before loading the barbell, hang your full body weight from the pull-up bar and apply dynamic, swinging force to verify the shear strength of your installation.
Phase 4: Environmental Controls and Equipment Longevity
Studio apartments suffer from rapid humidity spikes during intense workouts. A single hour of high-intensity interval training can raise the ambient humidity in a 400-square-foot space by 15-20%, accelerating galvanic corrosion on unprotected barbell knurling and cast-iron dumbbell heads.
According to the U.S. Environmental Protection Agency (EPA), proper ventilation and moisture control are critical for maintaining healthy indoor air quality, especially in confined spaces where sweat and respiratory output are high. To protect your gear and your lungs:
- Install a high-velocity, oscillating wall-mount fan directed at the lifting zone to promote evaporation.
- Run a compact 35-pint energy-star dehumidifier during and for one hour after your workout.
- Wipe down all bare steel equipment with a microfiber cloth and a light coat of 3-in-One oil or WD-40 Specialist Corrosion Inhibitor once a month.
Maintaining cardiovascular health in these tight quarters also requires attention to form and safety. The American Heart Association emphasizes that consistent, safe exercise environments are key to long-term cardiovascular health, meaning your studio setup must prioritize safe clearance zones to prevent tripping hazards or equipment collisions.
Real-World Troubleshooting: Edge Cases in Studio Gyms
Failure Mode 1: Impact Noise Complaints
The Issue: Dropping deadlifts or heavy dumbbells creates low-frequency structure-borne noise that travels through floor joists, bypassing standard rubber mats.
The Fix: You cannot drop heavy iron in an upper-floor apartment without a specialized crash pad. Invest in a high-density PU foam crash pad (like the Rogue Crash Pad) or transition to bumper plates made of virgin rubber, which have a lower durometer (hardness) rating and absorb significantly more kinetic energy than recycled rubber.
Failure Mode 2: Visual Clutter and Lease Violations
The Issue: Leaving a bench and barbell in the middle of your living space causes psychological fatigue and violates lease clauses regarding 'obstruction of egress paths'.
The Fix: Implement a strict 'zero-floor' policy. Utilize vertical wall space by installing a slatwall panel or heavy-duty pegboard to hang resistance bands, lifting belts, and collars. When the workout is over, the bench folds flat against the wall, and the rack hinges inward, returning the space to a functional living room in under 60 seconds.
Frequently Asked Questions
Can I install a pull-up bar in a studio apartment with metal studs?
Yes, but you cannot use standard wood lag bolts. You must use heavy-duty toggle bolts (like Snaptoggles) rated for at least 300 lbs of shear force per bolt in 1/2-inch drywall, or self-drilling metal stud screws if you can hit the exact center of the steel flange. For safety, limit metal-stud pull-up bars to strict, non-kipping movements.
Are adjustable dumbbells worth the investment over fixed pairs?
In a studio apartment, they are mandatory. A full set of fixed dumbbells from 10 to 50 lbs requires over 20 square feet of rack space and costs upwards of $1,500. A pair of Nuobell or Bowflex adjustable dumbbells provides the same weight range in less than 2 square feet for under $350, making them the ultimate space-to-value ratio equipment.
More gear to consider
All reviews
Home Gym Renovation Cost: Complete Budget Breakdown 2026

Beginner vs. Athlete Home Gym Setups: Space, Budget, and Equipment Realities

Best Sport-Specific Home Gym Equipment for Real Value: Performance, Space, and Long-Term ROI

Home Office Gym Combo Ideas: Speediance vs. Folding Rack (2026)

Best Home Office Gym Ideas for Minimalist Spaces
