
Weatherproofing Outdoor Home Workout Gyms: Full Setup Guide
Learn how to build weatherproof outdoor home workout gyms. This complete setup guide covers drainage, rust-proof racks, roofing, and flooring.

The Reality of Outdoor Training Environments
Building outdoor home workout gyms offers unparalleled ventilation, natural light, and a psychological break from indoor confinement. However, exposing cast iron, steel, and polyurethane to the elements is a fast track to ruined equipment if you do not engineer the space correctly. Standard indoor gear will develop surface rust within 90 days when exposed to ambient humidity, morning dew, and UV radiation. According to the Centers for Disease Control and Prevention (CDC), outdoor exercise significantly boosts mental health and adherence, but your facility must be built to withstand local microclimates. This walkthrough details the exact materials, structural specifications, and maintenance protocols required to build a permanent, weather-resistant outdoor training facility.
⚠️ Critical Warning: Never place standard rubber horse stall mats directly on dirt or grass. The trapped moisture will breed black mold, degrade the rubber, and create a slipping hazard. Proper base engineering is non-negotiable.Phase 1: Base Engineering and Moisture Evacuation
Your base dictates the lifespan of your flooring and the structural integrity of your rack. You have two viable options for an outdoor pad, depending on your budget and local frost line.
Option A: The Permeable Gravel Base (Budget: $1.50 - $2.50 / sq ft)
For regions with heavy rainfall and mild winters, a permeable base allows water to pass through rather than pool. Excavate the topsoil to a depth of 6 inches. Lay a heavy-duty geotextile fabric to prevent weed growth and soil migration. Fill the trench with 4 inches of Class 5 crushed limestone, compacting it in 2-inch lifts with a plate compactor. Top with 2 inches of coarse builder's sand, screeded perfectly level. This base drains instantly and prevents frost heave in moderate climates.
Option B: Reinforced Concrete Slab (Budget: $8.00 - $14.00 / sq ft)
If you live in a freeze-thaw climate, concrete is mandatory. Pour a 4-inch slab using air-entrained concrete (which resists cracking from freezing water expansion) reinforced with a #3 rebar grid spaced at 18 inches on center. Crucially, the slab must be poured with a minimum 2% grade (a 1/4-inch drop per foot) to force surface water away from your rack's uprights. Anchor your rack using 3/8-inch stainless steel wedge anchors with a minimum 3-inch embedment depth.
Phase 2: Equipment Selection and Metallurgy
When sourcing racks and barbells for outdoor home workout gyms, the finish is just as important as the steel gauge. Standard black powder coat is essentially paint; it will chip and allow oxidation to bloom underneath. Here is how the top protective coatings compare in outdoor environments.
| Coating Type | Salt Spray Resistance | UV Degradation | Best Use Case |
|---|---|---|---|
| Standard Powder Coat | 90 - 150 Hours | High (Chalks/Fades) | Indoor / Garage Only |
| Galvanized Zinc | 400 - 600 Hours | Low | Humid Outdoor (Non-Coastal) |
| Cerakote (Ceramic) | 1,000+ Hours | None | Coastal / Extreme Weather |
| Marine Aluminum | N/A (Corrosion Proof) | None | Direct Saltwater Exposure |
For most outdoor setups, a Cerakote-finished rack is the gold standard. As detailed in Rogue Fitness's Cerakote testing data, this ceramic-polymer coating penetrates the steel's pores and provides military-grade corrosion resistance. The Rogue SML-2C Monster Lite rack (approx. $1,150) is a premier choice. If budget constraints require a standard galvanized rack (like the Titan Fitness X-2, approx. $450), you must apply a secondary protectant immediately upon installation.
'In coastal environments, even galvanized steel will succumb to white rust (zinc oxide) within a year due to salt spray. If you live within 5 miles of the ocean, Cerakote or bare stainless steel are your only viable options for barbell shafts and rack uprights.'
Phase 3: Overhead Protection and Wind Load Dynamics
You must shield your lifting platform and rack from direct UV rays and vertical precipitation. However, building a roof introduces wind load dynamics that can turn a poorly anchored rack into a projectile.
Roofing Materials
- Polycarbonate Panels (e.g., Tuftex PolyCarb): Excellent for blocking UV while letting light through. Cost: ~$45 per 8-foot panel. Drawback: Becomes brittle after 5-7 years of direct sun exposure and can shatter under heavy hail.
- 29-Gauge Corrugated Steel: The superior choice for longevity. Cost: ~$25 per 10-foot panel. Drawback: Creates a dark space and amplifies the sound of dropped weights and rain. Requires a minimum 3/12 pitch to prevent water pooling.
Structural Anchoring
If you build a freestanding pergola or roof structure over your gym, it must be anchored independently of the power rack. Use 4x4 pressure-treated posts set in 24-inch deep concrete footings. Do not bolt the roof directly to the uprights of your squat rack; the lateral wind shear will bend the 11-gauge or 14-gauge steel tubing over time.
Phase 4: Flooring Systems for Wet Environments
Standard 3/4-inch vulcanized rubber mats are impermeable. If water gets underneath them, it stays there. For outdoor home workout gyms, you must facilitate sub-floor evaporation.
The Weep Hole Modification
If you are using standard 4x6 foot horse stall mats (approx. $55 each from agricultural suppliers), use a 1/2-inch spade bit to drill weep holes every 12 inches across the entire mat. This allows trapped water to drain into the gravel base below. Alternatively, invest in perforated PVC tiles like StayLock (approx. $4.50 per sq ft), which elevate the walking surface 9/16 of an inch off the ground, allowing total water flow and air circulation.
Phase 5: The 90-Day Outdoor Maintenance Protocol
Even the best outdoor setups require chemical intervention to fight ambient humidity. Implement this strict maintenance schedule to protect bare metal components like barbell shafts, knurling, and linear bearing rods.
- Weekly (Barbell Care): Use a stiff nylon brush to remove chalk and dead skin from the knurling. Chalk is highly hygroscopic (absorbs moisture from the air) and will hold water directly against the steel. Wipe down with a microfiber cloth lightly dampened with 3-in-One oil.
- Monthly (Guide Rods & Pulleys): Wipe down lat pulldown guide rods and apply a light coat of Boeshield T-9 ($15/can). T-9 leaves a dry, waxy film that does not attract dust or dirt like wet lubricants do.
- Bi-Annually (Rack Hardware): Spray all bare metal bolts, hinge pins, and J-cup contact points with Fluid Film NAS ($18/can). This lanolin-based penetrant creeps into microscopic threads and halts existing surface rust while preventing new oxidation. Note: Fluid Film has a distinct odor and stays slightly tacky, so use it only on non-grip surfaces.
Estimated Budget Breakdown (100 Sq Ft Setup)
| Component | Material Choice | Estimated Cost |
|---|---|---|
| Base Preparation | Class 5 Gravel + Geotextile | $200 - $300 |
| Power Rack | Cerakote Monster Lite (SML-2C) | $1,150 - $1,300 |
| Roofing Structure | 4x4 Posts + Corrugated Steel | $600 - $900 |
| Flooring | Stall Mats + Weep Holes | $250 - $350 |
| Barbell | Stainless Steel or Cerakote | $300 - $450 |
| Total Estimated Cost | $2,500 - $3,300 |
Final Walkthrough Inspection
Before loading your first plate, conduct a final safety audit. Ensure all concrete wedge anchors are torqued to 35 ft-lbs. Verify that the roof pitch is shedding water away from your lifting platform, not directly onto it. Check that all nylon pulleys are shielded from direct UV rays, as UV degradation will cause them to snap under heavy lat pulldown loads. By treating your outdoor gym as a permanent architectural structure rather than a temporary patio setup, you secure a training environment that will outlast the elements and keep you training year-round.
More gear to consider
All reviews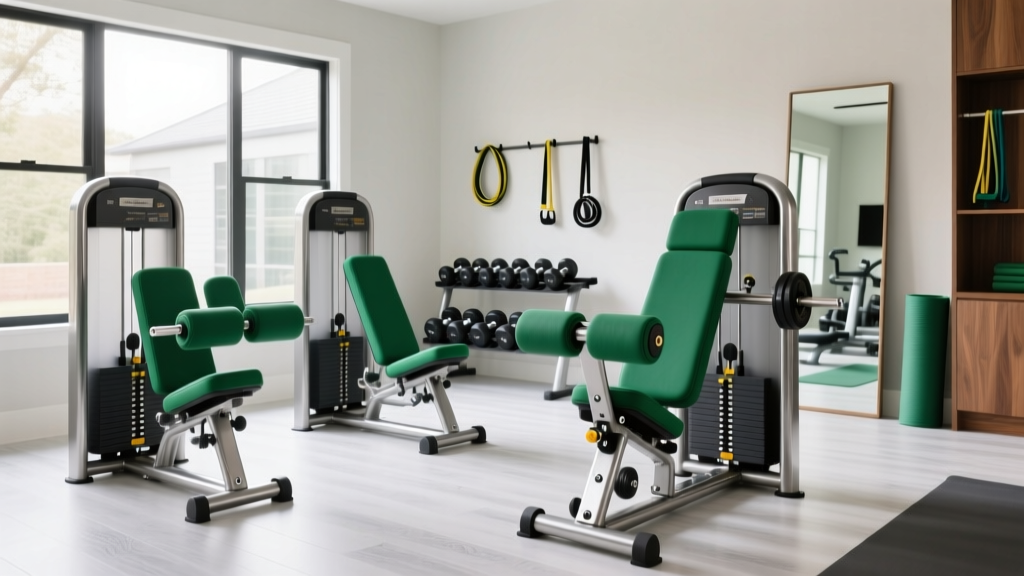
Leg Curl Home Gym Comparison: Best Picks for 2026 Remodels
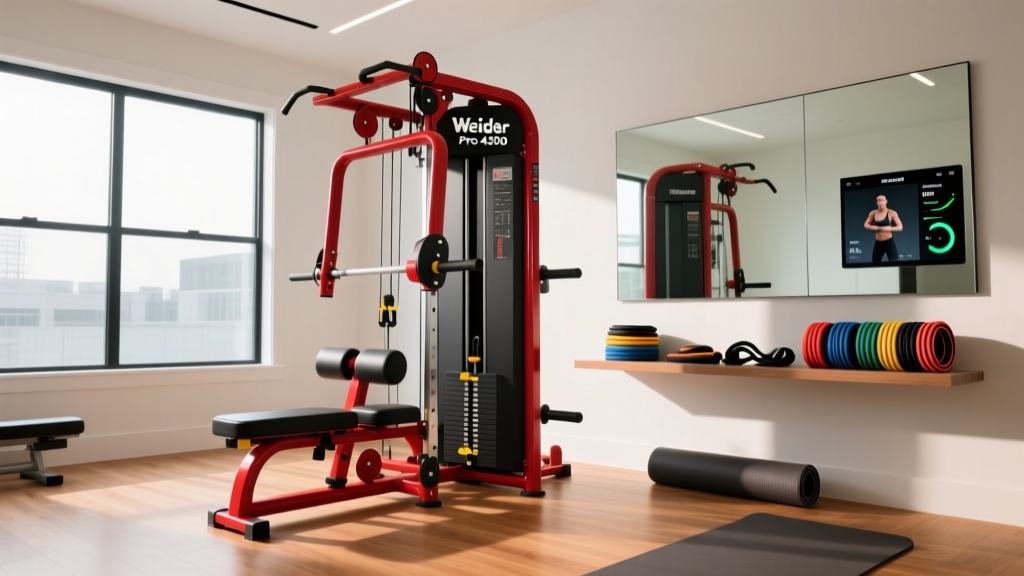
Remodeling Around a Home Gym Weider Pro 4300: Budget & Value

Top Home Gym Brand Illinois: Mirror & Lighting Guide

Marcy MWM 990 150 Stack Home Gym: Couples Setup Review

Best Exercise Posters for Home Gyms: 2026 Remodel Guide
