
Can You Put a Hoist H100 Home Gym Outside? Weatherproofing Walkthrough
Thinking of installing a Hoist H100 home gym outdoors? Read our complete weatherproofing and enclosure walkthrough to protect your investment from the elements.

The dream of an open-air, nature-immersed training space is highly appealing, but when you invest in premium indoor fitness equipment, the realities of environmental exposure quickly set in. A common question we receive at FitGearPulse is whether it is possible to install a high-end functional trainer in an outdoor or semi-outdoor environment. Specifically, can you safely set up a Hoist H100 home gym outside?
The short answer is no—not without a fully engineered, climate-controlled enclosure. The Hoist H100 is a commercial-grade, dual-stack functional trainer designed strictly for indoor, climate-regulated environments. Exposing its precision-machined components to the elements will result in catastrophic failure modes, voided warranties, and thousands of dollars in replacement parts. However, if you are determined to build an outdoor gym pavilion or convert a covered patio to house this specific unit, you must approach the project as a structural engineering and climate-control challenge.
Below is our complete 2026 setup and installation walkthrough for weatherproofing an outdoor space to safely house a Hoist H100 home gym.
⚠️ CRITICAL WARRANTY WARNING: Hoist Fitness explicitly states that equipment used in non-climate-controlled or outdoor environments voids the manufacturer's warranty. The H100's lifetime frame warranty and parts warranties are contingent upon indoor, residential use. Any rust, pulley seizure, or cable degradation caused by moisture or UV exposure will not be covered.Material Vulnerabilities: Why the Hoist H100 Fails Outdoors
To understand the installation requirements, you must first understand the exact material vulnerabilities of the H100. This unit is constructed from 2x4 and 3x3-inch steel tubing, finished with an electrostatic powder coat. While highly durable against gym-floor impacts, this finish is not a marine-grade coating.
- UV Degradation: Direct sunlight breaks down the polymer chains in standard powder coating, leading to chalking, fading, and micro-cracking within 12 to 18 months.
- Guide Rod Pitting: The H100 utilizes dual 210-lb weight stacks that glide on precision steel guide rods. High ambient humidity causes microscopic pitting on these rods. Once pitted, the friction shreds the internal bushings, causing the weight stack to bind and potentially snap the 6mm nylon-coated aircraft cables.
- Pulley Bearing Seizure: The fiberglass-reinforced nylon pulleys contain sealed bearings. Extreme temperature fluctuations and driving rain compromise these seals, leading to rusted bearings that grind the cable sheath.
Phase 1: Foundation and Concrete Pad Specifications
You cannot install a 700+ lb functional trainer on a wooden deck, pavers, or existing patio slabs that lack proper load-bearing ratings. The H100 requires absolute leveling to ensure the weight stacks do not bind.
Pouring the Pad
According to the American Concrete Institute, a dedicated equipment pad should be poured independently of the main house foundation to prevent settling cracks. For an outdoor enclosure housing the H100 (which has a footprint of 71" L x 53" W x 90" H), you need a minimum 10x12 foot concrete pad.
- Excavation & Vapor Barrier: Dig to a depth of 8 inches. Lay down a 10-mil polyethylene vapor barrier to prevent ground moisture from wicking up into the concrete and raising the ambient humidity inside your future enclosure.
- Reinforcement: Use a #4 (1/2-inch) rebar grid spaced at 16 inches on center. This prevents the pad from cracking under the dynamic downward force of heavy cable crossovers.
- The Pour: Use 4000 PSI concrete with a broom finish. The pad must be perfectly level (within 1/8 inch over 10 feet). Allow a full 28-day cure time before anchoring the H100 or building the enclosure walls.
Phase 2: Engineering the Climate-Controlled Enclosure
To protect your Hoist H100 home gym from weather, you are essentially building a sunroom or a highly insulated pavilion. A simple pergola with a canvas roof is entirely insufficient.
Framing and Insulation
Frame the 10x12 structure using pressure-treated 2x6 lumber or structural steel. Because the H100 stands 90 inches tall, and you need clearance for pull-ups and overhead cable extensions, your interior ceiling height must be a minimum of 108 inches (9 feet). Insulate the walls and ceiling to a minimum of R-19 to prevent condensation from forming on the interior surfaces during temperature drops.
Glazing and UV Protection
If you are using large windows or polycarbonate panels to maintain that "outdoor" feel, they must be treated. Standard glass will create a greenhouse effect, pushing interior temperatures well past 110°F in the summer, which can warp the H100's cable housings. Specify Low-E (low-emissivity) tempered glass or UV-blocking multi-wall polycarbonate to block 99% of UV rays while managing solar heat gain.
Phase 3: HVAC and Dehumidification Strategy
This is where most outdoor gym builds fail. The EPA recommends keeping indoor relative humidity between 30% and 50% to prevent mold and structural degradation. For the steel guide rods and selector pins of the Hoist H100, you must keep humidity strictly below 45% at all times.
💡 Expert Sizing Tip: A 10x12 glass enclosure in direct sunlight requires roughly 12,000 to 15,000 BTUs of cooling capacity. Do not rely on portable AC units; they exhaust outside and create negative pressure, sucking in humid outdoor air through the wall seams. Install a dedicated ductless mini-split system (e.g., Mitsubishi or Daikin) with an integrated dehumidification mode.Phase 4: H100 Assembly and Environmental Tensioning
Once the enclosure is sealed and climate-controlled, you can unbox and assemble the Hoist H100. However, assembling a functional trainer in an environment that experiences even minor seasonal temperature shifts requires specific attention to cable tension.
The H100 utilizes roughly 30 feet of continuous 6mm aircraft cable per stack. Steel expands and contracts with temperature changes. A 20°F drop in your enclosure's temperature during winter nights can cause enough cable contraction to pull the weight stack slightly off the bottom bumper, while summer heat can introduce slack.
The Tensioning Protocol
- Assemble the unit with the enclosure stabilized at your target year-round temperature (e.g., 68°F).
- Locate the threaded turnbuckles at the base of the weight stacks where the cable terminates.
- Adjust the turnbuckles so that when the selector pin is removed, there is exactly 1/4 inch of slack in the cable. This prevents the top plate from rattling while ensuring the bottom plates rest flush when unselected.
- Maintenance: Re-check this tension bi-annually as the seasons change.
Weather Impact Matrix: Setup Scenarios
To illustrate the importance of this comprehensive walkthrough, review the projected lifespan of the Hoist H100 across different outdoor setup scenarios.
| Setup Scenario | Humidity / UV Control | Est. Lifespan Before Major Failure | Warranty Status |
|---|---|---|---|
| Fully Exposed (Patio/Deck) | None | 6 - 14 Months (Guide rod pitting, cable rust) | Voided |
| Covered Pergola (Open Air) | UV Blocked, High Humidity | 18 - 24 Months (Pulley seizure, weight stack binding) | Voided |
| Screened Porch (No HVAC) | Partial UV, Ambient Humidity | 2 - 3 Years (Selector pin corrosion) | Voided |
| Insulated Pavilion + Mini-Split | Full Climate & UV Control | 15+ Years (Standard indoor lifespan) | Valid (If deemed indoor) |
Ongoing Maintenance for Semi-Outdoor Environments
Even with a perfect enclosure, a gym situated in a backyard environment requires more rigorous maintenance than one inside a bedroom. Dust, pollen, and microscopic moisture will inevitably breach the seals of your pavilion.
"The number one cause of functional trainer failure in garage and patio gyms is the neglect of the guide rods. A simple wipe-down with a silicone-based lubricant every 30 days prevents the micro-oxidation that destroys the linear bearings."
— FitGearPulse Equipment Maintenance Guidelines, 2026
Implement this strict monthly maintenance checklist for your Hoist H100:
- Guide Rods: Wipe down with a microfiber cloth and apply 100% silicone spray. Never use WD-40 or petroleum-based lubricants, which attract dust and create an abrasive paste.
- Cable Inspection: Run a gloved hand along the entire length of the 6mm nylon-coated cables. If you feel any cracking in the nylon sheath, replace the cable immediately to prevent snapping under load.
- Pivot Points: Apply a drop of lightweight machine oil to the swivel joints on the cable handles and the pivot points of the adjustable pulley carriages.
- Selector Pins: Remove the weight stack selector pins, wipe away any metallic dust, and apply a dry PTFE (Teflon) lubricant to ensure smooth insertion.
The Final Verdict
Building an outdoor home gym setup that houses a premium unit like the Hoist H100 home gym is less about moving equipment outside and more about building a secondary indoor room in your backyard. If you are willing to invest the $8,000 to $15,000 required for a properly insulated, vapor-sealed, and climate-controlled pavilion, you can safely enjoy the aesthetic of outdoor training without sacrificing the longevity of your gear. However, if your plan involves leaving the H100 exposed to the open air or relying on a simple canvas canopy, we strongly advise pivoting to marine-grade, purpose-built outdoor fitness stations instead.
For more detailed specs, consult the official Hoist Fitness documentation or reach out to a local structural contractor to begin permitting your outdoor gym enclosure today.
More gear to consider
All reviews
Best Flooring for Home Gym in Basement Apartments & Small Spaces

How to Create a Home Gym in Small Spaces: Maintenance Guide

Great Home Gym Ideas: Complete Setup & Floor Plans
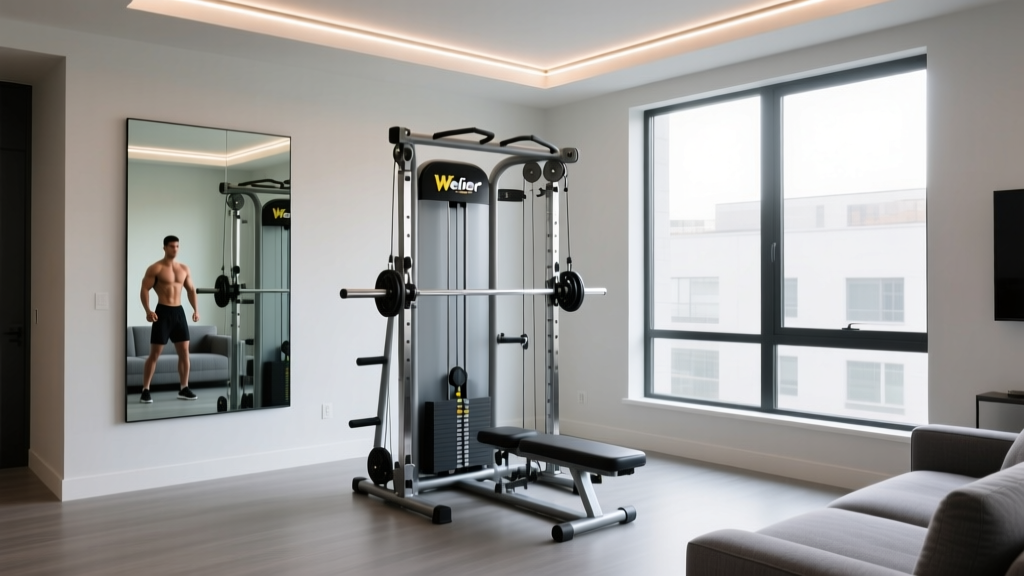
Weider Pro 4950 Home Gym: Best Mirrors and Lighting Compared

Marcy Stack Home Gym Setup: Mirror Placement & Lighting Kits Compared
