
Best Flooring for Home Gym in Basement Apartments & Small Spaces
Discover the best flooring for home gym in basement apartments. Our walkthrough covers moisture barriers, soundproofing, and space-saving layouts.

The Unique Challenge of Basement Apartment Gyms
Designing a home gym setup for small spaces and apartments is already a spatial puzzle. When that space is a basement apartment—such as an English basement, a garden-level unit, or a compact subterranean in-law suite—the complexity multiplies. You are no longer just managing square footage; you are battling concrete moisture vapor, strict noise ordinances, and low ceiling clearances. Selecting the right flooring for home gym in basement environments requires a strategic approach that balances heavy-duty impact resistance with acoustic decoupling and moisture management.
In this complete setup and installation walkthrough, we will bypass generic advice and dive into the exact building science, material specifications, and spatial zoning techniques required to build a high-performance, compact basement gym in 2026 without triggering mold growth or neighbor complaints.
⚠️ Critical Warning: The Vapor Drive TrapAccording to building science principles detailed by the Building Science Corporation, concrete slabs are essentially rigid sponges. Even if a basement feels dry to the touch, moisture vapor continuously migrates upward from the soil. If you lay non-permeable rubber gym mats directly over an untreated basement slab, you trap this vapor. This creates a micro-climate that guarantees black mold growth within 60 to 90 days, destroying your subfloor and posing severe respiratory risks.
Phase 1: Subfloor Assessment and Moisture Testing
Before purchasing a single square foot of rubber, you must quantify your basement's moisture vapor transmission rate (MVT). Guesswork leads to catastrophic flooring failures.
The ASTM F2170 Protocol
Forget the outdated plastic sheet tape test. The industry standard for concrete moisture testing is the ASTM F2170 Relative Humidity Probe Test. This involves drilling holes into the concrete slab to a depth of 40% of the slab's total thickness, inserting a sealed sleeve, and letting it acclimate for 24 hours before reading the digital probe.
- Below 75% RH: Safe for most standard vapor barriers and direct-to-slab interlocking tiles.
- 75% - 85% RH: Requires a dedicated 6-mil polyethylene vapor retarder or a specialty moisture-mitigating acoustic underlayment.
- Above 85% RH: Do not install impermeable gym flooring. You must first apply a penetrating concrete sealer (like a silane-siloxane water repellent) or a two-part epoxy moisture barrier system before proceeding.
Phase 2: The Acoustic and Moisture Underlayment Walkthrough
In a basement apartment, impact noise (dropping dumbbells, treadmill footfalls) travels through the foundation and framing, disturbing occupants in adjacent or upper-level units. You must decouple the gym floor from the concrete.
- Prep the Slab: Sweep and vacuum the concrete. Use a hydraulic cement patching compound to fill any divots or cracks wider than 1/16th of an inch. Allow 24 hours to cure.
- Lay the Vapor Barrier: Roll out 6-mil cross-woven polyethylene sheeting. Overlap seams by 6 inches and seal them with 3-inch wide, moisture-resistant seam tape. Run the poly up the walls by 2 inches to create a 'tub' effect.
- Install Acoustic Decoupling: Over the poly, lay down a high-density acoustic underlayment. Products like Impact Barrier QT (approx. $1.45 per sq. ft.) provide an Impact Insulation Class (IIC) rating boost of 20+ points, crucial for passing apartment noise codes.
Expert Insight: Never glue your acoustic underlayment to the concrete in a basement apartment. The floor system must 'float' to effectively absorb kinetic energy from dropped weights. Taping the seams of the underlayment is sufficient to prevent shifting during the top-layer installation.
Phase 3: Material Comparison for Compact Spaces
Space is at a premium in small apartment setups. Thick, wall-to-wall rubber makes a 12x12 room feel claustrophobic and limits multi-use functionality. Here is how the top flooring materials compare for compact basement gyms.
| Material Type | Thickness | Avg Cost (per sq. ft.) | Space & Acoustic Profile |
|---|---|---|---|
| Vulcanized Horse Stall Mats | 3/4" (18mm) | $1.80 - $2.20 | Maximum protection, heavy, high off-gassing in small, unventilated basements. |
| Interlocking Virgin Rubber Tiles | 8mm - 12mm | $3.50 - $5.00 | Low profile (saves ceiling clearance), tight seams, low odor. Ideal for apartments. |
| PVC Vinyl Gym Roll | 3mm - 5mm | $2.00 - $3.00 | Zero moisture absorption, easy to clean, but requires an acoustic pad underneath for dropping weights. |
| High-Density EVA Foam | 14mm | $0.80 - $1.20 | Poor for heavy lifting (compresses under squat racks), but excellent for yoga/mobility zones. |
The Verdict for Small Basements: 8mm interlocking virgin rubber tiles offer the best compromise. They preserve precious ceiling height (crucial for overhead presses in low-clearance basements), emit minimal VOCs in poorly ventilated spaces, and provide sufficient density for kettlebell and dumbbell work when paired with an acoustic underlayment.
Phase 4: Spatial Zoning for the Small Apartment Gym
In a compact basement apartment, wall-to-wall gym flooring is a design mistake. It visually shrinks the room and signals 'industrial garage' rather than 'livable space.' Instead, utilize flooring zoning.
Step-by-Step Zoning Layout
- The Heavy Zone (approx. 48 sq. ft.): Place your 8mm rubber tiles only under the squat rack, bench, and dumbbell tree. Use a beveled transition ramp on the exposed edges to prevent tripping hazards in a tight walkway.
- The Cardio/Mobility Zone: Leave the existing Luxury Vinyl Plank (LVP) or engineered hardwood exposed for the treadmill and yoga areas. This reflects light and makes the basement apartment feel 30% larger.
- The Transition: Use a T-molding strip (matching your LVP) to bridge the 1/2 inch height difference between the hard floor and the rubber gym zone. This creates a deliberate, architectural threshold that elevates the interior design of the small space.
Phase 5: Securing the Perimeter and Managing Drains
Basement apartments frequently feature floor drains or sump pump access hatches. You cannot block these with heavy rubber mats.
- Mapping Utilities: Identify all floor drains. Cut your rubber tiles to leave a precise 1-inch clearance around the drain grate.
- Perimeter Securing: In a floating floor setup, expansion and contraction can cause tiles to separate at the seams when heavy equipment is dragged across them. Apply a continuous bead of high-quality, double-sided acrylic carpet tape (such as Roberts Max Grip) only along the outer perimeter of your rubber zone, securing it to the vapor barrier—not the concrete.
- Wall Clearance: Leave a 1/4-inch gap between the rubber flooring and the basement drywall. Basement walls can weep during heavy spring rains; this gap allows moisture to evaporate rather than wicking up into your baseboards.
Frequently Asked Questions
Can I install a treadmill directly on basement carpet?
No. Basement carpets harbor dust mites and trap concrete moisture. Furthermore, the treadmill's motorized belt will pull the carpet fibers, causing premature wear on the machine's deck. Always place a 3/4-inch thick, high-density PVC equipment mat under treadmills in carpeted basement apartments to distribute the point-load and allow for easy vacuuming underneath.
How do I handle the 'basement smell' with rubber flooring?
Recycled tire rubber (stall mats) contains sulfur and VOCs that off-gas aggressively in the cool, damp, and poorly ventilated environment of a basement apartment. To avoid this, invest in virgin rubber or low-VOC EPDM tiles. If you must use recycled rubber, wash the mats outdoors with a mild dish soap solution and let them bake in the sun for 72 hours before bringing them down into the basement.
Will dropping weights crack my basement apartment's concrete slab?
Residential basement slabs are typically 4 inches thick with a compressive strength of 3,000 PSI. Dropping a 50 lb dumbbell from shoulder height will not crack the structural slab. However, it will crack the thin layer of self-leveling compound or brittle tile finishes often found in finished basement apartments. The combination of an acoustic underlayment and 8mm+ rubber is mandatory to absorb the kinetic shockwave and protect your landlord's subfloor.
More gear to consider
All reviews
Designing Gym Rooms at Home for Couples: Step-by-Step

Strength Setup Guide: Installing Flooring for Home Gym Over Carpet
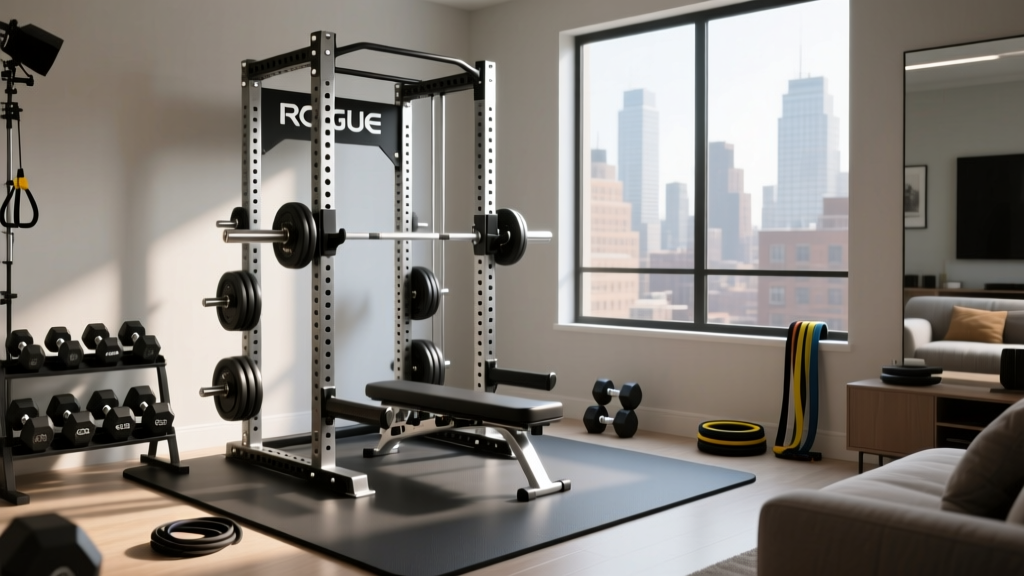
Rogue Home Gym Setup: Apartment Maintenance & Care
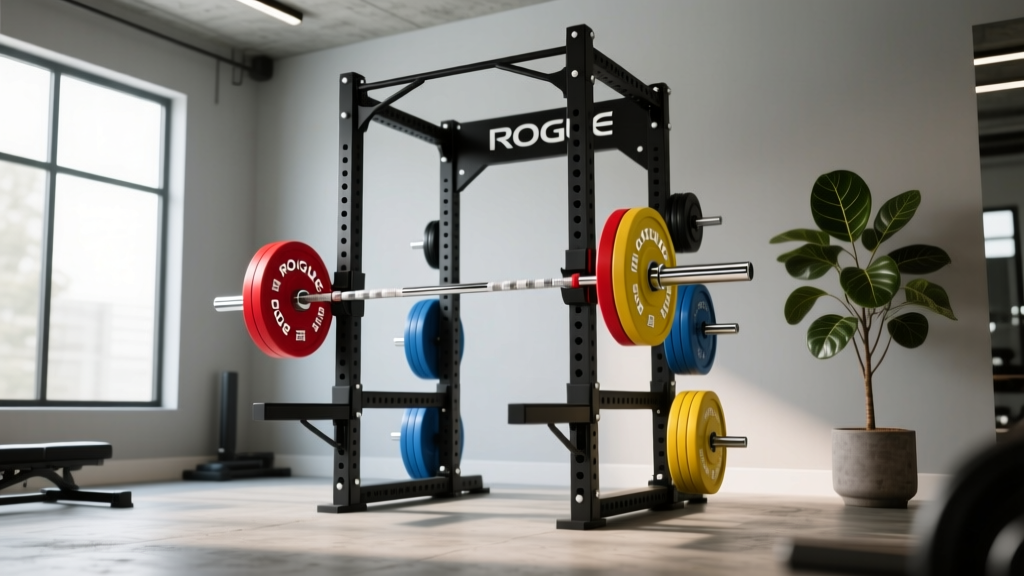
The Rouge Home Gym Starter Kit: Best Rogue Gear 2026

Build an Ilia Topuria Home Gym: Step-by-Step Layout Guide
