Bowflex Xtreme 2 SE Home Gym: Complete Setup & Installation Guide
Master your Bowflex Xtreme 2 SE home gym setup. Expert walkthrough covering space planning, assembly, cable routing, and strength config.

Transforming Your Space: The Bowflex Xtreme 2 SE Home Gym Setup
Configuring a dedicated strength training zone around a cable-based resistance machine requires more than just clearing out a corner of your garage. The Bowflex Xtreme 2 SE home gym remains a cornerstone for residential fitness due to its versatile pulley system and compact footprint. However, improper installation is the leading cause of cable derailment, power rod fatigue, and frame instability. According to safety guidelines aligned with ACE Fitness home gym standards, ensuring adequate clearance and proper flooring is just as critical as the mechanical assembly. This comprehensive walkthrough will guide you through the exact spatial requirements, assembly nuances, and strength training configurations needed to get the most out of your Xtreme 2 SE.
Phase 1: Spatial Assessment and Flooring Foundation
Before unboxing, you must verify your room dimensions. The assembled footprint of the Xtreme 2 SE is roughly 8 feet 6 inches long by 7 feet wide, with a height of 7 feet. However, the operating envelope requires a minimum of 2 feet of clearance on all sides to accommodate the lat pulldown bar width and the full swing of the leg extension attachment.
Warning: Overhead ClearanceDo not install this machine in a basement with low-hanging ductwork or a garage with an automatic door track lower than 7 feet 6 inches. The lat tower requires full vertical clearance, and users performing standing overhead presses will need an additional 12 to 18 inches of headroom above the 7-foot frame.
Flooring Specifications
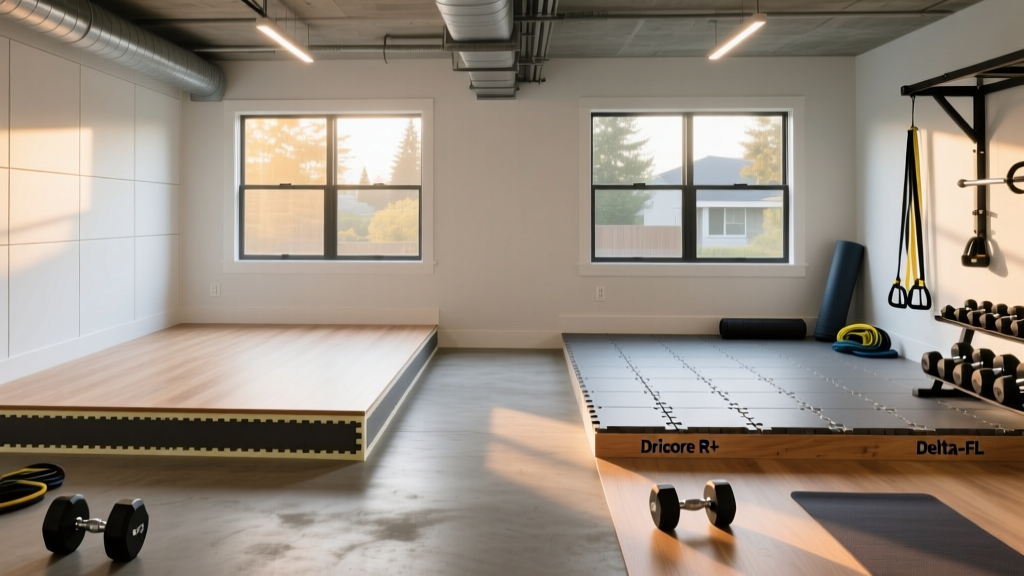
Skip the interlocking EVA foam tiles; they compress unevenly under the 336-pound assembled weight of the machine, leading to an unlevel frame and misaligned pulleys. Instead, invest in 3/4-inch thick vulcanized rubber mats (commonly sold as horse stall mats). A standard 4x6 foot mat costs around $50 to $60 and provides the dense, non-compressible base required to keep the machine's feet perfectly planted during heavy squats and deadlifts. If installing in a concrete basement, lay down a 6-mil polyethylene moisture barrier beneath the rubber to prevent rust on the machine's base plates.
Phase 2: Unboxing and Tool Preparation
The Bowflex Xtreme 2 SE ships in multiple boxes weighing a combined 420 pounds. The most common failure point during home gym builds is losing track of the hardware. Open all boxes and organize the bolts, washers, and Nyloc nuts into categorized bins. Do not skip the inventory step outlined in the manual.
Required Tool Kit
While Bowflex provides basic Allen wrenches, you will save hours of frustration and ensure proper torque by gathering the following tools:
- 17mm socket wrench and ratchet
- 13mm open-end wrench
- #2 Phillips head screwdriver (magnetic tip preferred)
- Rubber mallet (for seating the power rods and pulley pins)
- Standard bubble level (critical for frame squaring)
Phase 3: Core Assembly and Frame Squaring
When bolting the base frame together, the golden rule of structural assembly applies: leave all bolts finger-tight until the entire base is assembled. Once the base rectangle is formed, use your bubble level and a tape measure to check the diagonals. If the diagonal measurements from corner to corner are not identical, the frame is out of square. Forcing the bolts tight on an out-of-square frame will cause the vertical uprights to lean, which will ultimately cause the cables to track poorly and wear out the nylon pulley wheels prematurely.
Installing the Polybutylene Rubber (PBR) Power Rods
The Xtreme 2 SE utilizes PBR power rods for its 210 pounds of standard resistance. When sliding the rods into the rear carriage, ensure the protective plastic caps are completely removed and the rods are seated deeply into the base sockets. Use the rubber mallet to gently tap them into place. Never pry or bend the rods laterally during installation, as this can cause micro-tears in the rubber compound, leading to premature snapping under tension.
Phase 4: Cable Routing and Tensioning (The Critical Step)
Based on extensive teardowns and user feedback documented by Garage Gym Reviews, cable routing is where 90% of assembly errors occur. The Xtreme 2 SE features a complex 'S' curve routing system designed to multiply resistance and smooth out the force curve.
Expert Tip: Always route the cables from the power rod carriage forward toward the user, following the exact numbering diagram in the manual. If a cable feels loose or 'slack' when the weight selector is engaged, you have likely bypassed a floating pulley. Stop immediately and re-thread.
Pay special attention to the lower lat pulley and the squat belt pulley. These cables run close to the floor and are prone to derailing if the tension isn't maintained while securing the final cable anchor bolts. Have a second person pull the cable taut while you tighten the terminal bolt with your 17mm socket.
Phase 5: Strength Training Configuration and Upgrades
Out of the box, the 210-pound resistance is sufficient for hypertrophy and general conditioning, but advanced lifters will quickly max out the PBR rods on compound movements like squats and chest presses.
Upgrading to 310 lbs or 410 lbs
The Xtreme 2 SE is designed with an upgrade path. Installing the 310 lb or 410 lb upgrade kit requires sliding additional, thicker PBR rods into the empty outer slots on the carriage. Note: Upgrading the resistance requires swapping out the standard cables for the heavier-duty braided steel cables included in the upgrade kit. Do not attempt to pull 410 pounds of resistance using the factory 210 lb cables; the swage terminals will fail.
Competitor Comparison Matrix
How does the Xtreme 2 SE footprint and configuration compare to other staple home gym systems? Use this matrix to validate your spatial planning.
| Feature | Bowflex Xtreme 2 SE | Marcy MWM-990 | Total Gym XLS |
|---|---|---|---|
| Resistance Type | PBR Power Rods (Cable) | Weight Stack (150 lbs) | Bodyweight Incline |
| Max Resistance | 410 lbs (Upgraded) | 150 lbs | ~65% Bodyweight |
| Required Footprint | 8'6" L x 7' W | 6'8" L x 5'5" W | 7'8" L x 1'7" W |
| Assembly Time | 6-8 Hours | 4-5 Hours | 1-2 Hours |
Maintenance and Edge Case Troubleshooting
To maintain the structural integrity and smooth operation of your home gym configuration, implement the following maintenance protocols:
- Power Rod Fatigue: PBR rods can 'take a set' (bend permanently) if left under tension or exposed to extreme heat. Never store the machine in a garage that exceeds 105°F (40°C) in the summer, and always ensure the weight selector pins are fully disengaged when the machine is not in use.
- Cable Lubrication: Every 6 months, apply a light coat of 100% silicone spray to the guide rods and the cable shafts. Never use WD-40 or petroleum-based lubricants, as these will degrade the nylon pulleys and attract abrasive dust.
- Hardware Retorquing: After the first 30 days of heavy strength training, the frame will settle. Go back with your 17mm socket and retorque all structural bolts, paying special attention to the lat tower base brackets.
By meticulously following these spatial, mechanical, and maintenance guidelines, your Bowflex Xtreme 2 SE home gym will provide a safe, highly effective strength training environment for years to come.
More gear to consider
All reviews
The Best Gold's Gym Home Gym Machines for Couples & Shared Use
Speediance Home Gym Review vs $500 Budget Setup: Which Wins?
CAP Strength Home Gym Weight Guide: How Much Do You Need?

Smart Gifts for Home Gym: Mirror & Lighting Budget Guide
Space-Saving DIY Home Gym: Compact Foldable Solutions