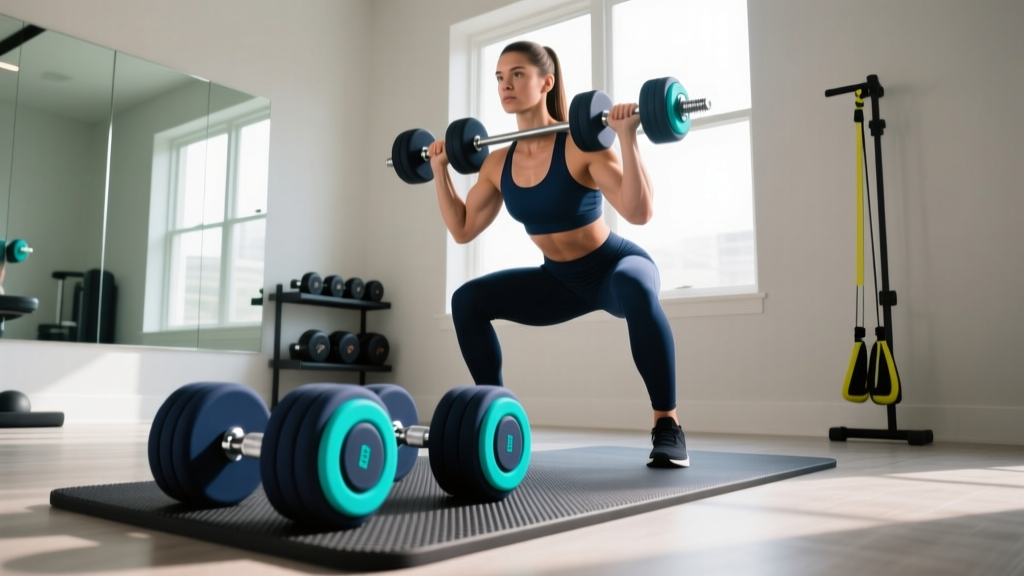
Optimizing Gym Layouts: Watson Dumbbell Rack & Storage Solutions
Optimize your home or commercial gym layout with our expert guide to Watson dumbbell storage, rack selection, and space-saving floor plans.

The Architecture of Premium Iron: Why Storage Dictates Workflow
When you invest in high-end fitness equipment, the gear itself is only half the equation; how you store and access it defines your training efficiency. In the realm of free weights, Watson Fitness Equipment represents the pinnacle of commercial-grade manufacturing. Known for their meticulously contoured handles, precision-machined aluminum or steel heads, and ultra-durable urethane coatings, Watson dumbbells are a significant financial and spatial commitment.
However, a $5,000 to $15,000 dumbbell set quickly becomes a hazardous, space-consuming liability if paired with an inadequate rack or a poorly planned gym layout. Space optimization in 2026 is no longer just about cramming equipment into a spare bedroom or garage; it is about engineering a biomechanically efficient workflow that respects the physical footprint of premium gear, ensures structural safety, and maximizes your usable training square footage.
Understanding the Watson Dumbbell Footprint
Before selecting a rack or drawing a floor plan, you must understand the specific dimensional and weight profiles of Watson dumbbells. Unlike cheap vinyl or cast-iron hex dumbbells, Watson’s urethane and pro-elite lines feature larger, more robust heads to protect both the flooring and the internal steel cores.
Weight and Dimensional Realities
- The 5 to 50 lb Set (5 lb increments): This 20-pair set totals 1,100 lbs. The physical footprint of the larger 50 lb dumbbells requires a cradle depth of at least 8.5 inches to prevent overhang and tipping.
- The 52.5 to 100 lb Set (5 lb increments): This heavy-duty 20-pair set tips the scales at a massive 3,050 lbs. The 100 lb Watson dumbbells are exceptionally dense, requiring heavy-duty 11-gauge or 7-gauge steel cradles with reinforced welding at the stress points.
Rack Typologies: A-Frame vs. Horizontal 3-Tier
Choosing the right rack is the foundational step in space optimization. The two dominant storage solutions for premium urethane dumbbells are the A-Frame and the Horizontal 3-Tier. Each serves a distinctly different spatial purpose.
| Feature | Horizontal 3-Tier Rack | A-Frame Dumbbell Rack |
|---|---|---|
| Footprint (L x W) | ~86" x 24" (Wall-hugging) | ~48" x 48" (Freestanding) |
| Space Efficiency | High (utilizes dead wall space) | Moderate (consumes central floor space) |
| Heavy Weight Access d> | Excellent (waist-level heavy tiers) | Poor (heavy weights at bottom, awkward lift) |
| Ideal Environment | Commercial gyms, wide home gyms | Boutique studios, narrow galley gyms |
| Watson Compatibility | Requires wide cradles (urethane fit) | Verify top-tier clearance for large heads |
Why Horizontal Wins for Heavy Watson Sets
For sets exceeding 60 lbs, the horizontal 3-tier rack is the undisputed champion of layout design. According to facility design guidelines highlighted by the National Strength and Conditioning Association (NSCA), minimizing spinal flexion and awkward twisting during equipment retrieval is paramount for injury prevention. A 3-tier horizontal rack places the heaviest Watson dumbbells on the bottom tier (approx. 12 inches off the floor) and the mid-weights at waist height, allowing for a safe, neutral-spine deadlift or squat to retrieve the iron.
Spatial Layout: The 'Triangle of Efficiency'
Once the rack is selected, you must integrate it into your gym's floor plan. The most effective layout methodology for free weight zones is the Triangle of Efficiency. This concept maps the three primary nodes of a dumbbell workout: The Rack, The Bench, and The Open Floor (for dynamic movements).
Step-by-Step Layout Implementation
- Node 1: The Rack Anchor. Place your horizontal Watson rack against the longest unbroken wall. Ensure there is a minimum 36-inch clearance in front of the rack. This 3-foot zone is non-negotiable; it provides the necessary space to safely extract a 90 lb dumbbell, pivot, and walk away without clipping your elbows on a wall or mirror.
- Node 2: The Bench Alignment. Position your adjustable bench at a 45-degree angle from the center of the dumbbell rack, approximately 6 to 8 feet away. This angle allows you to maintain a line of sight to the rack (helpful for tracking available weights in a shared space) and minimizes the walking distance while carrying heavy loads.
- Node 3: The Open Floor Perimeter. Reserve the remaining central space for standing exercises (lunges, goblet squats, farmer's carries). Keep this zone completely free of plate trees, kettlebells, or resistance band anchors.
'A well-designed strength facility prioritizes unobstructed traffic flow. Equipment storage should act as a perimeter boundary, defining the active training zone rather than encroaching upon it.' — Principles of Athletic Facility Design
Edge Cases and Real-World Troubleshooting
Even with a perfect blueprint, physical spaces present unique challenges. Here are specific troubleshooting scenarios when installing Watson dumbbell storage.
The Wall-Proximity Overhang Issue
When placing a 3-tier rack against a wall, many gym owners push the rack flush against the baseboard. This is a critical error. Watson urethane dumbbells, particularly in the 40-50 lb range, have a wide profile. If the rack is flush, the handles or heads of the top-tier dumbbells may scrape against your drywall or mirrors when being lifted out of the cradle. Solution: Install a 4-inch to 6-inch wooden batten or rubber spacer behind the rack's rear feet to create a standoff gap.
Point-Load and Flooring Compression
A fully loaded 5-50 lb Watson set on a 3-tier rack concentrates 1,100 lbs into four small steel feet (usually 2x2 inches). This creates a point-load pressure of nearly 275 PSI per foot. Standard 1/2-inch EVA foam puzzle mats will instantly compress, bottom out, and cause the rack to sink and become unlevel, leading to dumbbells rolling out of their cradles.
The 2026 Flooring Standard: You must use a minimum of 3/4-inch vulcanized rubber flooring (like horse-stall mats or commercial gym tiles) beneath the rack. For second-floor home gyms or over-garage setups, consult a structural engineer to ensure the floor joists can handle a 1,200 lb dynamic point load, and consider laying a 3/4-inch plywood sub-layer beneath the rubber to disperse the weight across multiple joists.
Final Layout Checklist for Watson Integration
Before finalizing your gym layout and bolting your racks to the floor (if applicable), run through this optimization checklist:
- [ ] Clearance Check: Is there a full 36 inches of unobstructed walking space in front of the entire length of the rack?
- [ ] Cradle Fitment: Have you verified that the rack's cradle width accommodates the specific width of Watson's urethane heads without forcing them to rest on the handle?
- [ ] Lighting Angles: Are overhead lights positioned so that users do not cast shadows over the weight numbers when standing in the retrieval zone?
- [ ] Baseboard Protection: Is there a wall guard or standoff gap to prevent the heavy steel rack from crushing drywall during minor seismic shifts or accidental bumps?
Optimizing your gym for Watson dumbbells is an exercise in respecting the equipment. By pairing these premium weights with the correct horizontal storage solution, calculating your point-loads, and engineering a spatial layout that prioritizes biomechanical safety, you transform a cluttered room into a high-performance training facility.
More gear to consider
All reviews
Dumbbell Shrugs Exercise Guide: Rubber Hex vs Urethane Value Analysis

Best Neoprene Dumbbells for Home Use & Mid Chest Dumbbell Press
Bumper vs Iron Plates & Dumbbell Bench vs Barbell Bench Budget Guide
Decathlon Dumbbells & Weights: Bumper vs Iron Plate Comparison

Bumper vs Iron Plates: Budgeting for Dumbbell Back Lunges & Squats