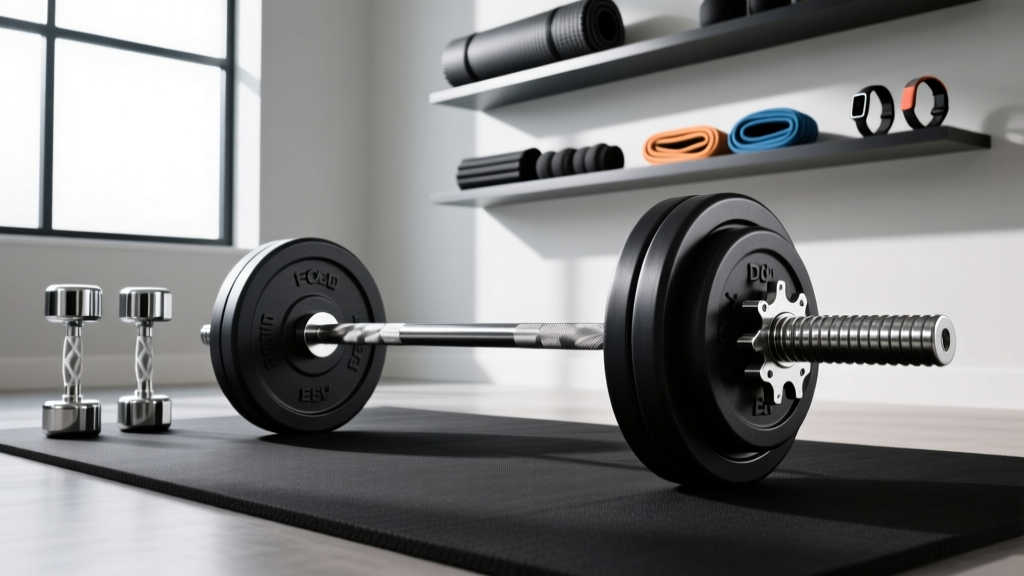
Beyond Upward Row Dumbbells: Barbell Collar Clamp Setup
Moving from upward row dumbbells to heavy barbells? Read our complete setup walkthrough and comparison of barbell collars and clamps for maximum safety.

Mastering isolation movements like upward row dumbbells is a fantastic way to build foundational shoulder and trap strength in a home gym. However, as your training evolves in 2026 and you transition to heavy, bilateral barbell compound lifts, the safety dynamics of your equipment must evolve as well. When you are loading 300+ pounds onto an Olympic barbell, the margin for error shrinks to zero. A shifting weight plate during a heavy squat, deadlift, or barbell upright row can cause a catastrophic barbell tilt, leading to severe injury.
This is where selecting and properly installing the right barbell collars and clamps becomes non-negotiable. In this complete setup and installation walkthrough, we will compare the leading collar types on the market, break down the exact physics of sleeve tolerances, and provide a step-by-step installation protocol to ensure your barbell remains perfectly balanced under maximum load.
The Anatomy of a Safe Barbell Setup: Understanding Sleeve Tolerances
Before comparing collar types, you must understand the hardware you are clamping onto. A true International Weightlifting Federation (IWF) standard Olympic barbell sleeve measures exactly 50mm (1.968 inches) in diameter. However, as the home gym market has expanded, many budget-friendly bars manufactured for entry-level lifters feature sleeves that measure between 48.5mm and 49.5mm.
⚠️ CRITICAL WARNING: If you are using rigid aluminum clamps on a budget 49mm barbell sleeve, the clamp will not achieve proper surface tension. During dynamic movements like power cleans or bumper plate drops, the clamp will slide outward, causing the plates to shift laterally. Always measure your barbell sleeve with digital calipers before purchasing rigid collars.Barbell Collar and Clamp Types Comparison Matrix
Not all collars are created equal. The transition from lighter dumbbell work to heavy barbell loading requires a collar that can withstand high rotational inertia and lateral friction. Below is a comprehensive comparison of the primary collar types available in 2026, based on extensive testing and industry data from Garage Gym Reviews and BarBend.
| Collar Type | Model Example | Avg. Price (Pair) | Security Level | Best Use Case | Primary Failure Mode |
|---|---|---|---|---|---|
| Spring Clips | Generic Chrome Springs | $10 - $15 | Low | Light isolation, warm-ups | Spring tension fatigue; slips on drops |
| Plastic Clamp | Lock-Jaw Pro | $30 - $35 | Medium-High | General powerlifting, home gyms | Cam-lever hinge cracking in cold garages |
| Aluminum Lever | Rogue HG 2.0 Collars | $35 - $40 | High | Heavy Olympic lifts, CrossFit | Rubber grip pad degradation over time |
| Competition Lever | Eleiko IPF Collars | $95 - $120 | Maximum | IPF/USAPL Meets, Elite lifting | Over-tightening stripping the inner band |
"For sanctioned powerlifting meets, IPF Technical Rules mandate that competition collars must weigh exactly 2.5 kg each, effectively acting as part of the total loaded weight. For home gym owners, the Rogue HG 2.0 remains the gold standard for balancing cost, durability, and grip on true 50mm sleeves."
Step-by-Step Installation & Locking Walkthrough
Selecting the right clamp is only half the battle. Improper installation is the leading cause of plate shift. Follow this exact protocol every time you load your barbell.
Step 1: Sleeve Decontamination
Chalk, sweat, and oxidized zinc create a slippery barrier between the barbell sleeve and the collar's rubber grip. Before loading plates, wipe down the outer 3 inches of the barbell sleeve with a microfiber cloth lightly dampened with mineral spirits or 3-in-One oil. This removes microscopic chalk dust and restores maximum friction.
Step 2: Plate Seating and Gap Measurement
Slide your bumper or steel plates onto the sleeve, ensuring the innermost plate is seated completely flush against the barbell's inner lip. When placing your collar (e.g., the Lock-Jaw Pro or Rogue HG 2.0), do not push it completely flush against the outer plate. Leave a precise 1/8-inch to 1/4-inch gap between the collar's rubber pad and the plate. This gap allows the cam-lever to pull the collar inward, creating a vice-like clamping force that locks the plates together. If you push the collar flush before locking, the lever will only secure the collar to the bar, leaving the plates free to rattle and shift.
Step 3: Cam-Lever Engagement
For aluminum and reinforced nylon clamps, push the primary lever down until you hear the secondary safety latch click into place. The lever should require significant thumb pressure to close. If it closes too easily, your sleeve diameter is likely undersized (sub-49.5mm), or the internal rubber O-ring has compressed permanently.
Step 4: The Dynamic Shake Test
Before stepping under the bar, lift the loaded barbell off the floor and perform a controlled, sharp lateral shake. Listen for the sound of metal-on-metal clanking. If the plates rattle, the collar is not generating enough inward lateral pressure. Unlock, adjust the 1/4-inch gap, and re-engage the lever.
Troubleshooting Common Collar Failures
Even premium equipment experiences wear and tear. Here is how to troubleshoot the most common failure modes encountered by serious lifters.
- Problem: The aluminum lever collar slips off during bumper plate drops from overhead.
Diagnosis: The shockwave from the drop travels up the sleeve, overcoming the static friction of the rubber pad.
Solution: Switch to a competition-style spin-lock collar with an internal steel band, or apply a single wrap of athletic tape to the barbell sleeve to artificially increase the diameter and friction coefficient. - Problem: The plastic hinge on a Lock-Jaw clamp snaps during engagement.
Diagnosis: Glass-reinforced nylon becomes highly brittle in temperatures below 50°F (10°C). If your home gym is an uninsulated garage in winter, the plastic will shatter under lever pressure.
Solution: Store plastic clamps indoors at room temperature, or upgrade to machined aluminum collars which are impervious to cold-weather fatigue. - Problem: Competition lever collars leave deep gouges in steel plates.
Diagnosis: The steel tension band inside the collar is exposed due to worn rubber housing.
Solution: Inspect the inner band monthly. Once the rubber lining wears through to the metal, the collar must be retired or sent back to the manufacturer for a rebuild.
Maintenance and Storage Protocols
To maximize the lifespan of your investment, never leave clamps locked onto the barbell when not in use. The constant tension compresses the internal rubber pads and stresses the nylon hinges, leading to premature memory-set and loss of clamping force. Store your collars on a dedicated wall-mounted peg or in a drawer, away from direct UV sunlight which degrades the rubberized grip compounds over time. Wipe them down monthly with a damp cloth to remove accumulated magnesium carbonate (chalk) from the lever mechanisms.
Frequently Asked Questions
Can I use standard spring clips for heavy deadlifts?
No. Spring clips only provide minimal inward pressure. While they are fine for lightweight isolation exercises or the initial learning phases of upward row dumbbells, they will slide outward during heavy deadlifts where the barbell flexes and vibrates against the floor.
Do barbell collars affect the total weight of the lift?
In casual home gym settings, the 0.5 lbs to 1 lb weight of standard clamps is negligible. However, in sanctioned powerlifting or weightlifting competitions, the collars are factored into the total barbell weight (often adding 5kg or 5.5lbs total to the bar), which is vital to know when calculating your exact working percentages.
By respecting the transition from lighter dumbbell movements to heavy barbell loading, and by meticulously selecting and installing the correct collars, you ensure that your home gym remains a safe environment for progressive overload for years to come.
More gear to consider
All reviews
How Much Are 30 Pound Dumbbells & Best Storage Racks

American Barbell Dumbbells & Kettlebell Budget Guide
Barbell Guide: Knurling & Bent Over Dumbbell Rows Muscles Worked

Rubber vs Urethane: Gear for a Five Minute Dumbbell Workout (2026)
Dumbbell Rows vs Cable Rows: Budget & Dumbbell Rack Value Guide
