Strongman Dumbbell Setup: Barbell Collar and Clamp Types Compared
A complete setup walkthrough for loading a strongman dumbbell, comparing thick-bar collars, hitch-pin clamps, and axle locks for secure heavy lifting.

The Unique Challenge of the Strongman Dumbbell Sleeve
Setting up a strongman dumbbell for heavy cleans, snatches, or presses requires far more attention to detail than loading a standard Olympic barbell. The defining feature of these implements—the thick handle and oversized sleeve—renders standard 50mm barbell collars completely useless. When you are hoisting a 150lb to 200lb implement like the Rogue Strongman Dumbbell or a specialized Apollon-style replica, the rotational inertia generated during the clean phase will violently shake loose any clamp not specifically engineered for thick-axle sleeves.
CRITICAL SAFETY WARNING: Standard 50mm spring clips, standard lock-jaw clamps, and basic snap-collars will slide off a 2-inch or 2.5-inch sleeve under rotational load. A shifting plate during a heavy clean can alter the center of gravity mid-air, resulting in severe bicep tears, wrist fractures, or catastrophic drops.This complete setup and installation walkthrough will guide you through the exact process of preparing, loading, and securing a strongman dumbbell, featuring a deep-dive comparison of the barbell collar and clamp types that actually work for thick-handled implements.
Step-by-Step Setup: Loading and Securing Your Implement
Before selecting your clamp, you must properly prep the sleeve and load the plates. Strongman dumbbells have shorter sleeves than standard barbells, meaning plate width and hub depth matter immensely.
Step 1: Sleeve Measurement and Preparation
First, verify the outer diameter (OD) of your sleeve. A standard Olympic sleeve is 1.96 inches (50mm). However, strongman implements vary wildly:
- Standard Strongman Dumbbells (e.g., Rogue): 2.0 inches (50.8mm) OD.
- Heavyweight/Axle Dumbbells (e.g., Sorinex Diamond Back): 2.5 inches (63.5mm) OD.
Prep Action: Use a stiff nylon brush to scrub the sleeve. Chalk dust and gym grime act as a dry lubricant, reducing the friction coefficient between the steel sleeve and the collar by up to 40%. Wipe the sleeve down with a microfiber cloth and a light degreaser before loading.
Step 2: Plate Selection and Loading
Because strongman dumbbell sleeves are typically shorter (often around 12 to 15.5 inches), using thick bumper plates can quickly eat up your loadable sleeve length. For maximum weight and optimal collar placement, use calibrated steel plates or competition-grade thin bumpers. Slide the plates on flush against the inner sleeve flange to minimize lateral play.
Step 3: Collar Application and Torque
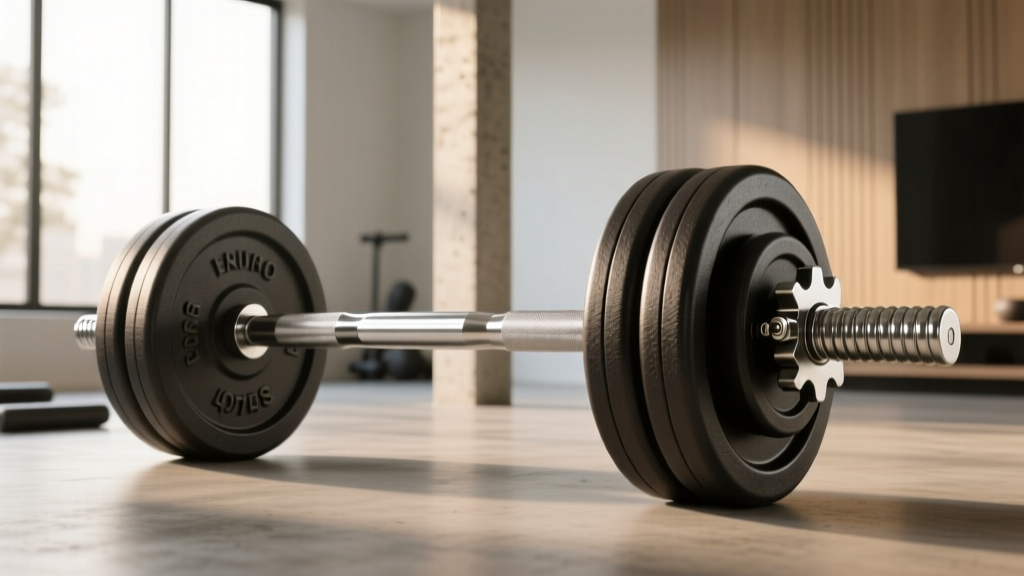
Push the selected thick-bar collar completely flush against the outermost plate. There should be zero visible gap between the plate and the collar face. Once seated, engage the locking mechanism (detailed in the comparison matrix below) and perform the 'Shake Test'—grip the dumbbell handle and violently shake the implement. If you hear metallic clicking or see lateral plate movement, the collar has failed the installation test.
Barbell Collar and Clamp Types: A Thick-Bar Comparison Matrix
Not all heavy-duty clamps are created equal. Below is a technical comparison of the primary clamp categories used in strongman training, evaluated specifically for their efficacy on oversized dumbbell sleeves.
| Clamp Type | Max OD Fit | Rotational Grip | Lateral Security | Est. Price Range |
|---|---|---|---|---|
| Screw-Down Friction Axle Collars | 2.0' to 2.5' | Excellent | Maximum | $45 - $75 / pair |
| Oversized Polymer Clamps (e.g., Lock-Jaw Pro Fat) | Up to 2.25' | Good | High | $35 - $45 / pair |
| Set-Screw Axle Collars | 2.0' to 3.0' | Maximum | Maximum | $60 - $90 / pair |
| Heavy-Duty Spring Clips (e.g., Ivanko OB-2) | Up to 2.0' | Poor | Low to Moderate | $15 - $25 / pair |
Deep Dive: Top Clamp Solutions for Strongman Implements
Based on extensive gym testing and strongman competition standards, here is how the top collar types perform in real-world scenarios. For more general insights on collar mechanics, the BarBend guide to barbell collars provides excellent baseline physics, though strongman implements require specialized adaptations.
1. Screw-Down Friction Axle Collars (The Gold Standard)
Collars like the Rogue Axle Collars utilize a threaded bolt that drives a brass or nylon insert directly against the steel sleeve. Because they rely on immense localized friction rather than a spring-loaded catch, they are virtually immune to the rotational forces generated during a dumbbell clean. Installation Tip: Use a hex key or a dedicated tightening lever to apply maximum torque. Hand-tightening is insufficient for loads exceeding 100lbs.
2. Oversized Polymer Clamps (The Quick-Change Option)
The Lock-Jaw Pro Fat is engineered specifically for fat grips and axle bars, accommodating sleeves up to 2.25 inches. They use a dual-clip polymer ratchet system. While they are significantly faster to install and remove than screw-down collars (ideal for medley events where you must strip and load implements quickly), they can struggle on 2.5-inch Sorinex-style sleeves. Furthermore, polymer teeth can wear down over time if repeatedly clamped onto rusted or heavily knurled sleeves.
3. Set-Screw Axle Collars (The Permanent Grip)
Set-screw collars feature a hardened steel point that physically bites into the sleeve when tightened via an Allen key. While this offers unparalleled, zero-slip security, it comes with a major drawback: it will permanently mar and gouge the steel sleeve of your strongman dumbbell. Only use set-screw collars on dedicated, cheap axle implementations, never on premium, powder-coated competition dumbbells.
Expert Insight on Rotational Inertia: When you clean a strongman dumbbell, the plates do not just move vertically; they spin violently around the thick axis of the handle. If your collar secures the plates together but fails to grip the sleeve itself, the entire stack of plates will slide outward as a single unit. This shifts the center of mass away from your wrist mid-catch, often resulting in a missed lift or a torn rotator cuff. The collar MUST lock both the plates and the sleeve simultaneously.
Real-World Failure Modes and Edge Cases
Even with the right equipment, setup errors lead to catastrophic failures. Watch out for these specific edge cases:
- The Bumper Plate Hub Gap: Some older bumper plates have raised rubber hubs that protrude past the steel insert. If the outermost plate has a raised hub, the collar will sit flush against the rubber rather than the steel insert. Under load, the rubber compresses, creating a gap that allows plates to rattle and shift. Fix: Always use a thin steel change plate (e.g., a 2.5lb or 5lb flat steel plate) as the outermost plate to provide a hard, flat surface for the collar to clamp against.
- Chalk Dust Build-up: As mentioned in Step 1, chalk is the enemy of friction collars. If you are running a strongman medley and chalk is flying everywhere, wipe the sleeve with a damp rag between every single event. A screw-down collar slipping on a chalk-covered sleeve is a leading cause of gym accidents.
- Cross-Threading Axle Collars: When rushing to set up a heavy dumbbell, it is easy to cross-thread the bolt on a screw-down collar. This strips the internal nylon insert, rendering the collar useless. Always start the thread by hand, turning counter-clockwise until you feel the threads 'drop' into place, before tightening clockwise.
Final Walkthrough Checklist
Before stepping up to the bar for your heavy working sets, run through this 5-point installation checklist:
- Measure: Confirmed sleeve OD matches the collar's specified maximum capacity (e.g., 2.0' vs 2.5').
- Clean: Sleeve is completely free of chalk dust, sweat, and oil.
- Load: Plates are pushed flush against the inner flange; outermost plate has a flat steel surface.
- Clamp: Collar is pushed completely flush against the outer plate with zero lateral gap.
- Torque & Test: Collar is fully tightened with a tool (if applicable), followed by a violent manual shake test to verify zero plate rattle or collar rotation.
Securing a strongman dumbbell is not an afterthought; it is a critical component of your lifting mechanics. By matching the correct collar mechanism to your specific implement's sleeve diameter, you ensure that the only thing failing during your workout is your grip, not your equipment.
More gear to consider
All reviews
Barbell Collar Types Comparison & Dumbbell Lunges with Bench Fixes
Barbell Collar and Clamp Types Comparison: Securing the Drag Curl with Dumbbells
EZ Curl Bar vs Straight Bar & Barbell vs Dumbbell Row
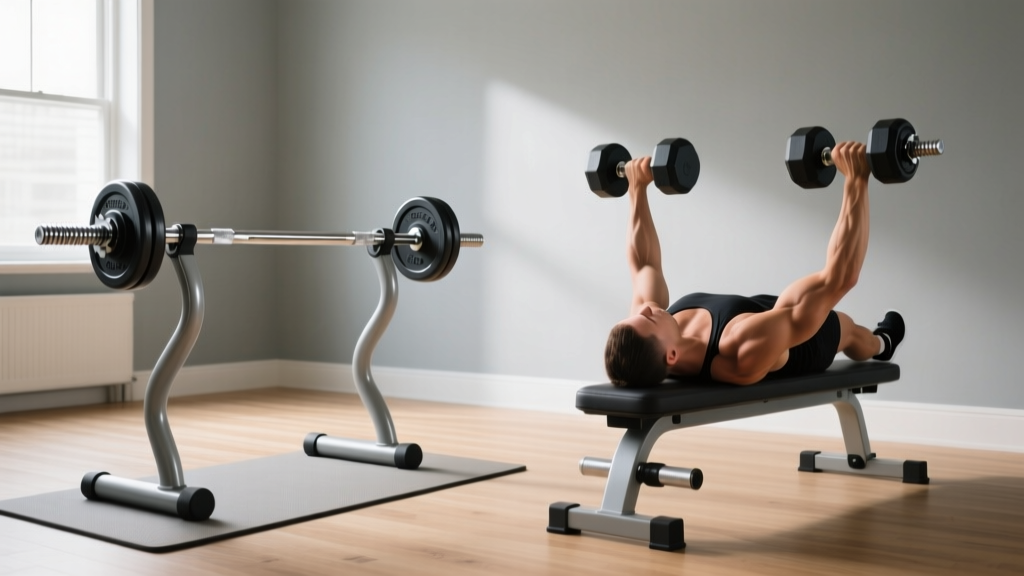
EZ Curl Bar vs Straight Bar & Lying Dumbbell Triceps Extensions

Loadable Dumbbell Care for Rear Delt Workouts with Dumbbells