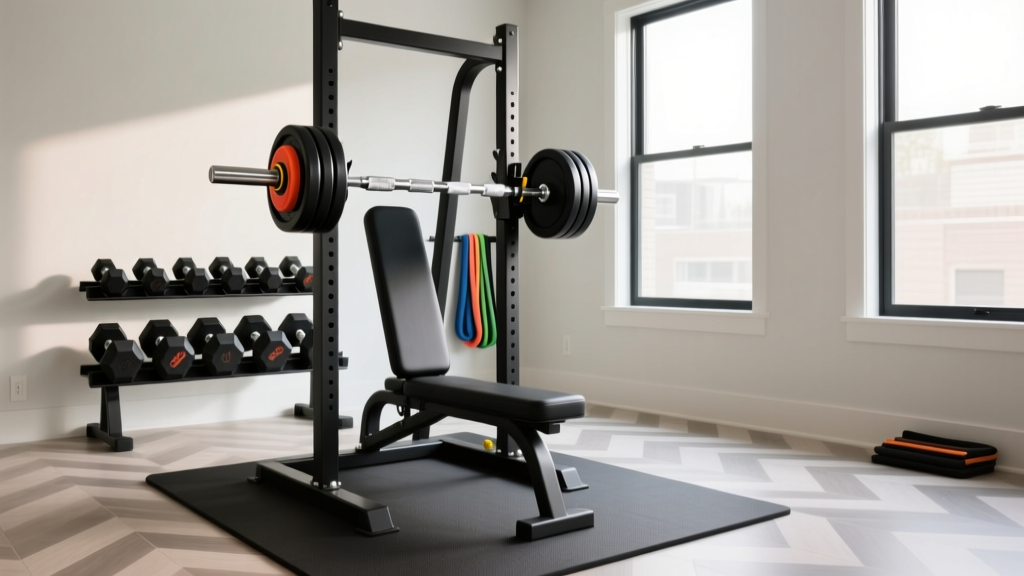
Optimizing Your Home Gym Layout for the Standing Dumbbell Press
Discover how to optimize home gym space with the right dumbbell rack. Learn layout strategies, clearance metrics, and top storage picks for your workouts.

The Spatial Reality of Free Weight Training
Home gym owners often prioritize the footprint of their squat rack or treadmill, relegating dumbbell storage to an afterthought. However, when you configure your space to stand, dumbbell press exercises and lateral movements demand a massive 'movement envelope.' A poorly placed storage unit doesn't just clutter your floor plan; it becomes a tripping hazard, restricts your range of motion, and forces you to compromise on the weight you can safely handle. Space optimization in the free weights zone isn't merely about square footage—it is about calculating the precise biomechanical clearance required for overhead and lateral movements, and selecting a rack profile that respects those boundaries.
Calculating Your Movement Envelope
Before purchasing a storage solution, you must quantify the space your body and the equipment occupy during peak extension. According to biomechanical data outlined by ExRx on the Standing Dumbbell Shoulder Press, the lateral wingspan during the eccentric phase of a press or raise extends well beyond the shoulders.
Let's break down the exact mathematics of clearance for an average adult male (72-inch wingspan) using standard 50-pound hex dumbbells (approximately 14.5 inches in length each). At the bottom of a lateral raise or the eccentric phase of a press, your total lateral span reaches roughly 101 inches. Add a mandatory 12-inch safety buffer on each side to prevent knuckle strikes against walls or mirrors, and you require a minimum of 125 inches (10.4 feet) of unobstructed lateral wall space. If your storage rack protrudes 24 inches from the wall into this zone, you are effectively shrinking your usable gym space and creating a collision risk.
The 'Wingspan + 24' Rule: Never place a floor-standing dumbbell rack within 24 inches of your primary pressing zone. The depth of the rack, plus the length of the dumbbell, plus your arm extension must never overlap with your drop-zone footprint.
Rack Profiles: Matching Storage to Your Floor Plan
The market offers three primary storage architectures, each with distinct spatial advantages and failure modes. Choosing the right one depends entirely on your room's geometry and whether you prioritize floor space or wall integrity.
1. The 3-Tier Horizontal Rack (The Wall-Hugger)
The 3-tier horizontal rack is the gold standard for rectangular home gyms. By stacking weights vertically across three shelves, it minimizes the lateral footprint while keeping heavier dumbbells at waist height for safe pickup. The Rogue Fitness 3-Tier Dumbbell Rack is a benchmark here, featuring a 35-inch length and a 23-inch depth. Priced at approximately $395, it holds 5 to 50-pound pairs securely. The primary spatial advantage is that it can be pushed flush against a wall, keeping the center of the room entirely clear for standing movements. However, the 23-inch depth means you must account for the protrusion when calculating your lateral clearance zone.
2. The A-Frame Rack (The Centerpiece)
A-frame racks utilize a triangular vertical profile, allowing you to store weights on both sides of the unit. While they offer a high weight capacity in a compact 28x28-inch base, they are notoriously hostile to space optimization in small rooms. An A-frame demands 360-degree accessibility. If you place an A-frame in a corner or against a wall, you lose 50% of its storage utility and create an awkward navigational bottleneck. These are strictly for open-concept garages or basement gyms where the rack can sit in the dead center of the room, acting as an island that you walk around to retrieve your gear before stepping into your pressing zone.
3. Wall-Mounted Shelves (The Zero-Footprint Option)
For ultra-compact spaces, wall-mounted brackets eliminate the floor footprint entirely. Brands like Titan Fitness offer heavy-duty wall-mounted dumbbell shelves (typically around $149 for a multi-tier set) that bolt directly into wooden studs. The critical failure mode here is structural: drywall anchors will rip out under the dynamic load of racking 40-pound dumbbells. You must use 3/8-inch by 3-inch lag screws driven directly into the center of 16-inch-on-center wooden studs. This solution reclaims 100% of your floor space, allowing you to stand directly in front of the wall to execute your presses, provided you leave enough vertical clearance for the overhead lockout.
Comparative Analysis: Top Storage Solutions
Below is a structural and spatial comparison of the leading rack types to help you align your purchase with your specific layout constraints.
| Rack Type | Model / Benchmark | Footprint (L x W) | Max Capacity | Approx. Price | Best Layout Application |
|---|---|---|---|---|---|
| 3-Tier Horizontal | Rogue 3-Tier Rack | 35' x 23' | ~800 lbs | $395 | Flush against long walls; rectangular rooms |
| A-Frame Vertical | Rep Fitness A-Frame | 28' x 28' | ~600 lbs | $249 | Center-room islands; open garage layouts |
| Wall-Mounted | Titan Wall Shelves | 0' x 0' (Floor) | ~150 lbs/tier | $149 | Micro-gyms; studio apartments; tight alcoves |
| Vertical Tower | Bells of Steel Tower | 24' x 24' | ~500 lbs | $329 | Corner placements; narrow walkways |
Layout Blueprint: The Triangle of Flow
Optimizing your layout requires establishing a 'Triangle of Flow' between your storage rack, your pickup zone, and your execution zone. According to comprehensive facility reviews by Garage Gym Reviews, the most common home gym injury occurs during the transition from the rack to the pressing area, often due to tripping over plates or rack feet.
- Step 1: The Pickup Zone. Ensure a 3-foot semicircle in front of the rack is completely clear of bumper plates, kettlebells, or bench legs. When hoisting 70-pound dumbbells to your shoulders for a standing press, you need a stable, flat base to generate leg drive.
- Step 2: The Transition Path. Map a straight, unobstructed line from the pickup zone to your mirror or focal point. Never route your path around a barbell or plyo box while holding heavy dumbbells at your sides.
- Step 3: The Execution & Drop Zone. Your standing press zone must be covered with 3/4-inch vulcanized rubber matting. When you fatigue on the final rep, you will drop the weights. Dropping hex dumbbells on concrete or thin EVA foam will shatter the flooring and damage the dumbbell heads.
Edge Cases and Material Considerations
When optimizing for space, the physical dimensions of the dumbbells themselves dictate how tightly you can space your rack cradles. Standard rubber hex dumbbells have massive, bulbous heads. If you are buying a rack that requires you to space the cradles 8 inches apart to accommodate the rubber, the rack will be significantly longer. Conversely, premium urethane dumbbells feature highly compact, dense heads. Urethane allows rack manufacturers to tighten the cradle spacing to 5 or 6 inches, shaving up to 12 inches off the total length of a 3-tier rack. If lateral wall space is your primary constraint, investing in urethane dumbbells and a compatible tight-spacing rack is a highly effective spatial hack.
Finally, beware of metal-on-metal degradation. Many budget racks use bare steel cradles. Over time, racking and un-racking heavy dumbbells will scrape the knurling off the handles and create metal dust that tracks across your gym floor. If your chosen rack lacks protective inserts, spend $20 on a sheet of UHMW (Ultra-High Molecular Weight) polyethylene plastic, cut it into strips, and adhere it to the cradles. This preserves your equipment and eliminates the jarring metal clank that disrupts the acoustics of a focused training environment.
Frequently Asked Questions
Can I perform a standing dumbbell press facing the rack?
No. Facing the rack limits your overhead lockout clearance and poses a severe risk of striking the rack structure with your elbows or the dumbbell heads during the eccentric descent. Always face away from the rack or stand parallel to it with a minimum 3-foot buffer.
What is the safest way to anchor an A-frame rack?
While A-frames are wide and stable, dynamic loading (dropping a heavy dumbbell onto the top tier) can cause them to tip. For permanent safety, especially in homes with children or pets, use masonry anchors (for concrete floors) or heavy-duty lag bolts (for wooden subfloors) to secure the base plates to the ground.
More gear to consider
All reviews
Barbell Knurling & Forearm Workouts with Dumbbells: Rogue vs Eleiko
Love Handles Exercises with Dumbbells vs. Kettlebells: Cast Iron Value Guide

Loadable Dumbbell Care for Dumbbell Reverse Lunges
Arnold Press Dumbbells: Adjustable Sets Reviewed for Beginners
Barbell Collar Types & Safe Dumbbell Rows Without Bench
