Power Rack vs Squat Rack vs Stand: Tungsten Dumbbell Setup
Compare power racks, squat racks, and stands. Learn the complete installation walkthrough to safely support heavy tungsten dumbbell training at home.

The High-Density Home Gym: Why Rack Choice Matters
As of 2026, the shift toward ultra-dense training implements has fundamentally changed how we approach home gym infrastructure. At the forefront of this trend is the tungsten dumbbell. With a density of approximately 19.25 g/cm³—nearly two-and-a-half times denser than standard cast iron or steel—tungsten allows for massive loads in a compact form factor. A 50lb tungsten dumbbell is roughly the physical size of a standard 15lb neoprene dumbbell, making it a favorite for elite grip work, heavy farmer's carries, and specialized wrist curls.
However, this extreme density creates unique structural challenges. Dropping a compact 50lb tungsten dumbbell generates immense point-load kinetic energy that can shatter standard flooring and destabilize poorly anchored equipment. When deciding between a power rack vs squat rack vs squat stand, your choice must be dictated not just by your barbell work, but by the extreme forces and storage requirements of high-density free weights. This guide provides a complete, expert-level setup and installation walkthrough to ensure your rack ecosystem can safely handle the rigorous demands of tungsten training.
⚠️ Critical Safety Warning: Never perform overhead presses or heavy step-ups with tungsten dumbbells inside an unanchored squat stand. The off-center center of gravity and extreme weight concentration can easily tip independent uprights if the user loses balance.Power Rack vs. Squat Rack vs. Squat Stand: Load and Footprint Matrix
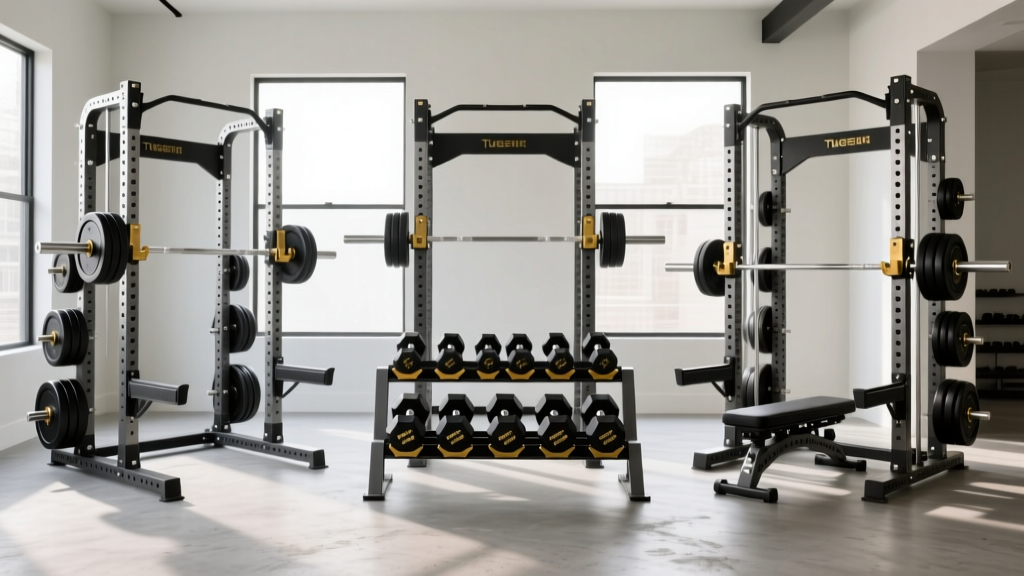
Before breaking out the hammer drill, you must select the right chassis. Below is a structural comparison of the three primary rack categories, evaluated specifically through the lens of heavy, high-density dumbbell training.
| Feature | Power Rack (e.g., Titan T-3) | Squat Rack (e.g., REP PR-1100) | Squat Stand (e.g., Rogue S-2) |
|---|---|---|---|
| Footprint | 4' x 4' (Fully Enclosed) | 4' x 4' (Open Front) | 2' x 2' (Independent Uprights) |
| Static Weight Capacity | 1,500+ lbs (11-gauge steel) | 800 - 1,000 lbs | 800+ lbs (Requires Anchoring) |
| Dumbbell Storage Integration | Excellent (Bolt-on shelves) | Moderate (Rear upright mounts) | Poor (Requires separate tiers) |
| Tipping Risk with Tungsten | Near Zero | Low (if rear crossmembers loaded) | High (Must be bolted to floor) |
Pre-Installation: Floor Prep for Extreme Point-Loads
Because tungsten is so dense, a dropped 40lb tungsten dumbbell exerts a point-load force comparable to dropping a standard 100lb iron dumbbell, but concentrated into a surface area less than half the size. Standard 3/8" horse stall mats will compress and bottom out, transferring the shockwave directly into your concrete slab or wood joists.
According to comprehensive flooring guides from BarBend's facility setup resources, high-impact zones require a layered approach. For a rack setup that will house tungsten implements, you must install a plywood subfloor layer (3/4" OSB or plywood) directly over the concrete, topped with 3/4" vulcanized rubber matting. The wood acts as a force-dissipating membrane, spreading the kinetic energy of a dropped tungsten dumbbell laterally before it reaches the rigid concrete below.
Step-by-Step Installation Walkthrough
Whether you have chosen a fully enclosed power rack or an open squat rack, the installation tolerances must be exact. A rack that is even 1/8" out of square will bind your barbell sleeves and cause uneven wear on your rack-mounted tungsten dumbbell shelves.
Phase 1: Upright Assembly and Shimming
Assemble the base crossmembers and uprights loosely. Do not fully tighten the 5/8" hardware yet. Place a 4-foot machinist level across the front and side crossmembers. Garage floors are rarely perfectly flat; they are typically sloped toward the garage door for water runoff.
- Identify the low points: Use a feeler gauge to measure the gap between the base plate and the floor.
- Shim with steel: Never use plastic or wood shims under a rack supporting tungsten loads; they will compress over time. Use galvanized steel washers or custom-cut steel shim stock to bridge the gap.
- Snug the hardware: Once the uprights are perfectly plumb and the base is fully supported by steel shims, hand-tighten all bolts.
Phase 2: Anchoring to Concrete vs. Wood Subfloors
If you are utilizing squat stands, or if you plan to perform heavy rack pulls and kipping movements, anchoring is non-negotiable. The Family Handyman concrete anchoring guidelines emphasize the importance of proper embedment depth for structural integrity.
For Concrete Slabs:
- Use a hammer drill with a 1/2" carbide-tipped masonry bit.
- Drill through the rubber matting, the plywood subfloor, and a minimum of 3.5 inches into the concrete.
- Insert 1/2" x 4" zinc-plated wedge anchors. The wedge anchor expands at the base when torqued, creating a mechanical lock that can withstand thousands of pounds of lateral pull.
For Wood Joist Subfloors:
Do not anchor merely into the plywood subfloor; the pull-out strength is insufficient. You must locate the structural floor joists beneath the plywood using a stud finder. Drill pilot holes and use 3/8" x 4" structural lag screws driven directly into the center of the joist. If the rack's base plates do not align with the joists, install 2x6 structural blocking between the joists beneath the rack footprint prior to laying your plywood subfloor.
Phase 3: Hardware Torque and Rack Squaring
With the rack anchored, it is time to apply final torque. Use a calibrated torque wrench set to 65-75 ft-lbs for standard 5/8" Grade 5 or Grade 8 hardware on 11-gauge steel uprights. Tighten in a star pattern (front-left, back-right, front-right, back-left) to ensure the frame pulls down evenly against your steel shims. Measure the diagonal distance from the top-left corner to the bottom-right corner, and compare it to the opposite diagonal. If the measurements are within 1/16" of each other, your rack is perfectly square.
Integrating Tungsten Dumbbell Storage into Your Rack
Standard freestanding dumbbell tiers are rated for cast iron and urethane. When a user loads a 50lb tungsten dumbbell onto a standard 12-gauge steel tier, the bending moment can warp the trays over time. Furthermore, bending down to pick up ultra-dense implements from the floor increases lumbar shear force.
The Solution: Rack-Mounted Steel Cradles
For power racks and squat racks with 3x3 uprights and 1" hole spacing, install heavy-duty, rack-mounted dumbbell posts (such as the Rogue Monster Dumbbell Posts) at roughly knee height (approx. 24 inches from the floor). This achieves three things:
- Transfers the extreme static load of the tungsten dumbbells directly into the rack's primary 11-gauge uprights and down into the anchored base plates.
- Eliminates the bending moment that destroys freestanding tier racks.
- Positions the dense implements at an ergonomic height for heavy farmer's carry pick-ups, reducing lower back strain.
"When dealing with ultra-dense alloys like tungsten (19.25 g/cm³), you must rethink traditional gym ergonomics. The equipment isn't just heavy; it's compact, which alters the biomechanics of the grip and the structural engineering of the storage solution."
— Adapted from principles outlined in metallurgical density data and applied biomechanics.
Final Safety Checks and Load Testing Protocol
Before loading your rack with a full complement of tungsten dumbbells and heavy barbell plates, execute this mandatory load-testing protocol:
- The Shake Test: Grasp the front uprights at chest height and apply vigorous lateral force. The rack should not shift, and the floor anchors should emit no cracking or popping sounds.
- The Asymmetric Load Test: Load 100lbs of weight (or your heaviest tungsten implements) onto only one side of the rack's storage posts or J-cups. Observe the upright for any visible deflection or twisting. 11-gauge steel should show zero visible flex under 100lbs of asymmetric load.
- The Spotter Arm Drop Test: Using a barbell loaded to 50% of your max, intentionally fail a rep and drop the bar onto the safety spotter arms. Ensure the pins do not bend and the retaining clips do not shear.
By treating your rack installation with the same rigor you apply to your training, you create a fortress capable of handling the most extreme, high-density free weights on the market. Whether you opt for the enclosed safety of a power rack or the open utility of a squat rack, proper anchoring and structural foresight will ensure your home gym remains safe, square, and ready for heavy work.
More gear to consider
All reviews
Loadable Dumbbells: The 2026 Women's Dumbbell Workout Routine Trend

Loadable Dumbbells vs Bowflex Dumbbells Set: Maintenance Guide
Bumper vs Iron Plates: Budgeting for Deadlifts & Dumbbell Pull Overs

Olympic vs Standard Plates: Chest and Arms Dumbbell Workout Setup

Best Neoprene Dumbbells for a 25 Minute Dumbbell Workout