Beyond Dumbbell Workout Names: The Complete Barbell Collar Setup Guide
Transitioning from basic dumbbell workout names to heavy barbell lifts? Master your setup with our complete barbell collar and clamp installation guide.

The Progression: From Dumbbell Workout Names to Heavy Barbell Setups
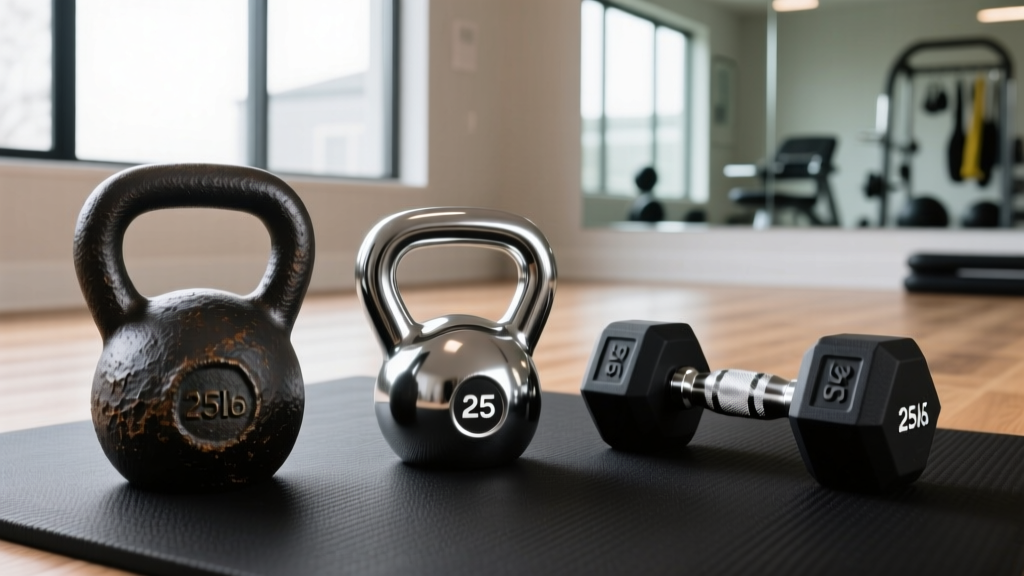
Most lifters begin their strength journey by searching for foundational dumbbell workout names to build their first routines. Exercises like the goblet squat, dumbbell Romanian deadlift, and single-arm row are incredible for building baseline hypertrophy, correcting imbalances, and learning movement patterns. Because dumbbells are self-stabilizing and limited in maximum load, they don't require external fastening mechanisms. You simply pick them up and lift.
However, as you progress and transition to the barbell, the physics of your equipment change drastically. A standard Olympic barbell sleeve is 50mm in diameter and can hold over 800 pounds of iron. When you perform dynamic movements like the barbell hip thrust, power clean, or heavy back squat, the plates experience immense lateral and rotational force. Failing to secure your plates doesn't just result in annoying clanking noises; it alters the barbell's center of gravity, creates dangerous asymmetric loading, and can lead to catastrophic setup failures mid-lift.
This comprehensive setup and installation walkthrough will bridge the gap between your early dumbbell days and advanced barbell training. We will break down the exact biomechanics of plate shift, compare the primary collar and clamp types on the market, and provide a step-by-step installation guide to ensure your barbell is locked, loaded, and safe for your next heavy session.
The Biomechanics of Plate Shift: Why Collars Matter
When a weight plate shifts laterally on a barbell sleeve, it changes the moment arm of the load. According to principles outlined by the National Strength and Conditioning Association (NSCA), even a minor asymmetrical shift of 10 millimeters on a heavily loaded barbell can create a rotational torque that forces the lifter to compensate, increasing the risk of spinal shear and joint strain during heavy squats or deadlifts.
Furthermore, during explosive lifts like the snatch or clean, the barbell whips and oscillates. Without a secure collar, the kinetic energy transfers into the plates, causing them to slide outward. If a plate slides off the sleeve during a missed lift, the sudden loss of weight on one side can violently whip the bar out of the lifter's hands. Securing your setup is not optional; it is a critical safety protocol.
Step 1: Selecting the Right Collar (Comparison Matrix)
Before you begin your setup, you must choose the right tool for your training style. Below is a comparison matrix of the four primary barbell collar types used in modern strength training.
| Collar Type | Material | Weight (Per Pair) | Grip Mechanism | Best Application | Avg. Price Range |
|---|---|---|---|---|---|
| Spring Clips | Chrome-Plated Steel | ~0.5 lbs | Tension/Spring | Light accessory work, quick changes | $10 - $15 |
| Polymer Clamp (e.g., Lock-Jaw) | Hard Nylon/Polymer | ~1.0 lbs | Lever-Lock Friction | CrossFit, dynamic Olympic lifts | $30 - $45 |
| Aluminum Clamp (e.g., Rogue HG) | Anodized Aluminum | ~2.0 lbs | Hex-Bolt Compression | Powerlifting, heavy static lifts | $60 - $80 |
| IWF Competition Collar | Steel/Chrome | 5.0 kg (11 lbs) | Lever & Spin-Lock | Sanctioned Weightlifting meets | $200 - $280 |
Step 2: Complete Installation Walkthrough
Proper installation is just as important as the hardware itself. A $75 aluminum clamp installed incorrectly will slip just as easily as a cheap spring clip. Follow these step-by-step installation protocols for your specific collar type.
Protocol A: Spring Clips (The Quick Swap)
Spring clips rely on radial tension. They are best for light accessory work where you are changing weights every set.
- Align the Handles: Hold the clip with the two looped handles facing outward, away from the plates.
- Compress and Slide: Squeeze the handles firmly to compress the inner diameter. Slide the clip onto the 50mm sleeve until it makes flush contact with the outer face of the last weight plate.
- Release and Seat: Release the handles. Ensure the inner wire ring is fully seated flat against the plate. If it is angled, the tension is compromised, and the clip will slide off during a deadlift.
Protocol B: Polymer Lever-Lock (e.g., Lock-Jaw Pro)
Polymer collars use a cam-lever system to bite into the steel sleeve. They are the gold standard for high-intensity functional training.
- Clear the Sleeve: Wipe the barbell sleeve with a dry cloth. Polymer collars rely on friction; chalk dust or sweat will cause micro-slippage.
- Slide and Push: Slide the collar onto the sleeve with the lever in the open (upright) position. Push it flush against the plates.
- Engage the Cam: Strike or firmly press the lever down until it sits completely flush with the collar body. You should hear a distinct, sharp 'snap'.
- The Tug Test: Grab the collar and attempt to twist it. If it rotates freely around the sleeve, the internal polymer teeth are worn down or the sleeve is heavily chalked. Clean the sleeve and reapply.
Protocol C: Aluminum Compression Clamps (e.g., Rogue HG 2.0)
Aluminum clamps use a mechanical hex bolt to compress a steel insert against the barbell sleeve. As highlighted in equipment reviews by BarBend, these offer the highest holding force for static, ultra-heavy powerlifting movements.
- Positioning: Slide the clamp onto the sleeve. Leave a 1-millimeter gap between the clamp and the weight plate to allow the compression to pull the plates tight.
- Tighten the Hex Bolt: Using the included T-handle hex wrench (or a standard 6mm hex key), turn the bolt clockwise.
- Torque to Spec: Tighten until the collar is immovable by hand. Do not over-torque to the point of stripping the aluminum threads; you only need enough compression to bite into the steel sleeve.
- Check the Insert: Ensure the internal steel wear-insert is sitting flat against the bar. If the insert is crooked, the clamp will only grip 20% of the sleeve's circumference.
Protocol D: IWF Competition Collars
According to the International Weightlifting Federation (IWF) technical rules, competition collars must weigh exactly 2.5 kg each and are factored into the total weight of the barbell assembly. These are mandatory for sanctioned meets but rarely used in commercial gyms due to their weight and cost.
- Slide and Lock: Slide the heavy steel collar onto the sleeve. Engage the primary locking lever to clamp the collar to the bar.
- Thread the Spin-Lock: Rotate the outer threaded ring until it presses firmly against the weight plate, eliminating all lateral play.
- Secure the Set-Screw: Tighten the small set-screw on the threaded ring to prevent it from vibrating loose during heavy clean and jerk repetitions.
Step 3: Troubleshooting Edge Cases & Maintenance
Even with premium hardware, setup failures occur due to environmental and equipment variables. Here is how to troubleshoot the most common edge cases:
- Bent Barbell Sleeves: If you frequently drop steel plates on your barbell, the 50mm sleeves can develop microscopic bends or grooves. An aluminum clamp will get stuck on these grooves and fail to slide flush against the plates. Solution: Inspect your sleeves by rolling the bar on a flat surface. If bent, use a rubber mallet to gently true the sleeve, or switch to polymer collars which are more forgiving of minor sleeve imperfections.
- Urethane Plate Suction: High-quality urethane plates have incredibly flat faces. When pressed together, they can create a vacuum seal. When you add the collar, it might feel tight, but the plates are actually separated by a microscopic air gap. Solution: Always 'burp' your plates by lifting the bar slightly off the rack and letting the plates settle naturally before sliding the collar flush and locking it.
- Chalk Buildup in Polymer Collars: Over time, gym chalk packs into the teeth of polymer lever-lock collars, reducing their bite depth. Solution: Every 30 days, soak the inside of your polymer collars in warm water with a mild degreaser, and scrub the teeth with a stiff nylon brush. Never use wire brushes, as they will smooth out the biting edges.
2026 Market Pricing & Gear Recommendations
If you are upgrading your home gym or commercial facility, here are the current benchmark models and their approximate retail pricing for 2026:
- Rogue HG 2.0 Aluminum Collars (~$65/pair): The undisputed king of powerlifting setups. The machined aluminum body and steel insert provide massive clamping force. Available directly via Rogue Fitness.
- Lock-Jaw Pro (~$35/pair): The best all-rounder for functional fitness. Lightweight, durable, and capable of withstanding hundreds of barbell drops without losing tension.
- Eleiko IWF Competition Collars (~$260/pair): Precision-machined for Olympic weightlifters. Expensive, but mandatory if you are training for sanctioned IWF events and need to accustom yourself to the exact 25kg total collar weight.
Final Thoughts on Your Setup
Moving beyond basic dumbbell workout names and stepping up to the barbell is a major milestone in any lifter's career. But with heavier loads comes a greater responsibility to respect the equipment. By understanding the biomechanics of plate shift, selecting the correct collar for your specific training modality, and executing a flawless installation every single time you load the bar, you ensure that your focus remains exactly where it belongs: on the lift.
More gear to consider
All reviews
Optimizing Layout: Dumbbell Racks & The Single Dumbbell Front Raise
Protecting Your Rack: Tricep Extension Dumbbell Storage & Care
Maintaining Racks for Dumbbell Exercises with Exercise Ball Routines

Olympic Barbell Knurling Setup & Jump Squats with Dumbbells Guide

Rubber Hex vs Urethane: Best Picks for Light Dumbbell Shoulder Press