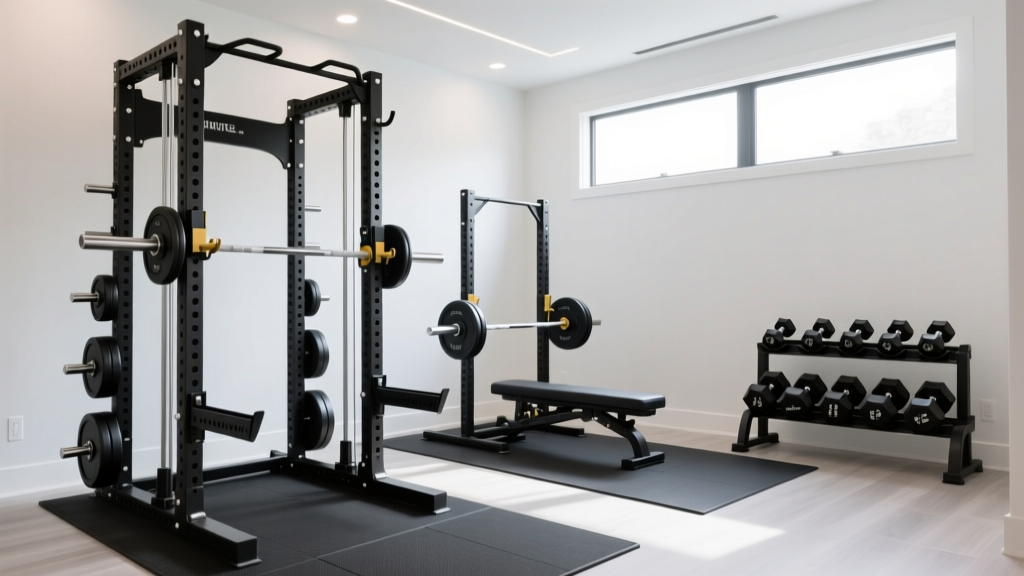
Squat Rack vs Power Rack: Space for Lateral Lunge with Dumbbells
Compare power racks, squat racks, and stands. Get installation steps, anchoring tips, and floor clearance for the lateral lunge with dumbbells.

The 2026 Home Gym Spatial Paradox
When designing a modern home gym, most lifters obsess over barbell clearance and plate storage. However, functional hypertrophy and athletic conditioning require dynamic floor space. If your programming includes the lateral lunge with dumbbells, your equipment footprint and installation layout become critical. A poorly placed power rack can completely eliminate the lateral clearance required for this movement, while an unanchored squat stand can create a catastrophic tipping hazard if you stumble during a heavy lunge set.
This comprehensive setup and installation walkthrough bridges the gap between heavy static lifting and dynamic functional movements. We will compare the power rack, squat rack, and squat stand through the lens of spatial efficiency, and provide a concrete, step-by-step installation guide to ensure your 2026 gym build is both safe and versatile.
Equipment Footprint Matrix: Rack vs. Stand vs. Power Cage
Before unboxing any steel, you must understand how different rack architectures consume your floor plan. The table below outlines current 2026 market standards for mid-tier to premium home gym equipment.
| Rack Type | Model Example | Base Footprint | Avg. Price (2026) | Lateral Clearance Impact |
|---|---|---|---|---|
| 4-Post Power Rack | Rogue R-3 Power Rack | 49" x 49" | $1,150 - $1,300 | High (Rear uprights block lateral movement if placed against a wall) |
| 4-Post Squat Rack | Titan Fitness T-2 Series | 48" x 24" | $450 - $550 | Moderate (Open rear, but wide front base can trip lunging feet) |
| 2-Post Squat Stand | Rep Fitness PR-1500 | 48" x 24" | $300 - $400 | Low (Minimal floor contact, maximizes open floor for dumbbell work) |
The Biomechanical Space Test: The Lateral Lunge with Dumbbells
Why use this specific exercise as the gold standard for gym layout? According to the ACE Fitness Exercise Library, the lateral lunge requires a massive lateral step (often 2 to 3 feet), a deep hip hinge, and extended arms holding heavy dumbbells to counterbalance the torso.
Consider the math: If you are holding two 50lb rubber hex dumbbells (each roughly 14 inches long) and stepping 3 feet to the right, your total lateral wingspan during the movement exceeds 8 feet. If your power rack is pushed into the corner of your garage, or if you leave only 3 feet of clearance on the sides of your squat rack, you will either smash your dumbbells into the steel uprights or compromise your knee tracking by shortening your stride. The lateral lunge with dumbbells demands a minimum of 4 feet of unobstructed floor space on both the left and right sides of your central lifting zone.
⚠️ Critical Safety Warning
Never perform dynamic lateral movements near an unanchored 2-post squat stand. If your foot catches the baseplate of a squat stand while holding 100lbs of dumbbells, the stand can tip, bringing the barbell and uprights down on you. Always anchor squat stands if they share a zone with functional floor work.
Complete Installation Walkthrough: Securing Your Setup
Whether you choose the enclosed safety of a power rack or the spatial freedom of a squat stand, proper installation is non-negotiable. Follow this phase-by-phase walkthrough to anchor your equipment to a concrete subfloor.
Phase 1: Subfloor Assessment and Mat Layout
Most home gyms use 3/4-inch vulcanized rubber horse stall mats. A common installation failure is bolting the rack directly through the mats into the concrete. Over time, the rubber compresses, causing the anchor bolts to loosen and the rack to wobble.
- Mark your footprint: Use a chalk line to mark the exact 4x4 or 2x4 footprint of your rack on the bare concrete.
- Cut the mats: Use a utility knife with a fresh hook blade to cut out the exact footprint of the rack's baseplates from your rubber mats. The steel baseplates must sit directly on the concrete.
- Verify level: Place a 4-foot machinist level across the concrete. If the variance exceeds 1/8 inch, you will need steel shims (not plastic or wood) to level the uprights before tightening the anchors.
Phase 2: Frame Assembly and Torque Specs
When assembling 11-gauge steel uprights (like those found on the Rogue Fitness Power Racks line), do not fully tighten the hardware until the entire frame is erected. Leave all bolts at 70% tightness. Once the crossmembers and uprights are slotted in, use a rubber mallet to seat the joints. Finally, use a calibrated torque wrench to tighten all structural bolts to the manufacturer's specification—typically between 60 and 80 ft-lbs for 1/2-inch Grade 5 or Grade 8 hardware.
Phase 3: Concrete Anchoring (The Wedge Anchor Method)
For a permanent, safe installation that withstands the lateral forces of heavy racking and nearby dynamic movements, use 1/2-inch x 5-1/2-inch stainless steel or zinc-plated wedge anchors (such as Simpson Strong-Tie or Red Head).
- Drilling: Use a hammer drill with a 1/2-inch carbide-tipped masonry bit. Drill exactly 4 inches deep into the concrete. (Drilling too deep reduces the pull-out strength; drilling too shallow prevents the anchor from seating).
- Cleaning: Use a shop vac and a wire brush to remove all concrete dust from the hole. Dust left in the hole can reduce anchor holding power by up to 40%, a major safety hazard noted in NSCA Facility Safety Guidelines.
- Setting: Insert the wedge anchor through the rack's baseplate and into the hole. Tap it with a hammer until the threads are exposed. Tighten the nut with a socket wrench until you reach 60 ft-lbs of torque, expanding the wedge into the concrete.
Real-World Edge Cases & Troubleshooting
Not every garage is a pristine, flat concrete box. Here is how to handle common installation hurdles:
Low Ceiling Clearances
If your basement or garage ceiling is under 84 inches, a standard 90-inch power rack will not allow you to perform pull-ups or overhead presses. Opt for a 'short' squat rack (usually 72 or 82 inches). However, shorter racks have a higher center of gravity. If you are performing the lateral lunge with dumbbells nearby and accidentally bump a shorter, lighter squat stand, it is more prone to tipping. You must use wedge anchors or bolt the stand to a reinforced plywood platform to widen the center of gravity.
Uneven Driveway Slabs
Garage floors are pitched toward the door for water drainage. This slope can cause your rack to lean forward, making the barbell roll off the J-cups. To fix this, use stainless steel horseshoe shims under the front baseplates. Do not rely on the rubber mats to correct the slope, as the heavy load of a loaded barbell will compress the rubber and recreate the lean.
Final Verdict: Designing Your Hybrid Zone
The decision between a power rack, a squat rack, and a squat stand ultimately comes down to your programming and your square footage. If your routine is heavily barbell-focused and you have a dedicated 10x10 foot room, the 4-post power rack is the undisputed king of safety. However, if you are building a hybrid garage gym in a tight 2-car space and your workouts heavily feature functional accessory work like the lateral lunge with dumbbells, a heavy-duty 4-post flat-foot squat rack offers the best compromise. It provides front-side spotter arms for heavy squats while leaving the rear and lateral zones completely open, giving you the 8-foot wingspan required to lunge, step, and move without bashing your knuckles against steel uprights. Measure twice, drill once, and build a space that supports every dimension of your training.
More gear to consider
All reviews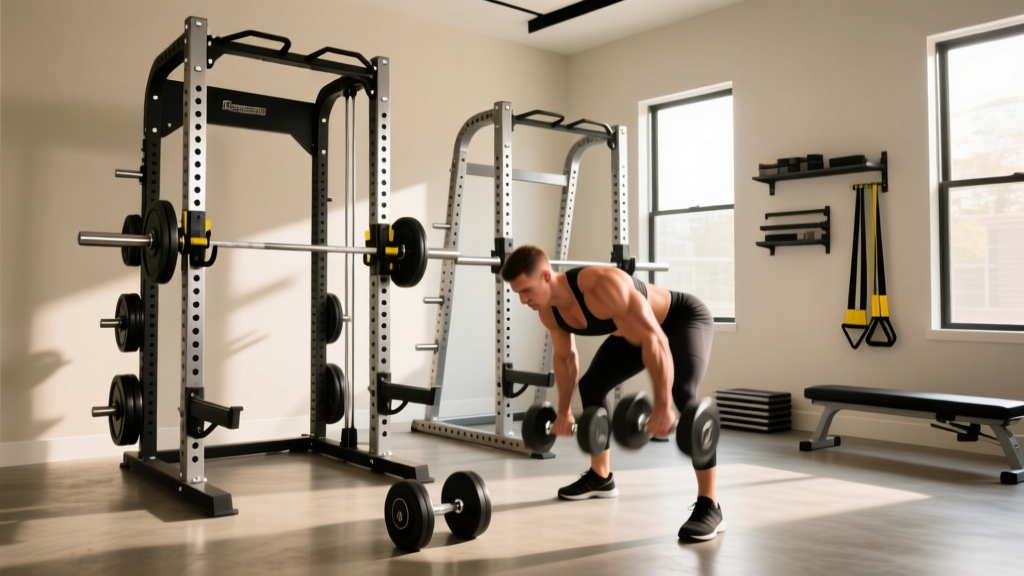
Power Rack vs Squat Rack: Mistakes & Bent Over Dumbbell Rows GIF

Best Adjustable Dumbbells for Abdomen Exercises: 2026 Review
Barbell Weight & Knurling Mistakes vs. Dumbbell Flys on Flat Bench

Cast Iron vs Competition Kettlebells & MX55 Dumbbells Guide

Barbell Curl with Dumbbells? Biomechanics & Neoprene Weight Guide
