
How to Get a Good Workout with Dumbbells: Neoprene Guide
Learn how to get a good workout with dumbbells at home using neoprene sets. Step-by-step beginner guide covering routines, grip tips, and gear care.

Starting a home fitness journey can feel overwhelming, especially when navigating the endless sea of gym equipment. If you are a beginner looking to build foundational strength without investing thousands of dollars in a full power rack, neoprene-coated dumbbells are the perfect entry point. Their hexagonal anti-roll design, floor-friendly coating, and accessible weight increments make them a staple in millions of home gyms.
However, because neoprene sets typically max out at lighter weights (usually 15 to 20 pounds per dumbbell), many beginners mistakenly believe they cannot build significant muscle or burn serious calories with them. The truth is, with the right biomechanical strategies and programming, you can absolutely get a good workout with dumbbells of any size. This step-by-step guide will teach you how to select the right gear, manipulate training variables to maximize light weights, and maintain your equipment for years of use.
Step 1: Selecting Your Neoprene Dumbbell Arsenal
Before you break a sweat, you need to understand what you are buying. Neoprene (polychloroprene) is a synthetic rubber that provides a soft, grippy exterior over a cast-iron core. Unlike bare steel or urethane, neoprene is highly resistant to moisture and won't rust if you accidentally leave it in a humid garage. However, not all neoprene dumbbells are created equal.
The 2026 Market Breakdown: Price and Quality
When shopping for your first set, expect to pay between $1.50 and $2.50 per pound. Here is how the top entry-level brands compare in the current market:
| Brand | Avg. Price/Lb | Handle Ergonomics | Best For |
|---|---|---|---|
| Yes4All Neoprene | $1.50 - $1.70 | Standard 35mm steel | Budget-conscious beginners |
| CAP Barbell Hex | $1.80 - $2.10 | Contoured, slightly wider | Durability and grip comfort |
| Amazon Basics | $1.60 - $1.90 | Standard 35mm steel | Quick shipping, basic sets |
Step 2: Overcoming the "Light Weight" Limitation
The most common complaint from beginners using neoprene sets is that the weights eventually feel "too light" to stimulate muscle growth. According to the Mayo Clinic, muscle hypertrophy and strength gains are driven by mechanical tension and training to momentary muscular fatigue, not just the absolute load on the bar.
To get a truly good workout with dumbbells that only go up to 15 lbs, you must manipulate Time Under Tension (TUT). Instead of rushing through 15 bicep curls in 20 seconds, you will use a strict tempo.
The 3-1-1 Tempo Protocol:
- 3 Seconds (Eccentric): Lower the weight slowly. This phase causes the most micro-tears in muscle fibers, triggering growth.
- 1 Second (Isometric): Pause at the bottom or the point of maximum stretch. Eliminate the "bounce" or momentum.
- 1 Second (Concentric): Lift the weight explosively but under control.
By applying the 3-1-1 tempo, a 10-pound dumbbell will feel like 25 pounds by the eighth repetition. This aligns with Harvard Health Publishing guidelines, which emphasize that controlled, deliberate movements yield better joint health and muscle activation than sloppy, heavy lifting.
Step 3: The 4-Day Beginner Neoprene Routine
The Centers for Disease Control and Prevention (CDC) recommends adults engage in muscle-strengthening activities of moderate or greater intensity that involve all major muscle groups on 2 or more days a week. To achieve this with lighter neoprene weights, we utilize unilateral training (working one side of the body at a time). This effectively doubles the resistance your muscles experience and corrects left-to-right strength imbalances.
Workout A: Lower Body & Core (Monday & Thursday)
| Exercise | Sets | Reps (Per Side) | Tempo | Rest |
|---|---|---|---|---|
| Goblet Reverse Lunges | 3 | 10 - 12 | 2-1-1 | 60s |
| Single-Leg Romanian Deadlift | 3 | 8 - 10 | 3-1-1 | 60s |
| Weighted Glute Bridges | 3 | 15 - 20 | 2-2-1 | 45s |
| Neoprene Weighted Russian Twists | 3 | 20 (Total) | 1-1-1 | 45s |
Workout B: Upper Body & Posture (Tuesday & Friday)
| Exercise | Sets | Reps (Per Side) | Tempo | Rest |
|---|---|---|---|---|
| Single-Arm Bent-Over Row | 3 | 12 - 15 | 3-1-1 | 60s |
| Floor Press (Alternating) | 3 | 10 - 12 | 3-1-1 | 60s |
| Seated Lateral Raises | 3 | 12 - 15 | 2-1-1 | 45s |
| Overhead Tricep Extensions | 3 | 12 - 15 | 3-1-1 | 45s |
Step 4: Grip Management and Material Care
One of the hidden failure modes of neoprene dumbbells is grip degradation. While the coating feels tacky and secure when dry, polychloroprene does not wick moisture. Once your hands begin to sweat, the coefficient of friction drops dramatically, making exercises like single-arm rows or lunges dangerous as the dumbbell can slip from your grasp.
How to Maintain Grip and Gear
- Use Liquid Chalk: Unlike loose gym chalk, which can stain your floors and furniture, liquid chalk (magnesium carbonate suspended in alcohol) dries instantly on your skin, providing a secure bond against the neoprene without the mess.
- Keep a Microfiber Towel: Wipe the handles down between every single set. This removes the oils and sweat that create a slippery film on the rubber.
- Avoid UV and Heat Exposure: Neoprene is highly susceptible to UV degradation. If you store your dumbbells in a sunroom, near a window with direct sunlight, or next to a space heater, the coating will dry out, turn chalky, and eventually split at the seams within 12 to 18 months. Store them in a cool, dry, indoor closet or on a dedicated rack away from windows.
- Cleaning Protocol: Never use bleach or harsh ammonia-based cleaners on neoprene. These chemicals break down the synthetic rubber bonds. Instead, use a simple solution of warm water and mild dish soap, spraying it lightly and wiping it off with a damp cloth.
When to Upgrade: Hitting the Neoprene Ceiling
Neoprene dumbbells are an incredible tool for the first 6 to 12 months of your fitness journey. They teach you movement patterns, build connective tissue resilience, and establish a daily habit without the intimidation factor of heavy iron. However, there will come a time when you hit the "neoprene ceiling."
You will know it is time to upgrade to an adjustable dumbbell set (like the Bowflex SelectTech 552 or Nuobell) or a set of bare cast-iron hex dumbbells when:
- You can comfortably complete 3 sets of 20 repetitions on single-leg RDLs or goblet squats with your heaviest 15 lb or 20 lb dumbbell, maintaining a strict 3-1-1 tempo, and your Rate of Perceived Exertion (RPE) is below 7.
- Your grip strength is failing not because of sweat, but because the physical diameter of the 20 lb neoprene dumbbell is too thick to hold securely for high-rep sets.
- You find yourself spending more than 45 minutes per workout simply chasing muscular fatigue because the absolute load is too light to trigger a mechanical tension response in your larger muscle groups (quads, glutes, lats).
Until you reach that ceiling, commit to the process. Focus on the mind-muscle connection, master the eccentric phases of your lifts, and enjoy the convenience, safety, and accessibility that neoprene dumbbells bring to your home gym. With consistency and the right tempo protocols, you will be amazed at the physical transformation a simple pair of coated dumbbells can deliver.
More gear to consider
All reviews
Squat Cleans Dumbbells vs Barbells: Weight & Knurl Guide

Barbell Collar Types: Securing Weights for Reverse Fly Dumbbell Form
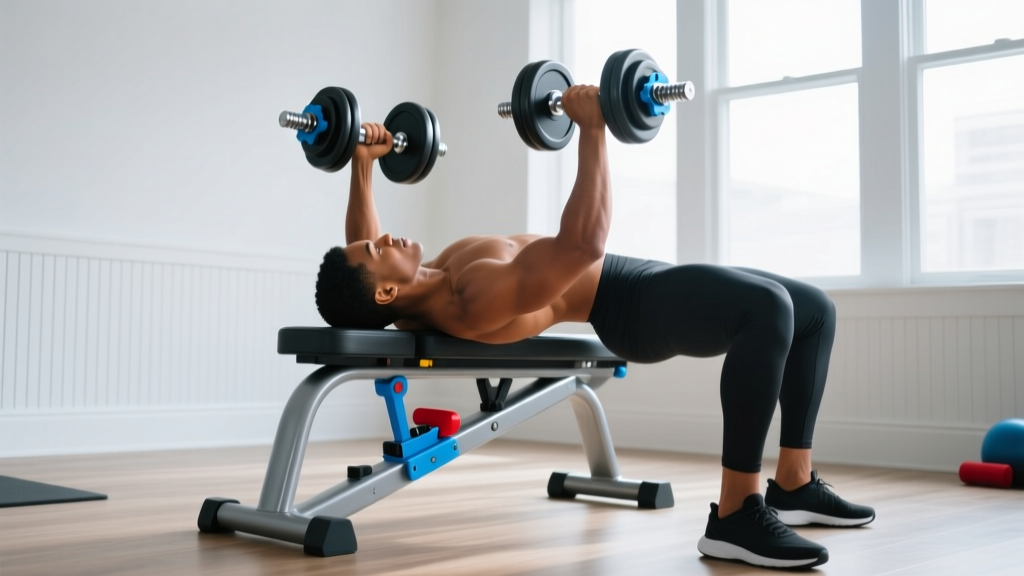
Troubleshoot the Average Dumbbell Shoulder Press: Adjustable Dumbbells

Can I Build Muscle With Just Dumbbells? 2026 Loadable Handles Tested
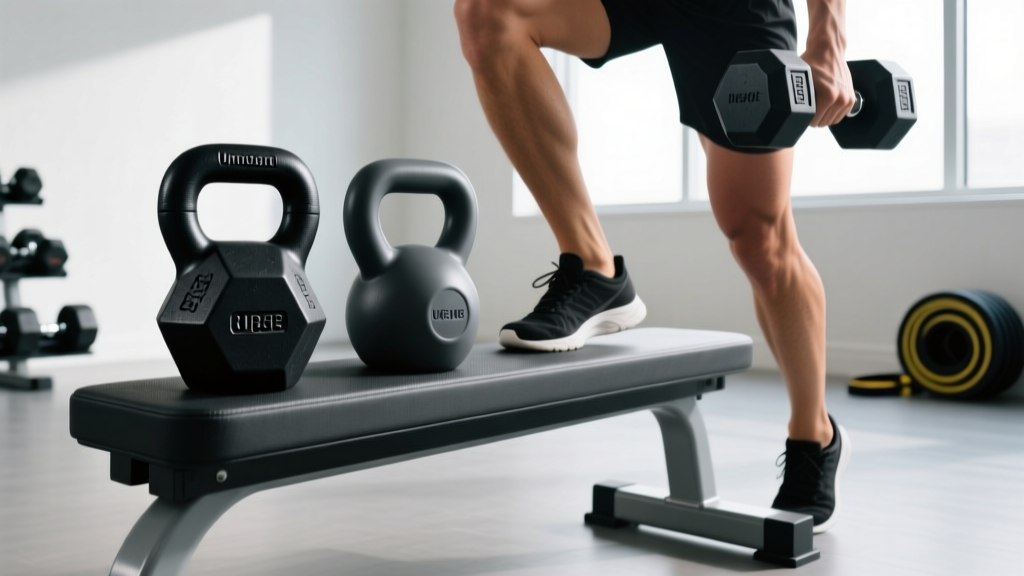
Rubber Hex vs Urethane: Best Gear for Dumbbell Step Ups on Bench
