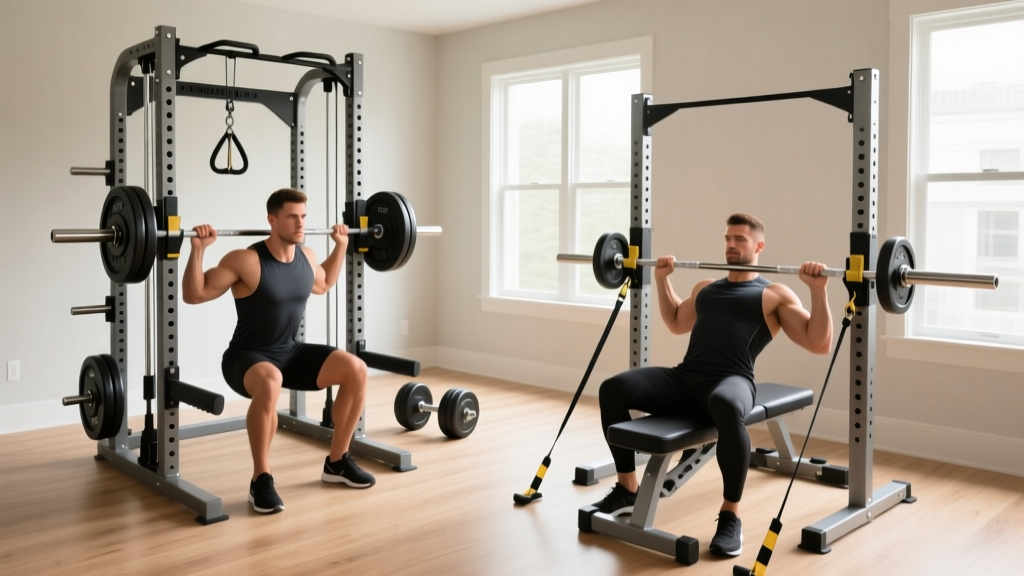
Rack Setup: Beyond Exercises With Dumbbells To Lose Belly Fat
Transitioning from dumbbell circuits to heavy barbell training? Compare power rack vs squat rack vs squat stand setups with our 2026 installation walkthrough.

The Metabolic Shift: Upgrading Your Home Gym
Many lifters begin their home gym journey searching for exercises with dumbbells to lose belly fat, stringing together high-rep goblet squats, renegade rows, and lateral raises in a bid for spot reduction. While dumbbell metabolic circuits are excellent for cardiovascular health and muscular endurance, the reality of human physiology dictates that spot reduction is a myth. True systemic fat loss and profound body recomposition require progressive overload on large, compound muscle groups. As you outgrow your adjustable dumbbells, transitioning to a rack-supported barbell system becomes the logical next step.
However, buying the steel is only half the battle. Improper assembly of heavy rig equipment is a leading cause of home gym injuries and equipment failure. In this 2026 comprehensive walkthrough, we will break down the critical differences between a power rack, a squat rack, and squat stands, followed by a meticulous, bolt-by-bolt installation guide to ensure your new rig is safe, square, and ready for heavy loading.
Power Rack vs Squat Rack vs Squat Stand: The 2026 Buyer Matrix
Before unboxing hardware, you must understand the structural distinctions between the three primary rack categories. Your choice will dictate your floor plan, ceiling clearance requirements, and anchoring strategy.
| Equipment Model (2026 Baseline) | Type | Footprint | Weight Capacity | Avg. Cost |
|---|---|---|---|---|
| Rep Fitness PR-4000 | Power Rack | 48' x 48' | 1,000 lbs | $799 - $899 |
| Rogue S-2 Squat Stand 2.0 | Squat Stand | 49' x 48' | 1,000 lbs | $495 |
| Titan T-3 Folding Rack | Wall-Mount Rack | 43' x 4' (Folded) | 1,100 lbs | $549 |
Defining the Categories
- Power Rack (Full Cage): Features four uprights connected by crossmembers. It includes safety spotter arms or straps, making it the only safe option for solo heavy bench pressing and squatting without a spotter.
- Squat Rack (Half Rack): Typically two main uprights with a rear storage base. It offers more open space for Olympic lifts but requires precise barbell path control to avoid missing the safeties.
- Squat Stands: Two independent, freestanding uprights. They have the smallest footprint and lowest cost but require the user to manually move the stands into position for benching, which introduces significant tipping hazards if not properly loaded or anchored.
Pre-Installation: Subfloor and Spatial Requirements
A fully loaded power rack can exert over 1,200 pounds of point-load pressure on a standard residential floor. Before assembling a single upright, you must prepare the installation zone.
Flooring & Clearance Checklist
- Subfloor Base: Lay down a 3/4-inch tongue-and-groove OSB or plywood sheet over your concrete or wooden joists to distribute the point loads of the rack feet.
- Top Layer: Cover the wood base with 3/4-inch thick vulcanized rubber horse stall mats. Avoid cheap foam puzzle tiles; they will compress unevenly under a loaded rack, causing structural wobble.
- Ceiling Height: Measure from the top of your rubber mats to the ceiling. A standard 90-inch power rack requires at least 96 inches of ceiling height to allow for pull-ups and overhead pressing without drywall impact.
Step-by-Step Installation Walkthrough (Power Rack Focus)
For this walkthrough, we are using a standard 4-upright, 11-gauge steel power rack (like the Rep PR-4000 or Rogue RM-3 Fort) as our baseline. The engineering principles apply universally to heavy-duty home gym cages.
Step 1: Base Assembly and Upright Alignment
- Organize Hardware: Separate all 5/8-inch Grade 5 or Grade 8 bolts, washers, and nyloc nuts. Never use standard hardware store zinc-plated bolts for structural rack joints.
- Build the Base: Connect the front and rear crossmembers to the base gussets. Leave all bolts finger-tight. Do not apply torque yet.
- Raise the Uprights: With a partner, lift the front and rear uprights into the base sockets. Insert the primary structural bolts through the uprights and crossmembers.
Step 2: The Diagonal Squaring Method
This is the most critical step that amateur installers skip. If your rack is not perfectly square, the safeties will sit at an angle, causing the barbell to roll unpredictably during a failed lift.
Measure the distance from the bottom-left front upright hole to the top-right rear upright hole. Then measure the opposite diagonal (bottom-right front to top-left rear). Adjust the frame until both diagonal measurements are identical down to the millimeter.
Once the diagonals match, use a torque wrench set to 65-75 ft-lbs to tighten all base and upright structural bolts. The nyloc nuts will provide the necessary vibration resistance.
Step 3: Crossmember and Pull-Up Bar Installation
Install the upper crossmembers and the pull-up bar. These components act as the lateral stabilizers for the cage. If your rack includes sandwich-style J-cups (which protect the knurling on your barbell), install them now at your desired squat height. Ensure the UHMW plastic liners are facing inward.
Step 4: Anchoring vs. Weight Storage
You have two choices to prevent the rack from tipping forward during kipping pull-ups or heavy lat pulldowns:
- Concrete Anchoring: If installed over a concrete slab, drill 1/2-inch holes using a rotary hammer drill and insert 1/2-inch wedge anchors. Torque to 80 ft-lbs.
- Weight Storage (No-Drill): If you cannot drill into your floor, you must purchase rear weight storage horns and load them with at least 300 pounds of bumper plates or sandbags to act as a counterbalance.
Troubleshooting Edge Cases and Wobble Issues
Even with meticulous assembly, home gyms often present environmental challenges. Here is how to troubleshoot common failure modes:
The 'Rocking' Rack
If your rack rocks diagonally on the rubber mats, your floor is uneven. Do not overtighten the bolts to force the frame down. This introduces torsional stress that can snap welds over time. Instead, loosen the base bolts, slide high-density rubber shims (or steel washers) under the floating foot pad until the rocking stops, and re-torque.
Cross-Threaded Safeties
Safety spotter arms with threaded ends are notorious for cross-threading if forced. If an arm binds, back it out completely, apply a drop of synthetic grease to the threads, and reinsert it perfectly level. If the threads are already stripped, contact the manufacturer for a replacement arm; do not use a compromised safety during heavy squats.
Programming: Replacing Dumbbell Circuits with Rack Complexes
Now that your rack is safely installed, it is time to address the programming shift. According to research published in the National Institutes of Health, resistance training significantly elevates resting metabolic rate and promotes fat oxidation far more effectively than light aerobic circuits. Furthermore, the Mayo Clinic emphasizes that building lean muscle mass through heavy compound lifting is a cornerstone of sustainable weight management.
Instead of doing endless sets of dumbbell lunges to lose belly fat, utilize your new power rack for Barbell Complexes. A complex involves performing 4-5 exercises back-to-back without dropping the bar.
The 'Rack Recomp' Complex
Load the barbell with 60-70% of your 1-Rep Max Front Squat. Perform the following sequence inside the safety of your power rack:
- 6 x Front Squats
- 6 x Push Presses
- 6 x Bent Over Rows
- 6 x Romanian Deadlifts
Rest 90 seconds. Repeat for 4 rounds. This creates a massive systemic metabolic demand that triggers post-exercise oxygen consumption (EPOC), driving fat loss while building functional strength.
Final Safety Inspections
Before loading the barbell, perform a 'dry run' of your safety mechanisms. Set the spotter straps or pin-pipe safeties one hole below your lowest squat depth. Drop an empty barbell onto the safeties from chest height to ensure the pins are fully seated and the crossmembers absorb the impact without shifting. Once verified, your transition from light dumbbell circuits to heavy, rack-supported barbell training is complete. Train hard, train safe, and let the iron do the work.
More gear to consider
All reviews
Optimizing Gym Layouts: Watson Dumbbell Rack & Storage Solutions
Barbell Knurling & Weight Guide: Seated Dumbbell Rear Delt Fly
EZ Curl Bar vs Straight Bar: Beyond Workouts With Just Dumbbells
Hex vs Urethane for the Dumbbell Rear Foot Elevated Split Squat

Rubber Hex vs Urethane: Gear for Dumbbell Exercises to Build Muscle