
Rack Setup: Olympic Barbell Knurling & 21s with Dumbbells
Master your home gym setup with our walkthrough on Olympic barbell knurling, weight specs, and building the ultimate station for 21s with dumbbells.

Building a commercial-grade lifting station in a home environment requires more than just dropping equipment onto a rubber mat. A proper installation ensures safety, optimizes biomechanics, and extends the lifespan of your gear. This comprehensive setup and installation walkthrough covers the foundational anchoring of your power rack, provides a deep-dive Olympic barbell buying guide focusing on weight tolerances and knurling profiles, and details how to configure a dedicated dumbbell zone for high-volume isolation protocols like 21s with dumbbells.
Phase 1: Power Rack Anchoring and Spatial Planning
Before unboxing your barbell or dumbbells, your 4-post power rack must be secured. As of 2026, the industry standard for heavy-duty home gym racks is 11-gauge steel with 3x3-inch uprights. While some manufacturers claim their racks are heavy enough to remain freestanding, dynamic movements like kipping pull-ups or racking heavy squats can shift an unanchored rack, creating a severe tipping hazard.
Concrete Anchoring Walkthrough
- Locate the Footprint: Standard 4-post racks with 48-inch depths require a minimum clearance of 36 inches on all sides for plate loading and spotter arm movement.
- Drill Pilot Holes: Using a hammer drill and a 1/2-inch carbide masonry bit, drill into 4000 PSI concrete to a depth of 4 inches. Avoid drilling near the edges of the slab to prevent spalling.
- Insert Wedge Anchors: Drive 1/2-inch x 3-3/4-inch zinc-plated wedge anchors through the rack base plates into the concrete.
- Torque to Spec: Using a torque wrench, tighten the nuts to 60 ft-lbs. This expands the wedge at the base of the anchor, locking it into the concrete matrix.
Phase 2: The Olympic Barbell Buying Guide (Weight & Knurling)
With the rack secured, the next critical component is the Olympic barbell. Selecting the right barbell requires understanding tensile strength, weight tolerances, and, most importantly, knurling profiles. The knurling dictates your grip security and central nervous system feedback during heavy compound lifts.
Weight Classifications and Tolerances
A standard men's Olympic barbell weighs exactly 20kg (44 lbs), while a women's spec bar weighs 15kg (33 lbs) and features a narrower 25mm shaft. When shopping in 2026, look for bars that meet International Weightlifting Federation (IWF) or International Powerlifting Federation (IPF) tolerances. A high-quality bar will have a weight tolerance of +/- 10 grams. Budget bars often deviate by 1-2 lbs, which can skew progressive overload tracking over a multi-year training cycle.
Decoding Knurling Profiles
Knurling is not just 'rough metal.' The geometry of the cut drastically alters performance. According to engineering specs published by Rogue Fitness, the three primary knurl profiles are:
| Knurl Profile | Geometry & Feel | Best Application | Aggression Level |
|---|---|---|---|
| Volcano | Sharp peaks with a small crater in the center. Provides maximum surface area contact. | Powerlifting, heavy deadlifts, low-rep strength work. | High (Aggressive but not tearing) |
| Mountain | Sharp, pointed peaks without craters. Feels like coarse sandpaper or a cheese grater. | Olympic weightlifting, high-sweat environments. | Very High (Can tear calluses) |
| Hill | Rounded, flattened peaks. Smooth to the touch. | Multipurpose training, high-rep hypertrophy, bare hands. | Low (Passive) |
For a home gym setup where you plan to mix heavy squats with high-rep dumbbell accessory work, a Volcano knurl on a 29mm shaft offers the best compromise between grip security and hand preservation. Ensure the bar features a center knurl if you plan on performing back squats, as this prevents the bar from sliding down your traps during heavy eccentrics.
Phase 3: Configuring the Dumbbell Zone for 21s with Dumbbells
While the barbell station is the centerpiece for axial loading, a complete installation requires a dedicated dumbbell zone for unilateral work and metabolic conditioning. One of the most effective hypertrophy protocols for the biceps brachii is the 21s method. Transitioning from barbell curls to 21s with dumbbells corrects bilateral strength imbalances and increases time under tension (TUT) without relying on momentum.
Equipment Selection for the 21s Protocol
The 21s method involves 7 partial reps from the bottom of the range of motion (0 to 90 degrees of elbow flexion), 7 partial reps from the top (90 to 180 degrees), and 7 full-range reps. Because this constitutes 21 continuous repetitions, muscular fatigue sets in rapidly.
- Dumbbell Increments: You must stock urethane hex dumbbells in 2.5 lb or 5 lb increments. If your baseline full-range curl is 35 lbs, you will likely need to drop to 25 lbs or 20 lbs to complete the 21s protocol with strict form.
- Bench Configuration: Set an adjustable FID (Flat/Incline/Decline) bench to a strict 0-degree flat position, or a slight 15-degree incline. A 15-degree incline places the biceps in a slightly stretched position at the shoulder joint, increasing activation of the long head during the bottom 7 partials.
- Clearance Requirements: Ensure your dumbbell rack is positioned at least 24 inches from the bench to allow for safe drop-zones when reaching muscular failure on the final 7 full reps.
Biomechanics Note: Performing 21s with dumbbells rather than an EZ-curl bar forces each arm to stabilize the load independently. This prevents the dominant arm from compensating during the grueling final 7 full-range reps, leading to superior hypertrophic signaling according to the National Strength and Conditioning Association (NSCA) guidelines on unilateral resistance training.
Phase 4: Final Calibration and Maintenance
Once the rack is bolted, the barbell is selected, and the dumbbell tier is organized, the final step is establishing a maintenance baseline to protect your 2026 equipment investment.
Barbell Shaft and Sleeve Care
Olympic barbells require regular maintenance to prevent oxidation and ensure smooth sleeve rotation. The internal bushings or needle bearings rely on a light film of oil to reduce friction during Olympic lifts or heavy curls.
- Weekly: Use a stiff nylon or brass wire brush to scrub chalk and dead skin out of the knurling. Brass is softer than steel and will not damage zinc or Cerakote finishes.
- Monthly: Apply 3-in-One oil or a dedicated barbell mineral oil to the shaft. Wipe it down with a microfiber cloth to leave a microscopic protective barrier against ambient humidity.
- Sleeve Lubrication: Every 6 months, remove the end caps (if your bar features snap-ring accessible sleeves) and apply white lithium grease to the internal bronze bushings.
By methodically installing your rack, selecting a barbell with the precise knurling geometry for your training style, and engineering a specific dumbbell layout for high-volume protocols like 21s with dumbbells, you create a training environment that rivals elite commercial facilities. Precision in setup translates directly to precision in performance.
More gear to consider
All reviews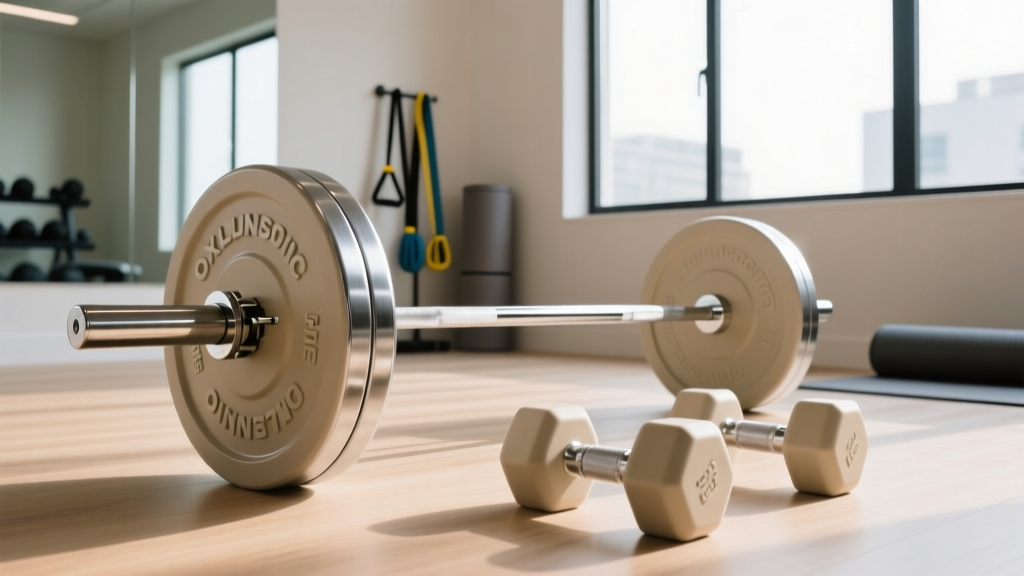
Olympic Barbell Knurling Guide: Pairing Steel With Beige Dumbbells

Loadable Dumbbell Care & The Calcium Oxalate Crystals in Urine Myth

Cast Iron vs Competition Kettlebells: The Red Dumbbell Trend
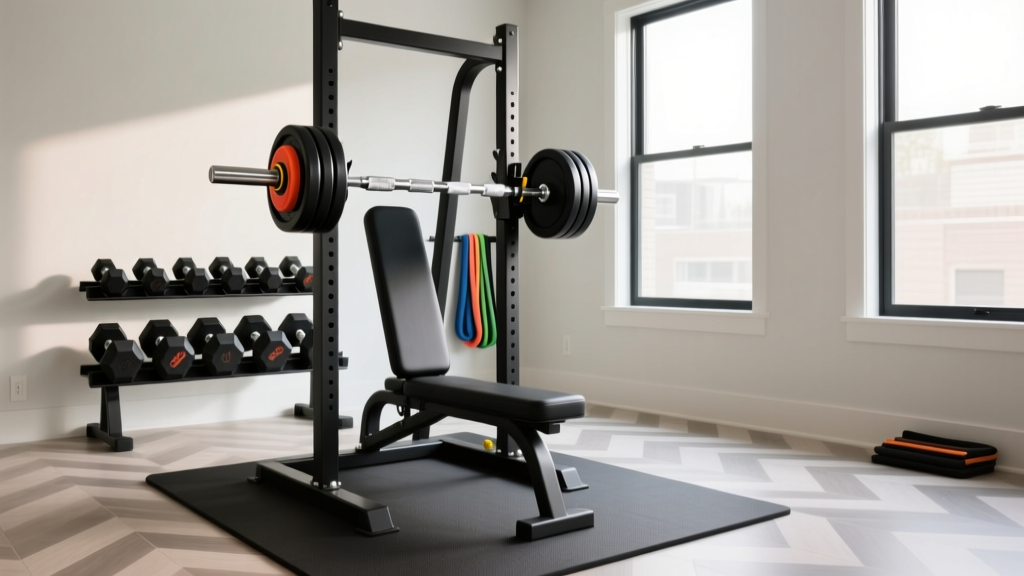
Optimizing Your Home Gym Layout for the Standing Dumbbell Press
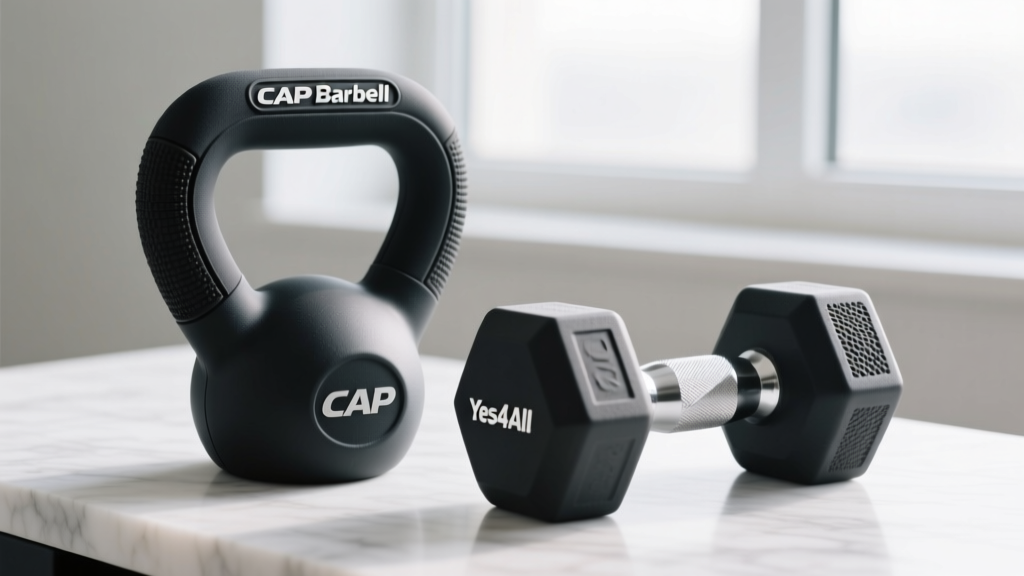
Neoprene Dumbbells Head-to-Head: Optimizing the Dumbbell Isolation Curl
