
Power Rack vs Squat Stand Setup: Integrating 5 lb Dumbbells & Bars
Master your power rack vs squat stand setup. Learn anchoring, assembly, and how to integrate 5 lb dumbbells for a complete, safe home gym installation.

Pre-Installation Checklist
- Tools: Impact driver, 1/2-inch drive torque wrench, masonry hammer drill, 3/8-inch carbide drill bit, 4-foot level, tape measure.
- Hardware: 3/8" x 3" wedge anchors (for concrete) or 3/8" structural lag screws (for wood joists).
- Clearance: Minimum 12 inches of clearance behind the rack for plate loading and spotter arm adjustment.
Building a home gym in 2026 requires more than just buying heavy iron; it demands a meticulous approach to spatial planning and structural integrity. Whether you are installing a full power rack, a wall-mounted squat rack, or a minimalist squat stand, the foundation dictates the safety and longevity of your training space. Furthermore, a common failure mode in home gym design is hyper-focusing on the heavy barbell work while entirely neglecting the accessory ecosystem. A truly comprehensive installation maps out the entire weight spectrum, ensuring that everything from 45 lb bumper plates down to your 5 lb dumbbells has a dedicated, safe, and accessible home.
The Blueprint: Power Rack vs. Squat Rack vs. Squat Stand
Before unboxing a single upright, you must select the right footprint for your subfloor and ceiling height. Below is a structural and spatial comparison of the three primary rack categories to guide your installation strategy.
| Feature | Full Power Rack (e.g., Rogue R-3) | Wall-Mount Squat Rack | Folding Squat Stand (e.g., Titan T-2) |
|---|---|---|---|
| Footprint | 48" x 48" (Standard 4x4) | 48" x 24" (Requires stud mounting) | 24" x 24" (Folds to 4" depth) |
| Weight Capacity | 1,000+ lbs (Static) | 800 - 1,000 lbs | 600 - 800 lbs |
| Anchoring Need | Mandatory for heavy kipping/racking | Mandatory (Wall shear force) | Highly recommended (Anti-tip) |
| Accessory Integration | High (Dumbbell shelves, lat pulldowns) | Low (Limited upright real estate) | Minimal (Weight horns only) |
Phase 1: Subfloor Assessment and Anchoring
The most critical step in any rack installation is securing the base. According to structural guidelines for fitness equipment, dynamic loading (like dropping a barbell or kipping pull-ups) creates immense sheer and uplift forces. Relying on gravity alone is a severe safety hazard.
Concrete Subfloor Protocol
If you are installing on a concrete slab, you must use mechanical wedge anchors. Industry leaders like Simpson Strong-Tie specify that for heavy dynamic loads, a 3/8-inch diameter anchor with a minimum 3-inch embedment depth is required. This assumes your concrete slab is at least 4 inches thick and fully cured (minimum 28 days).
- Position and Level: Assemble the base of the rack loosely. Use a 4-foot level across the front and side crossmembers. Shim the base with steel washers if the concrete is uneven.
- Mark and Drill: Mark the anchor holes through the base plate. Remove the rack and drill using a hammer drill with a 3/8-inch carbide masonry bit. Drill 1/2 inch deeper than the anchor length to allow for dust clearance.
- Clean the Hole: This is the most skipped step. Use compressed air or a wire brush to remove concrete dust. A dusty hole reduces anchor pull-out strength by up to 40%.
- Torque: Insert the wedge anchors, place the rack back over the studs, add the washers and nuts, and torque to 25-30 ft-lbs using a torque wrench.
Wood Joist Protocol
For second-floor gyms or wood subfloors, you must anchor directly into the floor joists, never just into plywood or OSB subflooring. Use 3/8-inch structural lag screws (minimum 4 inches long) driven into the center of the joists. If the rack's base plate holes do not align with your 16-inch-on-center joists, you must install a structural ledger board or steel mounting plate to bridge the gap.
Phase 2: Upright Assembly and Torque Specifications
Modern racks utilize a bolt-together sandwich design for crossmembers. When assembling the uprights of a 3x3 11-gauge steel rack (such as the Rep Fitness PR-4000), the hardware must be tightened in a specific sequence to prevent racking (twisting) of the frame.
Expert Torque Spec: Do not use an impact driver for final tightening of structural rack bolts. Use a calibrated torque wrench. The industry standard for 5/8-inch Grade 8 hardware on commercial gym racks is 70 to 90 ft-lbs. Overtightening can strip the nylon insert lock nuts or warp the steel tubing.- Hand-tighten all 16 structural bolts on the main cube.
- Measure the diagonals (from bottom-left to top-right, and bottom-right to top-left). If the measurements are not identical within 1/16th of an inch, the rack is out of square. Adjust before final torquing.
- Tighten the bolts in a star pattern (similar to a car tire) to ensure even pressure distribution across the crossmembers.
Designing the Accessory Zone: Integrating 5 lb Dumbbells
A comprehensive installation must account for the full spectrum of your training arsenal. While the barbell takes center stage, proper pre-hab, mobility work, and accessory movements require lighter implements. Storing your 5 lb dumbbells on the floor creates a tripping hazard and clutters the lifting platform.
When setting up a full power rack or a heavy-duty squat stand, utilize the exterior uprights to mount a tiered dumbbell shelf. For 2x3 or 3x3 uprights, bolt-on shelving units (like the Rogue Monster Lite Dumbbell Shelf) attach directly to the Westside hole pattern.
Why the 5 lb Dumbbell Station Matters
According to exercise prescription guidelines detailed by resources like ExRx.net, targeted activation of the rotator cuff and scapular stabilizers is critical before heavy overhead or bench pressing. Keeping a dedicated pair of 5 lb dumbbells on a rack-mounted shelf at waist height ensures that your warm-up protocols—such as external rotations, scapular retractions, and band pull-aparts—are seamlessly integrated into your workflow. By bolting a 3-tier shelf to the rear or side uprights during the initial installation phase, you future-proof your gym's organization and enforce a safer training environment.
Safety Spotter Arm Placement and Failure Modes
CRITICAL WARNING: Never use the J-cups as safety catches. J-cups are designed for static vertical loads. Safety spotter arms or flip-down safeties are engineered to absorb the dynamic, angular impact of a failed lift. Using improper hardware can result in catastrophic equipment failure and severe injury.
During installation, you must determine your primary safety mechanism. For squat stands, pin-and-pipe safeties or strap safeties are the standard. For power racks, flip-down spotter arms are preferred for their rapid adjustability.
- Height Calibration: Set the spotter arms exactly 2 inches below your lowest range of motion (e.g., the bottom of your squat or your chest on the bench press).
- The 'Roll-Off' Edge Case: If using pin-and-pipe safeties on a squat stand, ensure the pipes are set slightly unevenly (one side 1/2 inch higher than the other). This ensures that if you dump a failed squat forward, the barbell rolls away from your neck and onto the lower pipe, rather than pinning you.
- UHMW Plastic Protection: Ensure all spotter arms feature Ultra-High-Molecular-Weight (UHMW) plastic liners. Bare metal-on-metal contact between a dropping barbell and a steel safety arm can chip the barbell's knurling and bend the safety pin under extreme kinetic loads.
Final Load Testing Protocol
Before loading your personal records, you must perform a structural validation test. This protocol ensures all anchors, bolts, and safety mechanisms are functioning as engineered.
- Static Load Test: Load the barbell to 135 lbs and place it on the J-cups. Apply heavy downward pressure on the bar to simulate unracking. Check the base plates for any shifting or lifting off the floor.
- Dynamic Drop Test: Set the safeties to bench press height. Load the barbell to 225 lbs. From a standing position, drop the barbell from chest height directly onto the safety arms. Inspect the safety arms for bending, and check the uprights for any twisting or anchor pull-out.
- Accessory Shelf Test: Load your tiered shelf with your heaviest dumbbells on the bottom tier, and your 5 lb dumbbells on the top tier. Apply 50 lbs of downward pressure to the shelf brackets to verify the mounting hardware is secure against the uprights.
Conclusion
Installing a power rack or squat stand is a precision task that bridges structural engineering and biomechanics. By properly anchoring your uprights, torquing hardware to exact specifications, and thoughtfully integrating accessory storage for everything from heavy plates to 5 lb dumbbells, you create a training environment that is as safe as it is efficient. Take the time to measure twice, drill cleanly, and test rigorously—your home gym foundation will support your progress for decades to come.
For more in-depth reviews on rack tolerances and weight capacities, consult comprehensive databases like Garage Gym Reviews to ensure the equipment you are installing matches your long-term strength goals.
More gear to consider
All reviews
EZ Curl Bar vs Straight Bar: Space for an Abs Workout with Dumbbells

Power Rack vs Squat Stand Setup for Dumbbell Thrusters Exercise
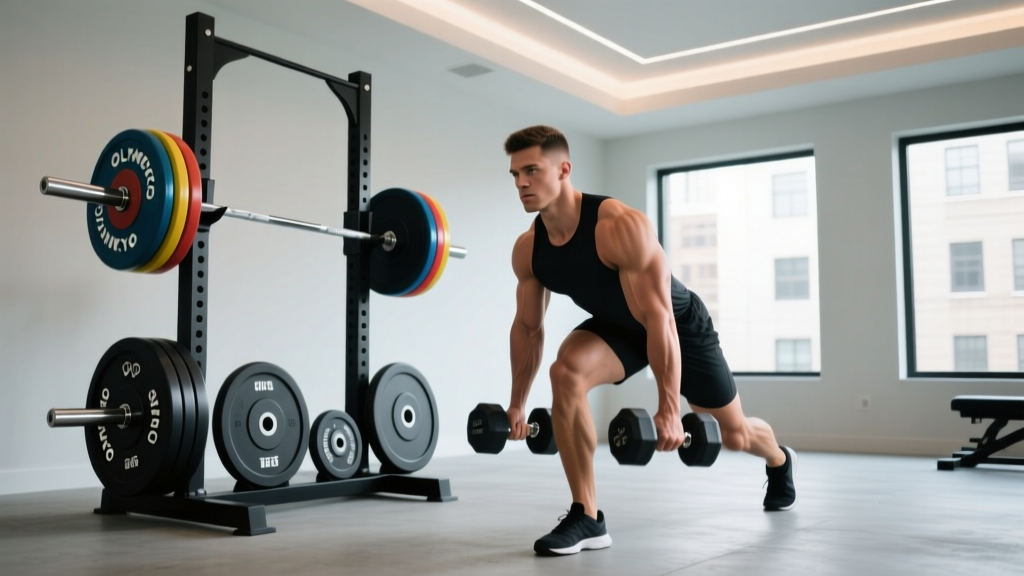
Olympic vs Standard Plates & B Stance RDL with Dumbbells
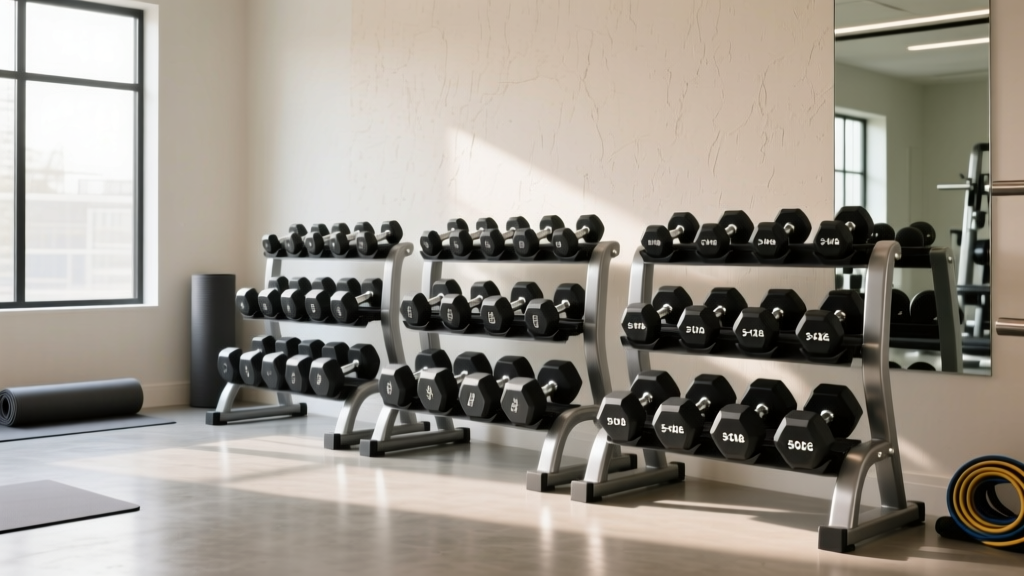
Top 2026 Dumbbell Racks for Basic Dumbbell Exercises for Arms

Beyond the 2 Pound Dumbbell: Power Rack vs Squat Rack Guide
